Chicken Coop Framing Basics for Non-Carpenters
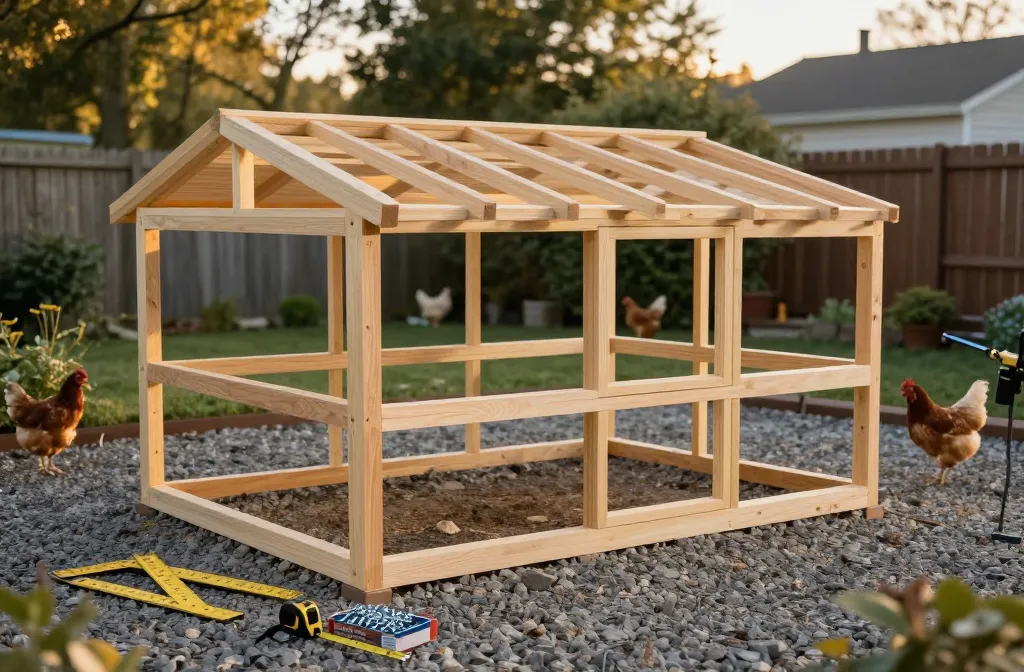
It’s Saturday morning, the sawhorses are up, and the 2×4 stack doesn’t look like the tidy rectangle in your sketch. Chicken coop framing basics for non-carpenters come down to three things you can measure: square, load path, and rot control. You’ll leave with clear dimensions, lumber choices, fastener specs, and a framing order you can follow without translating contractor slang. Build to these numbers and your coop won’t rack in a storm or sag under a wet January roof.
Frame Size That Actually Works

Start with the birds: plan 4 sq ft per hen inside in cold-winter areas and 3 sq ft per hen where winters are mild and runs are generous. That makes a simple target: for six hens, a 4×6 ft interior footprint; for ten hens, a 5×8 ft footprint. Keep wall height at 6.5–7 ft to fit roosts at 36–48 inches high with headroom and to allow ventilation above perch height. A clean rectangle with even dimensions prevents odd offcuts and keeps your sheathing layout efficient.
Translating this to lumber: a small coop (up to about 5×8 ft) frames cleanly in 2×4 studs, 8 ft long, while spans longer than 8 ft or any roof expected to carry snow should bump key members (headers and roof beams) to 2×6. If you think you might add birds later, lengthen the footprint, not the width — wider roofs get fussy quickly.
Chicken Coop Framing Layout — Corners, Plates, and Stud Spacing
A rigid box starts with straight lumber and a consistent layout. Use pressure-treated 2×4 for the bottom plates (they contact moisture) and standard SPF 2×4 for top plates and studs. Lay out studs at 16 inches on center; it matches plywood/OSB edge spacing and resists racking better than 24 inches. Build four wall panels flat on the ground: two long walls first, then the two short walls with door/window openings framed in.
Corner details matter. Use a three-stud corner so you have nailing faces for sheathing on both walls. On each wall, install a double top plate with staggered joints: first plate runs full length on one pair of opposing walls; the second plate laps over the adjoining wall ends a minimum of 24 inches to tie the box. Toenail or use 3-inch exterior screws to assemble panels, then stand them and fasten panels together through the plates with 3-1/2 inch exterior screws every 12 inches.
Square and Plumb Without Guesswork
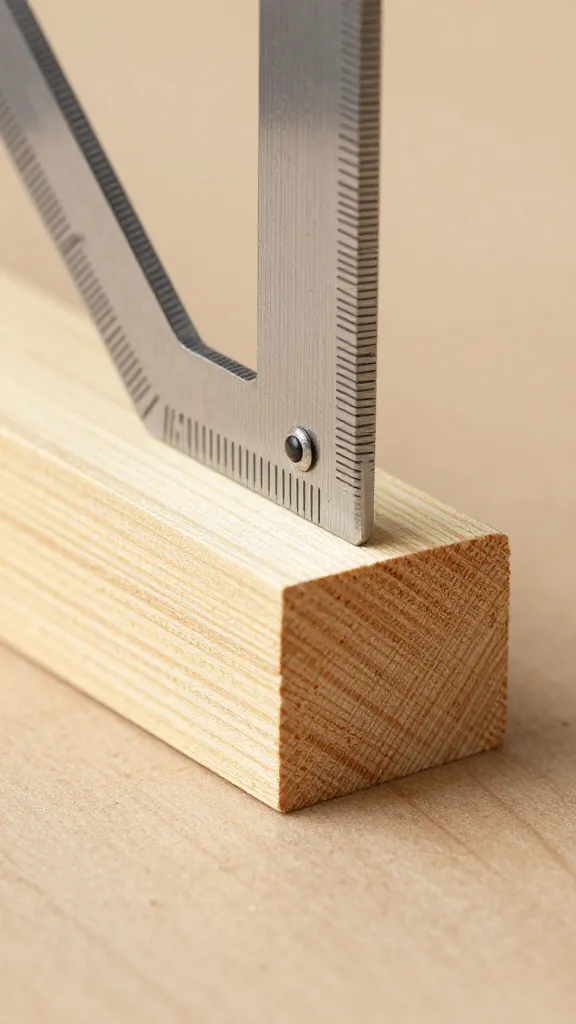
A coop that’s out of square makes every next step harder and loosens under wind. Build on a level base (skids, piers, or slab) and square the floor before walls go up. Check rectangle corners with the 3-4-5 rule (measure 3 ft along one side, 4 ft along the other, and set the diagonal at 5 ft) or match diagonals corner to corner to within 1/8 inch. Plumb each wall with a level before fastening the corners solid; install temporary diagonal braces from top plate to floor with two screws each until sheathing is on.
Sheathing locks the frame. Use 1/2-inch exterior plywood or OSB on walls, nailed or screwed every 6 inches on panel edges and 12 inches in the field. Run panels vertically so their long edges land on studs. If you plan large vents, sheath first, then cut openings — the panel stays stiff while you fasten it.
Openings: Doors, Windows, and Pop Holes That Don’t Sag

Every opening is a hole in your structure; frame it like one. For any opening over 24 inches wide, install a 2×6 header set on jack studs, with a 2×4 sill and cripple studs above or below to carry sheathing. For smaller pop doors (typically 10–12 inches wide by 12–14 inches tall), a 2×4 header is fine. Keep at least one full stud between adjacent openings to preserve shear strength.
Human doors do best at 30–36 inches wide and 72 inches tall clear. Hang them with three heavy-duty exterior hinges and secure with a latch backed by a through-bolt, not short screws. The pop door should slide or hinge within a framed tunnel at least 8 inches deep to defeat reach-in predators; mount its track or hinges on framing, not just sheathing.
Chicken Coop Framing for the Roof: Span, Pitch, and Snow
Roofs fail where spans are long and fasteners are light. For coops up to 5 ft wide, simple 2×4 rafters at 16 inches on center handle light roofing. Wider than that, or in snow areas, use 2×6 rafters and drop spacing to 12 inches on center if snow loads are heavy. A 4:12 pitch (4 inches rise per 12 inches run) sheds rain and most snow without making the structure top-heavy.
Tie your rafters to the walls with rafter ties or hurricane ties at every seat cut, one per rafter. Sheath the roof with 1/2-inch exterior plywood or OSB and fasten every 6 inches on edges, 12 inches in the field. Overhang eaves and rakes by 6–8 inches to keep water off walls; block the eaves with vent baffles or hardware cloth to maintain airflow while stopping pests. If you choose a shed roof, run rafters the short direction to minimize span.
Fasteners and Connectors That Hold Up
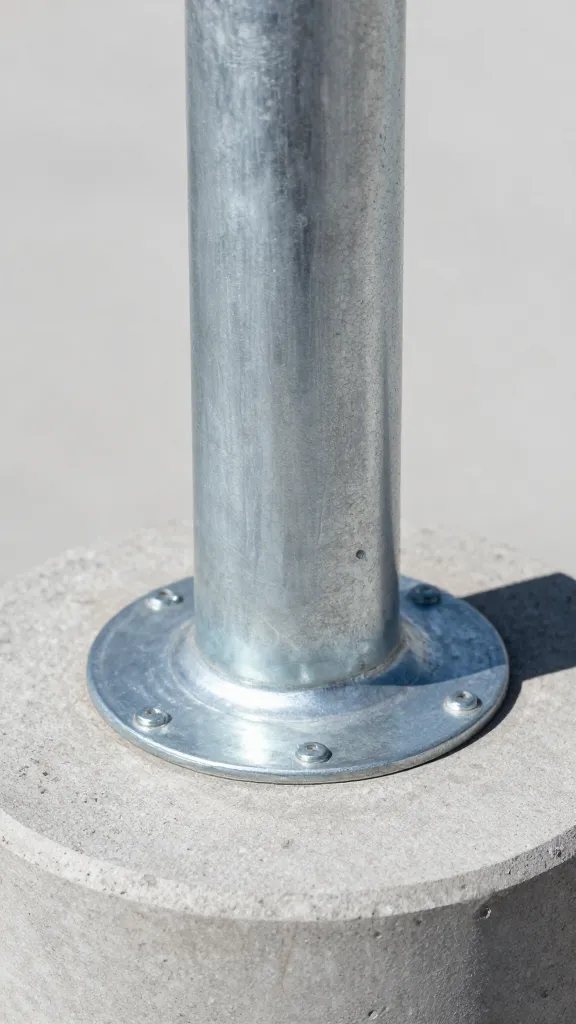
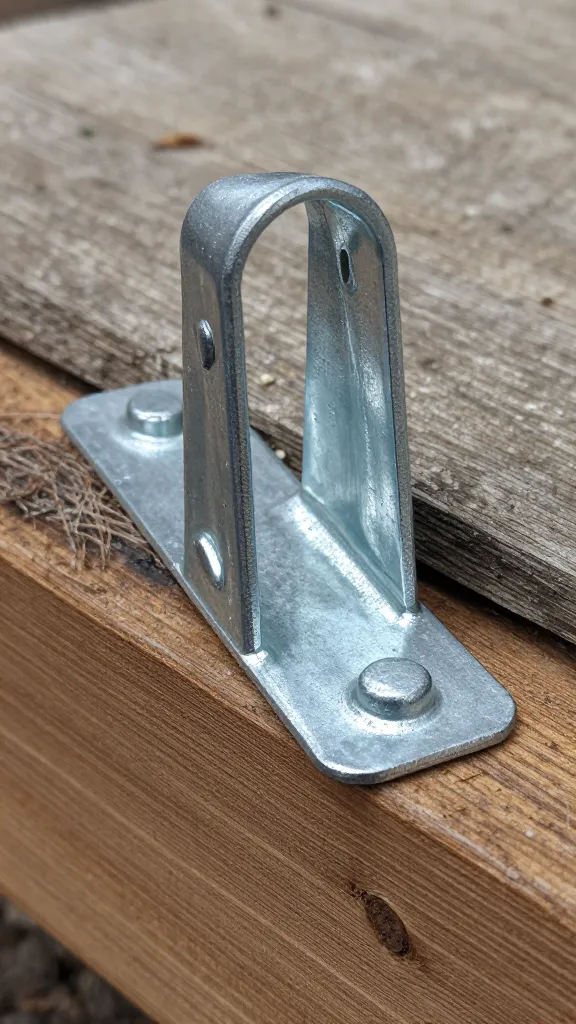
Exterior framing lives and dies by the metal you choose. Use exterior-coated or stainless screws for all structural connections: 3-inch for stud-to-plate, 3-1/2 inch for plate-to-plate and corner ties. For nails, choose 10d or 12d hot-dipped galvanized for framing and 8d for sheathing. Any connector that touches pressure-treated lumber must be G185 hot-dipped galvanized or better to resist corrosion.
Install hurricane ties on every rafter-seat location and at least two metal angle brackets inside each wall corner. Predators don’t shake structures, but winter wind will test them for you. Where a sill sits on skids, add 4–6 structural screws per side into each skid to keep the box from creeping.
Moisture, Rot, and Ground Contact

Keep wood off wet soil and give water a planned exit. Use pressure-treated 2×4 or 4×4 skids as your base, set on compacted gravel or concrete piers. Hold the lowest wood at least 6 inches above grade and slope the ground away from the coop at 1/2 inch per foot. Between floor framing and skids, add a peel-and-stick flashing membrane or sill gasket to break capillary wicking.
Sheath with exterior-rated panels and cover exposed edges with drip cap flashing. Prime and paint or stain all faces, including panel edges and end grain, within 48 hours of installation. Ventilate well: a continuous vent area of at least 1 sq ft per 10 sq ft of floor, placed above roost height, prevents condensation that rots framing from the inside out.
Predator-Resistant Add-Ons That Bolt to the Frame
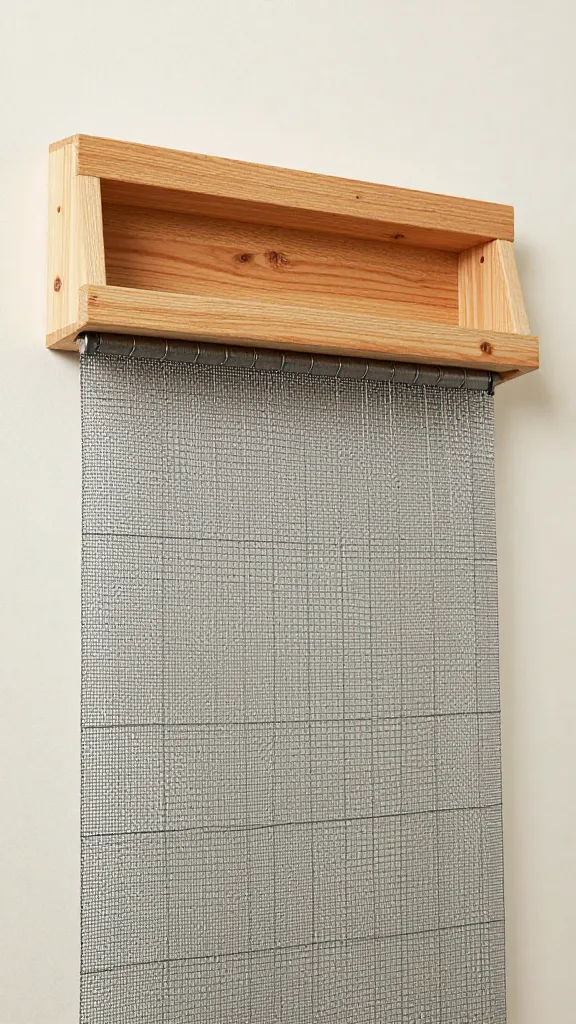
Build attachment points into the frame. Around the run and under-floor area, fasten 1/2-inch, 19-gauge galvanized hardware cloth with 1-1/4 inch exterior screws and fender washers every 6 inches. For an anti-dig apron, extend the mesh 18–24 inches out from the base and pin it with landscape staples at 12-inch spacing, then backfill.
Every opening larger than a quarter must be covered in the same mesh, stapled then backed with screwed battens. Windows framed between studs get a second inside grill: a hinged interior panel of the same 1/2-inch, 19-gauge mesh on a 1×2 frame, latched with two locking hasps. One latch is an invitation to raccoons.
The One Thing People Get Wrong
They rely on sheathing to straighten a crooked frame. If the rectangle isn’t squared and braced before the first panel goes on, the door will fight you forever and the roof plane will telegraph every mistake. Spend the extra 20 minutes on diagonals and temporary braces; sheathing is a lock, not a lever.
Frequently Asked Questions

What size lumber should I use for chicken coop framing?
Use 2×4 studs for walls on coops up to about 5×8 ft; step up to 2×6 for headers and roof members spanning more than 8 ft or in snow country. The thicker stock resists sag and carries roof loads better. If you’re unsure, keep walls 2×4 and overbuild headers and rafters to 2×6.
How far apart should chicken coop framing studs be?
16 inches on center is the working spacing for walls; it matches 4×8 sheathing and keeps the coop from racking. For light-duty interior partitions, 24 inches on center is acceptable, but keep exterior walls at 16. If you plan heavy items on walls (feeders, storage), stick with 16 and add blocking at those heights.
Do I need a header over the pop door in a chicken coop?
Yes, frame a header; use a 2×4 header for openings up to 24 inches wide and a 2×6 above that. The header transfers roof and wall loads around the opening so the door doesn’t bind. If height is tight, make the header taller and the opening slightly shorter.
What roof pitch works for a small coop frame?
A 4:12 pitch is a reliable minimum for shedding rain and light snow; steeper if you get heavy snow. Pair it with 2×4 rafters at 16 inches on center for spans up to 5 ft, or upgrade to 2×6 if wider. In low-snow regions, a shed roof at 3:12 still works if you use metal roofing.
How do I make sure my chicken coop frame is square?
Match corner-to-corner diagonals to within 1/8 inch before locking panels together, and confirm with the 3-4-5 method on each corner. Brace walls temporarily with diagonals, then install 1/2-inch exterior sheathing to hold it. If you build solo, clamp a straight 2×4 as a brace before you lift the second wall — your back will notice.
Lay Out Your First Wall Tonight
Cut two pressure-treated 2×4 bottom plates and two regular 2×4 top plates to your long wall length, mark 16-inch on-center stud locations, and pre-cut six to ten studs at wall height minus 3 inches for the double top plate. Dry-fit them on the garage floor and check the diagonal to within 1/8 inch before you drive a single screw. Tomorrow goes faster when tonight is square.
— do it right once.