7 Chicken Coop Ideas by Climate — What Your Region Actually Demands
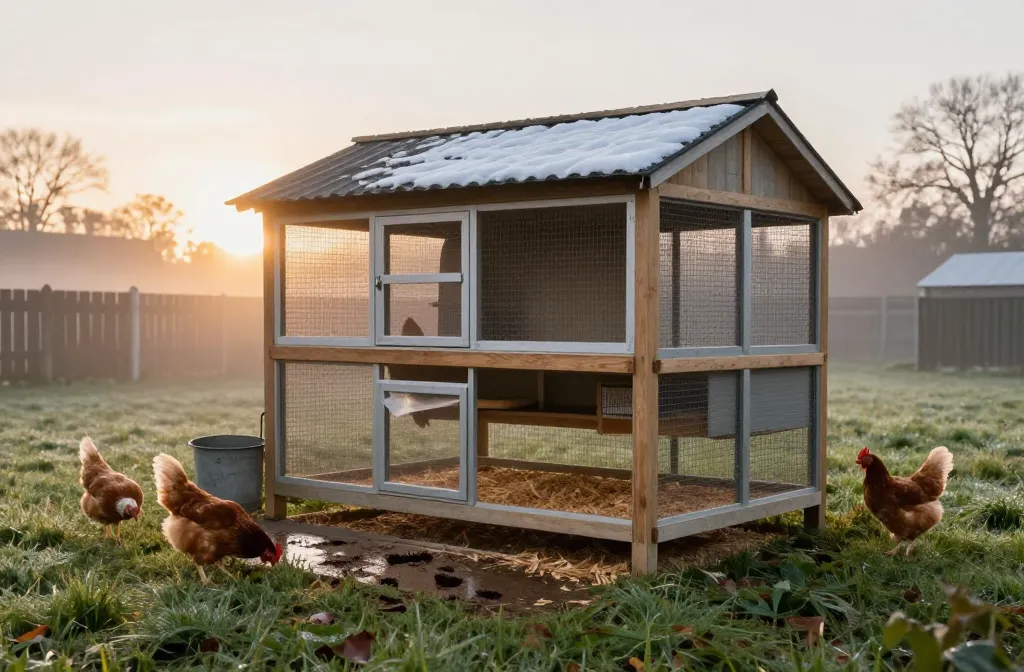
Chicken coop ideas by climate sounded like overkill to me until I stood in a January wind at 6 a.m., trying to chip open a frozen pop door with a paint scraper. That was the morning I stopped building like Pinterest and started building for my zip code. By the end of this, you’ll have seven concrete builds and buys that match heat, cold, rain, snow, and bugs — what I actually paid, how long it lasted, and what I’d do again. I’ll keep it to materials you can grab at a big-box store, a feed store, or a salvage yard on a Saturday.
1. Upper-Vent, Lower-Perch Winter Coop: Dry Air Beats “Insulation”
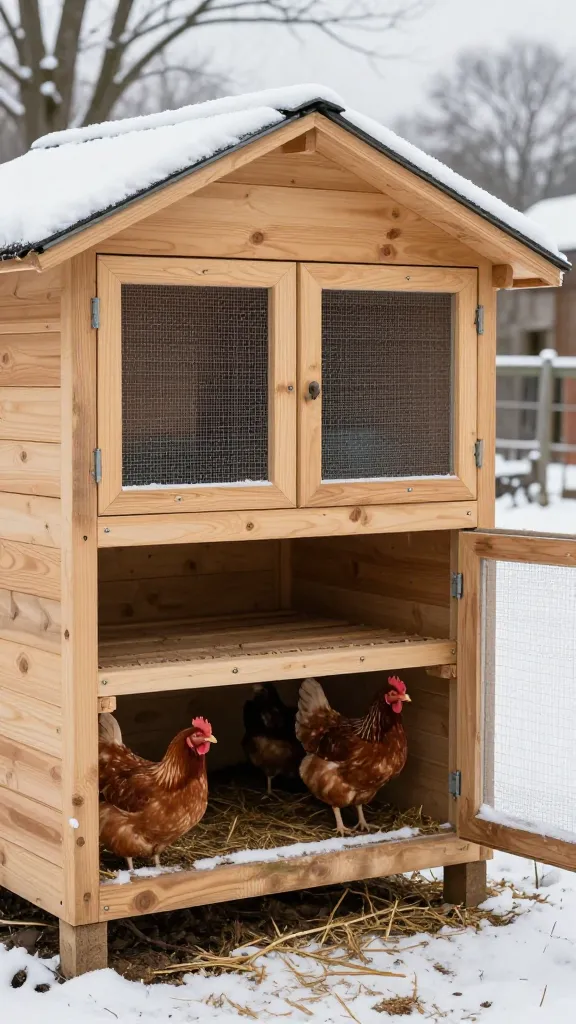
The first winter I thought foam board would make my coop cozy. It made it damp. Frost collected on the screws, and my big hen’s comb got nipped in a single cold snap. I pulled the foam and rehung everything in one loud afternoon.
I cut two 4×16-inch vents high under the eaves on the long walls, screened tight with half-inch hardware cloth (about $45 for a 25-foot roll; I used maybe a third). I dropped the roosts to 18 inches so they sat below the vent line, and I built a 6-inch-tall poop board with dry pine shavings to catch moisture. I spent $12 on a tube of exterior sealant to close hairline cracks and $8 on a vinyl flap for the pop door. That redo cost me $65 and has kept the coop crisp-dry through 3 winters where we see single digits for 5–10 nights a year.
Condensation was the real enemy, not the cold itself. I did try plastic sheeting over the run once; it lasted 2 storms and turned into a sail. Corrugated clear panels cut to size were $60 for two, and they’ve ridden out 2 winters without tearing free. Wet litter is a red flag — I change shavings every 4 weeks in winter (two 8-cubic-foot bags at $6 each).
Make it yours: If your lows sit below 0°F for weeks, add a simple heat source only under a metal waterer using a heated base ($45–$70) and keep all wiring outside peck range. Skip heat lamps — I watched one fall in a neighbor’s coop and melt a feeder; that was enough for me.
Where Can You Research Heat Lamp Fire Risk in Coops?
| Source | What It Says |
|---|---|
| The Chicken Chick | Widely cited poultry-safety source explaining why heat lamps are a leading cause of coop and brooder fires and what to use instead. |
| Bangor Daily News | News coverage of local fire department warnings against heat lamps in coops, with guidance toward safer radiant panel heaters. |
| Backyard Poultry | Safety tips for anyone still using a heat lamp, including secure mounting and keeping bedding clear of the fixture. |
2. Shade-First Summer Run: Roof It or Lose Eggs to Heat
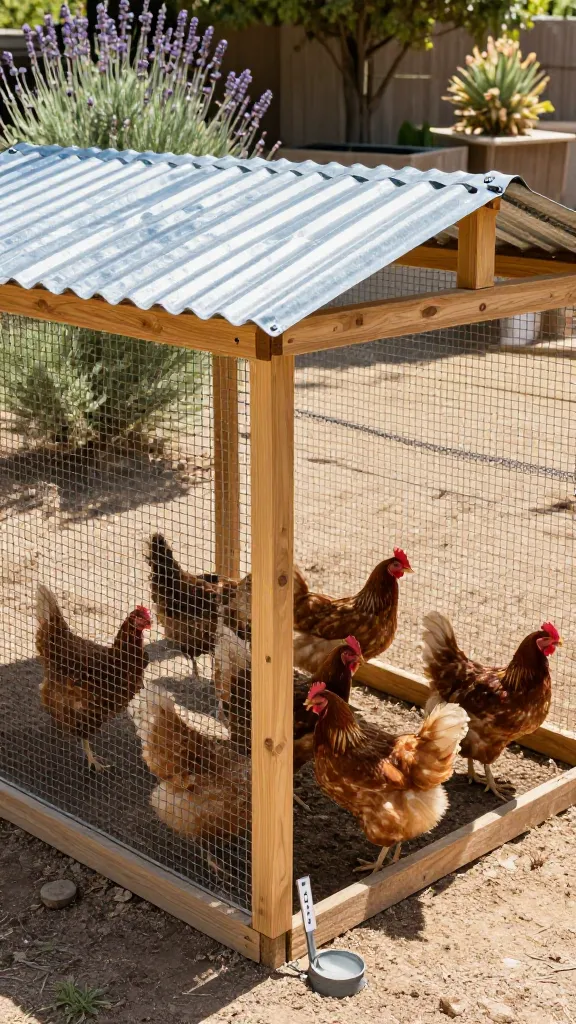
My first July with hens, I kept finding eggs under the lavender bush at 3 p.m., hot as tea. The run had a mesh top, no shade, and I honestly thought a tarp was enough. It wasn’t.
I framed a 6×10-foot section of the run with two treated 2x4s and attached opaque corrugated roofing on a slight pitch — material ran $90–$120 depending on color; the screws were $7. I added a 70% shade cloth ($25) on the western wall with UV zip ties. Temps under that roof read 8–12°F cooler than the open wire when I checked with a $10 analog thermometer. I mounted the waterer in that shade zone and swapped to a horizontal nipple waterer ($18–$30 depending on size) to keep the litter dry.
The catch: roofing a run wants decent anchoring. I sunk four 2-foot spikes ($20 total) because the first afternoon monsoon rattled the frame like a drum. Also, tarps shred — the cheap blue one lasted 11 days in wind; I quit buying them and saved money long term by doing the panels once.
Make it yours: If you’re renting, build a 6×8 freestanding shade “carport” with two fence panels and a roof panel pair — no holes in the landlord’s fence, and you can move it season to season.
3. Deep Eaves and a Gutter: Keeping Rain Out of the Coop Door

A sideways spring rain soaked my threshold so completely that my pop door swelled and wouldn’t slide. I stood in crocs bailing out the track with a measuring spoon. The fix was not fancy, but it worked.
I extended the coop roof eaves by 8 inches using scrap 2x2s and one extra roofing panel offcut, total spend $18 for lumber and $6 in screws. I added a 6-foot length of vinyl gutter and one downspout elbow for $22, draining into a splash block. Inside, I set the pop door 1 inch above the floor and added a U-shaped aluminum threshold ($11) as a drip edge. Since then, even in 2-inch-in-an-hour storms, the door glides.
The gutter needed cleaning twice a year. I forgot the first summer and grew a small science project of maple seedlings. Ten minutes with a hose took care of it. For wind, I anchored the new eaves with metal angle brackets — a 4-pack runs $7. Don’t skip screening any new vent area with hardware cloth, even under eaves; I caught a raccoon handprint up there once and slept better after I stapled in a strip.
Make it yours: In heavy snow zones, swap vinyl for steel guttering and bump eave pitch; the steel adds $15–$25 but won’t sag under a 6-inch overnight fall.
4. Predators Differ by Region — Build Accordingly
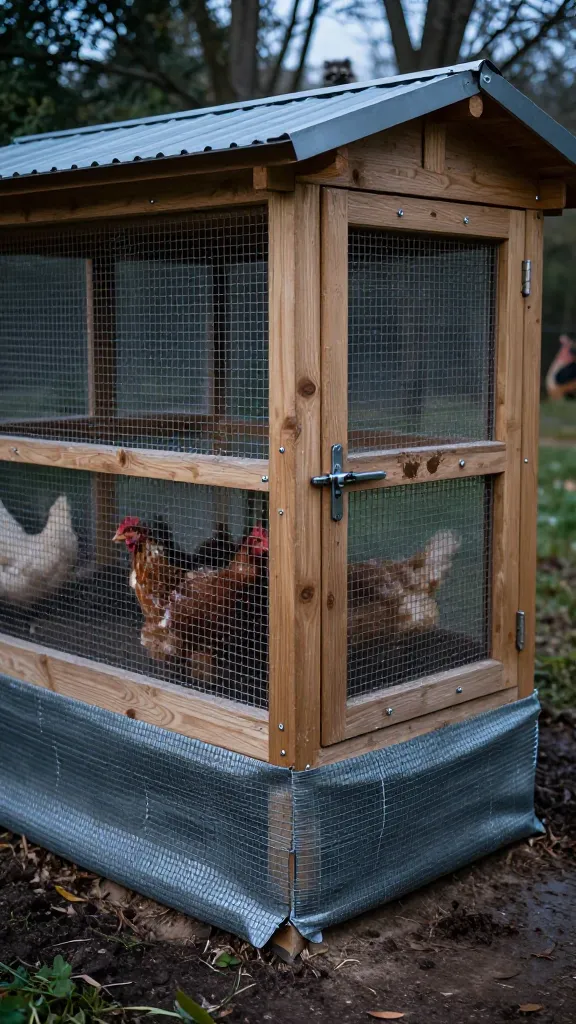
The night I found the telltale muddy handprints on the latch, I stopped pretending cute hardware could do the job. I’m in raccoon-and-fox country; your mix might be dogs, bobcats, coyotes, or snakes. The fix starts the same: make the coop the strongbox.
I skinned the lower 24 inches of the run and all windows with half-inch hardware cloth attached every 4 inches with screws and fender washers — the fasteners ran $9 for 50, and I used about 60 on a 6×10 run. I buried a 12-inch apron of the same mesh around the perimeter for diggers. For the door, I used a two-step latch set (carabiner through a hasp, plus a spring bolt) for $12. Since that rebuild 2.5 years ago, I’ve had zero breaches; before it, I lost a pullet in 6 weeks to a fox that tunneled under a light-gauge wire skirt I had called “good enough.” That skirt cost $18 and bought me nothing.
If you’re in snake country, reduce openings to 1/4-inch mesh on any brooder or chick pen — it adds $8–$15 per panel but closes that gap. In bear zones, I would add a hot wire at nose height and knee height on the run perimeter; the charger and wire kit is usually $120–$180. I haven’t needed that, so I won’t fake expertise on installation — this is where a local fencing supplier earns their keep.
Make it yours: Price the hardware cloth first and build the rest of the coop around that line. It’s the only thing I now refuse to cheap out on; everything else is optional decor by comparison.
5. Snow Belt Coop: A Real Roof Pitch and a Shovel Path

I grew up thinking a “cute flat roof” was modern. Then I visited my sister after a lake-effect dump and watched her neighbor’s shed bow. Snow is heavy — that’s not theoretical when you’re on a ladder with a broom.
When I redid my roof, I set a 4:12 pitch with 2×4 rafters on 16-inch centers and ran corrugated metal panels lengthwise to shed. Materials for a 4×8 coop roof were $140–$180 depending on panel finish, plus $18 for closure strips and $12 for butyl tape. I added two collar ties ($10) and a central purlin for stiffness. In our one 10-inch storm last year, snow slid by noon. I also learned to shovel a 3-foot-wide path to the coop before it compacts; that’s not a build cost, just a sanity note — the first time I waited, it turned to an ice luge and I did a slow-motion skate with a waterer in each hand.
The catch with metal roofing is noise in hail and potential condensation. I stapled a thin foam underlayment ($25 a roll) to the rafters and it killed the drip and the drum. If you’re in a region with roof avalanches, don’t put the pop door on the long eave side; mine is on the gable end so nothing piles in front of it.
Make it yours: If building new is off the table, retrofit two 2×4 sleepers and lay PVC panels over an existing flat roof for $80–$120 on a 4×6 — still enough pitch to move snow and stop leaks.
6. Humid and Buggy: Screen Everything, Baffle the Light
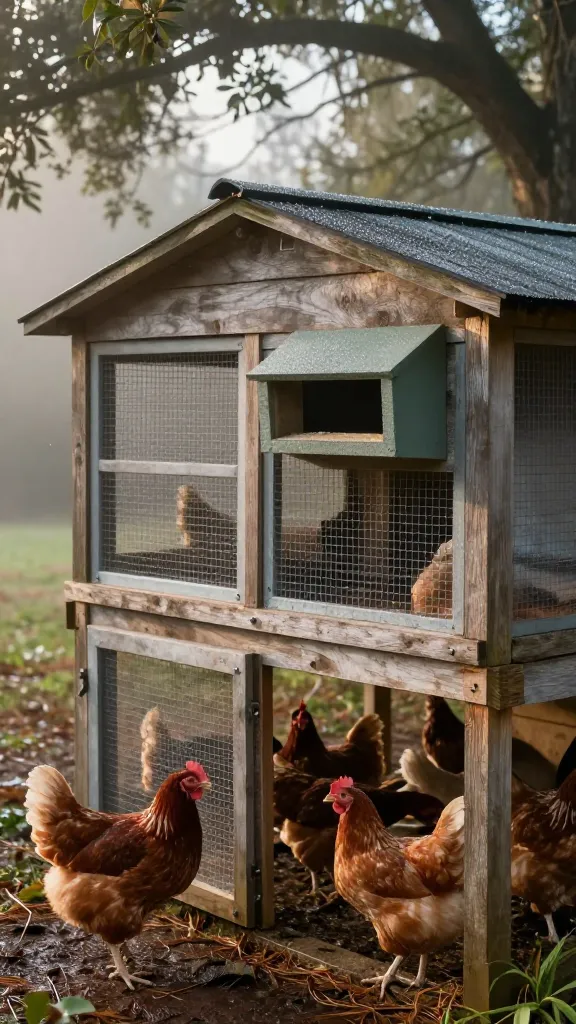
The first spring we hit 90% humidity, I opened the coop at dawn and a wave of gnats rolled out like fog. The hens were fine, but I wasn’t. I had left a “cute” 1-inch gap under the eaves un-screened to “breathe.” That was an invitation.
I backed every vent and window with 1/4-inch hardware cloth where chicks might be and 1/2-inch everywhere else. A single 24×96-inch sheet was $32; I needed two. I also learned that light draws bugs — so I built a vent baffle: a shallow 6-inch-deep box, open at top and bottom, painted matte dark, so air still moves but sightlines (and light rays) don’t. Scrap plywood and two 1x2s ran $14. For mosquitoes, I keep water sources moving; a tiny solar bubbler in a spare pan was $16 and dropped larvae to near zero. In the worst weeks (late June for us), I refresh bedding every 2 weeks instead of 4 to break fly cycles; that’s an extra $12 in shavings in one month and worth every dollar.
A trap I fell into: diatomaceous earth everywhere. It turned to paste in humidity and didn’t dent the gnats. I stopped using it indoors; it’s not great for lungs, mine or theirs. Better ventilation and dry litter did more in 48 hours than powdering corners ever did.
Make it yours: If your run borders standing water you can’t fix, add a 24-inch “privacy” skirt of shade cloth around the bottom third of the run — it cost me $20 and noticeably cut mosquito pressure at roost time.
7. Desert and High Heat: Thermal Mass, Night Air, and No-Drama Water

The hottest week we’ve had was 109°F. I spent those afternoons sitting on an upside-down bucket, shuttling frozen water bottles to the drinker and regretting my life choices. By the next summer, I had a passive system that let me go to work without panic texting the neighbor.
I built a 12-inch-tall earth berm along the west side of the coop with scavenged pavers and filled it with pea gravel — $48 for 12 bags — then set two 12×12 concrete stepping stones on top to act as thermal mass. I cut a high vent on the east gable and a low vent on the west for stack effect airflow, both screened with hardware cloth from the same roll as above. I hung a swamp cooler pad (the rigid cellulose kind) in a frame on the west vent and misted it with a drip line on a timer ($35 in parts); it’s not AC, but it knocked the interior 5–7°F lower on triple-digit days. Water lived under the shade roof from Item 2, and I added a second identical waterer so no one had to queue — $18–$30 more, cheap insurance.
The honest part: timers and drips need checking. The first week, I overdid it and made a mud pie under the vent. I cut runtime to 2 minutes every hour from noon to 5 and added a paver splash zone. Electrolytes in water are useful in true extremes, but that’s a conversation for an avian vet if birds look listless or pant continuously. I also freeze a half-inch of water in the base of the waterers at night — it buys me an extra cool hour in the morning.
Make it yours: If you can only do one thing for heat, add shade and a second water source. The rest helps, but shade and water are non-negotiable in a heat wave.
Frequently Asked Questions
How do I ventilate a coop in winter without freezing the birds?
Put vents high and roosts low so the draft skims above them. Two 4×16-inch vents on opposite walls move a surprising amount of air; screen them with half-inch hardware cloth. I spend $45 on a 25-foot roll and use it everywhere ventilation meets outdoors.
What’s the best roof pitch for a chicken coop in snow country?
A 4:12 or steeper pitch sheds well for small footprints. My 4×8 with 4:12, metal panels, and underlayment cost me roughly $180–$220 and has handled 10-inch events without me climbing a ladder at 6 a.m. Avoid flat roofs; snow load creeps up faster than you think.
How much does predator-proofing a coop usually cost?
Plan $60–$120 for hardware cloth, fasteners, and a double-latch setup on a 6×10 run. I spent $45 on mesh, $9 on washers, and $12 on latches, and haven’t had a breach in 2.5 years after losing a pullet in 6 weeks to a dig-under with lighter wire.
Do I need a heated base for the waterer?
If your nights sit below 20°F for more than a few days, a heated base ($45–$70) under a metal fount saves you 20 minutes of ice-chipping every morning. I only drag mine out for hard snaps and store it the rest of the year. Skip heat lamps; they’re a fire risk and don’t solve frozen water anyway.
What’s the simplest heat-wave setup if I can only change one thing?
Add permanent shade over part of the run and put water in that shade. My roof panel section cost $90–$120 and dropped temps under it by 8–12°F based on a cheap thermometer. A second waterer ($18–$30) prevents crowding when everyone is panting.
Start With Your Weather, Not Your Wishlist
Walk outside at 3 p.m. and again at 6 a.m. — where the sun hits, where the wind blows, where the water stands — and build for that, not for a grid of cute photos. If you do one thing this weekend, price a 25-foot roll of hardware cloth and a pair of roof panels, and sketch the shade and vent lines right onto your coop with painter’s tape. The birds will tell you if you got it right: dry litter, calm roost, and eggs that don’t feel like soup.
— ask me how I know.