Chicken Coop Flooring Options Compared
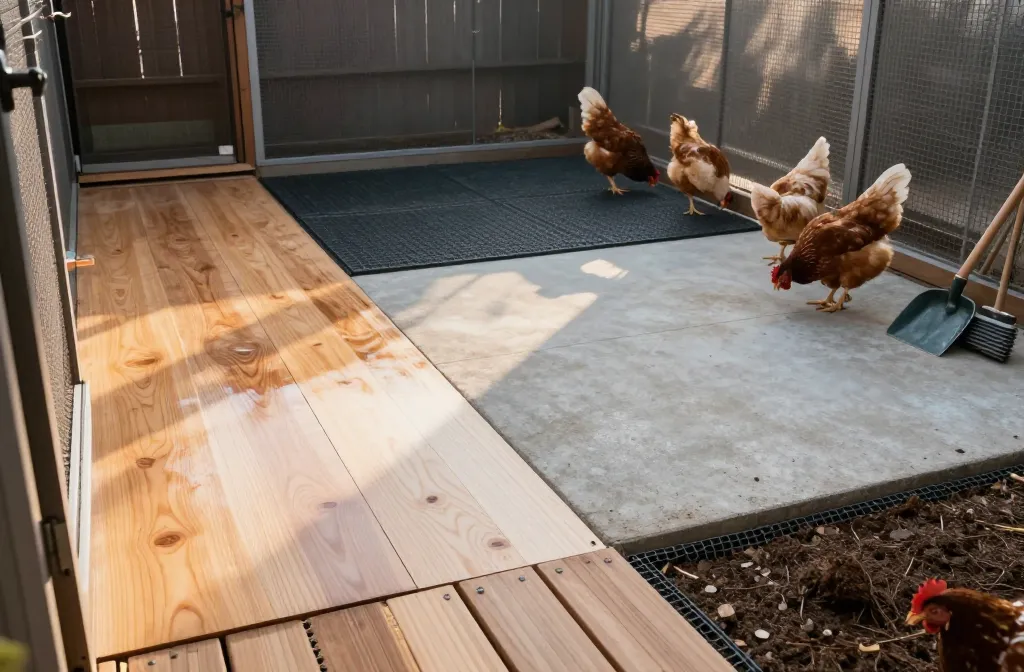
Headlamp on, scraper in hand, you learn fast what your floor really is: easy to clean or a chore you avoid. Chicken coop flooring options decide how dry the coop stays after a week of rain and how fast you finish chores in January. This comparison gives you the real trade-offs — cost, installation, cleaning method, and lifespan — so you can pick a floor that stays dry, resists rot, and stands up to a determined raccoon. By the end, you’ll know what to lay down in a new build and how to rehab a floor that’s already regrettable.
What You’re Choosing Between — And Who Each Suits

There are six practical routes: sealed plywood, vinyl over wood, rubber stall mats, concrete, packed soil with a predator apron, and composite decking slats. Budget and climate drive the decision. Wet climates and deep-winter cleaning favor non-porous surfaces; hot climates and sand bedding like breathable floors. If predators are bold where you live, choose materials that take screws and accept 1/2-inch hardware cloth at every joint.
Sealed Plywood Coop Flooring — The Baseline
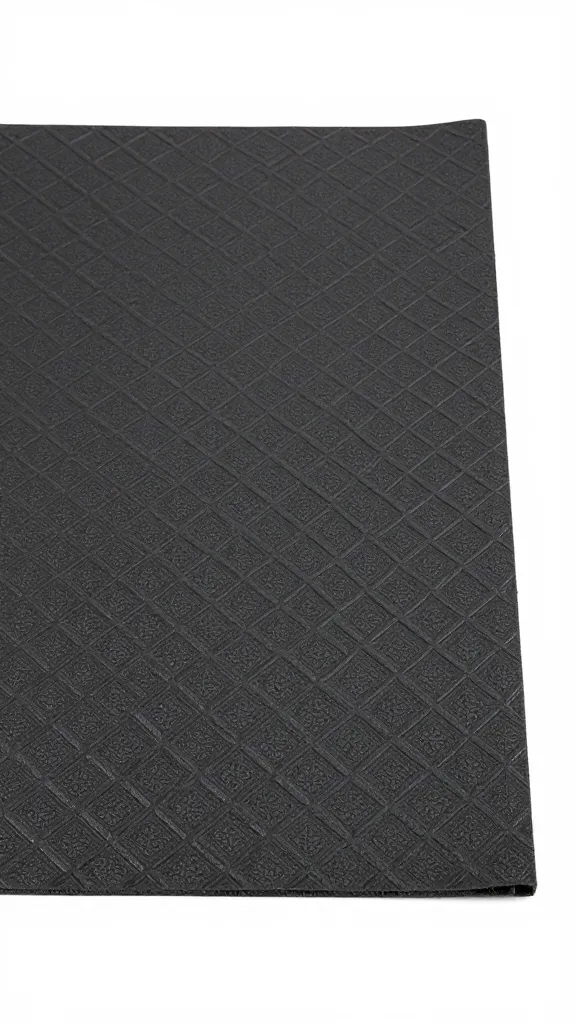
Use 3/4-inch exterior-grade plywood on joists 16 inches on center, then seal with two coats of exterior porch-and-floor paint or marine-grade spar urethane, edges included. Add a third coat on the first 12 inches inside the door where traffic and moisture hit hardest. Expect 5-7 years before a sand-and-recoat if you keep bedding dry at 3-4 inches.
Strengths: low cost, fast to install, repairable in sections. Weaknesses: seams and screw holes are leak paths, and standing moisture finds them. Cleaning: use a scraper with rounded corners and a stiff brush; avoid flooding. Winter: shovel out bedding, spot-scrub with a barely damp brush, then re-bed within 1 hour so the wood doesn’t drink the cold.
Vinyl Over Wood — Plywood With a Waterproof Skin

Lay 3/4-inch exterior plywood, then top with a single sheet of homogeneous sheet vinyl, 0.08–0.1 inch thick (no felt backing). Run vinyl 2-3 inches up the wall as a cove and seal edges with 100% silicone. Fasten with countersunk stainless screws and large washers at the perimeter only (12-inch spacing) to allow slight movement; seams are the failure point, so avoid them if your coop footprint allows a one-piece sheet.
Strengths: near-waterproof, fastest cleanouts, urine-proof for ducks as well as chickens. Weaknesses: sharp ice scrapers cut vinyl; use plastic or wood tools. Cleaning: snow shovel and plastic putty knife, then mop with a 1:10 white vinegar solution, wrung nearly dry. Lifespan: 8-10 years before resealing edges; inspect silicone twice a year.
Rubber Stall Mats — Heavy, Tough, Nearly Indestructible
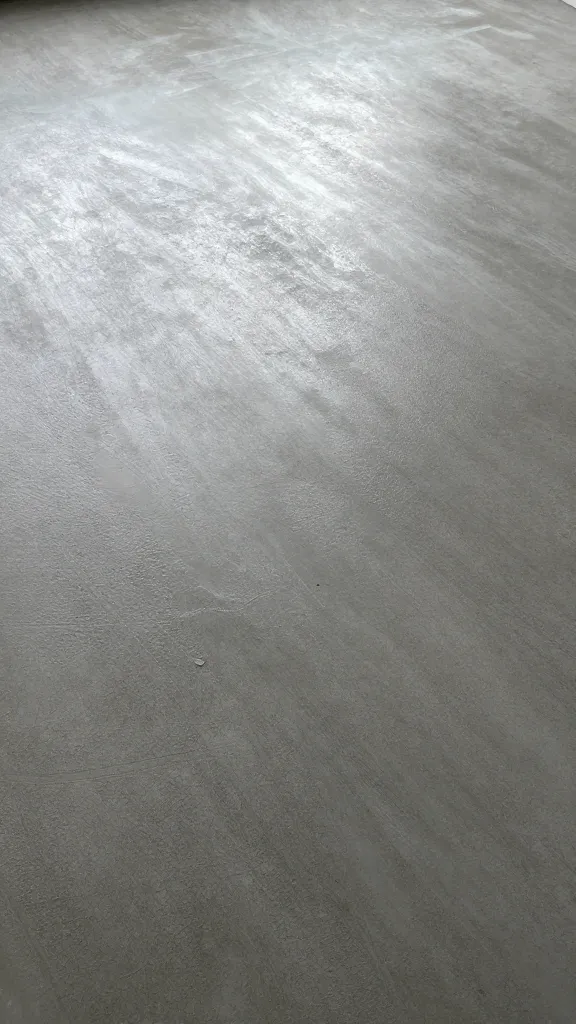
Set 3/4-inch rubber stall mats over plywood or on a flat concrete slab. Choose mats at least 4×6 feet, 3/4 inch thick, with square edges. Cut to fit tight, staggering seams; fill perimeter gaps with silicone and use threshold trim at the door to keep bedding in. These mats weigh 80-100 lb each; plan handling.
Strengths: immune to moisture, warm underfoot, easy scraping. Weaknesses: seams trap fines if not tight; ammonia smell can build if urine works below. Cleaning: pull out once a year on a dry day, hose both sides, dry for 6-8 hours in sun, reinstall. Weekly, a floor squeegee and a plastic scraper are all you need. Predators will not chew through 3/4-inch rubber, but they will exploit edges — screw down threshold retainers every 6 inches.
Concrete Slab — Permanent, Level, And Forgiving in a Flood

A 4-inch reinforced slab with a 6-mil vapor barrier underneath solves rot permanently. If you can, form a 1% slope toward the door and install a pressure-treated sill plate with a sill gasket between wood and concrete. Seal the cured slab with penetrating concrete sealer at 2 coats; reapply every 3-5 years.
Strengths: rodent-proof, hose-able in summer, indifferent to spills. Weaknesses: cold in winter, so run 4-6 inches of bedding in freezing climates. Cleaning: snow shovel, stiff push broom, then a damp mop; avoid straight bleach on bare concrete since it pits the surface. If converting an existing shed, add a 1-inch treated threshold at the door to stop bedding migration.
Packed Soil With Predator Apron — Only If You Build It Right
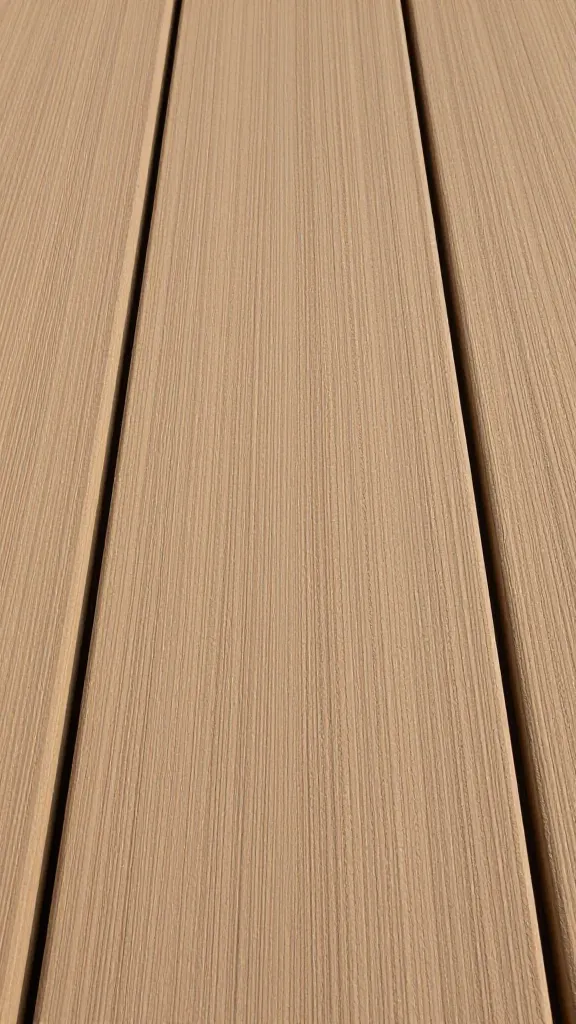
If you choose earth, you must defeat diggers. Remove topsoil to 4 inches, compact subgrade, and lay a 2-inch base of 3/4-inch minus gravel. Overlap and wire-tie 1/2-inch, 19-gauge hardware cloth across the entire footprint, turn it up the walls by 8 inches, then cover with 2 inches of decomposed granite or coarse sand. Outside, install a predator apron of the same mesh, 24 inches wide, flared flat and pinned every 12 inches.
Strengths: breathable, dries fast in arid climates, good with sand bedding. Weaknesses: ammonia binds less, and rodents win if you skip a single edge. Cleaning: rake daily with a landscape rake; sift if using sand. After a wet week, add 1 inch of fresh fines to restore grade. This is the one option that punishes shortcuts.
Composite Decking Slats — Drainage and Airflow, With Caveats
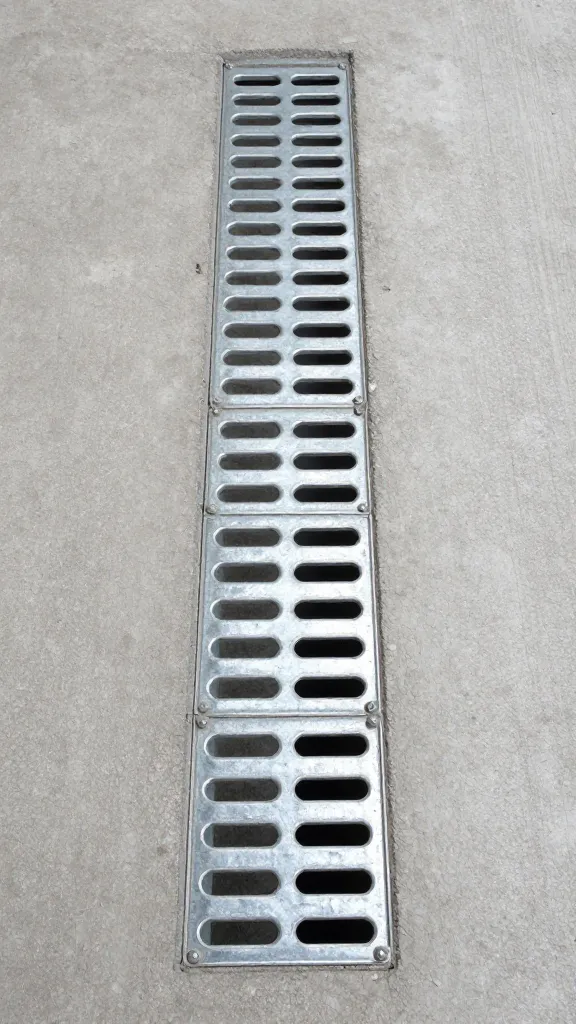
Install composite deck boards on joists 16 inches on center, with a 1/8–3/16 inch gap between boards. Underlay the joists with 1/2-inch hardware cloth stapled every 2 inches and screwed with fender washers every 8 inches so droppings cannot fall to the ground and attract rats. Add removable corrugated plastic trays or bins under high-roost areas to catch nightly manure.
Strengths: drains spills, boards don’t rot, surface has grip. Weaknesses: droppings lodge in gaps without the under-mesh; wind-driven drafts in winter. Cleaning: wide putty knife across the grain; hose only in warm weather and let dry 24 hours before re-bedding. In cold climates, line winter roost zones with 3/4-inch stall mat runners on top for draft control.
Chicken Coop Flooring Options Compared — Cost, Weight, Lifespan

- Sealed plywood: low cost, light, 5-7 years with recoats.
- Vinyl over wood: moderate cost, light-moderate, 8-10 years; edge sealing is everything.
- Rubber stall mats: moderate cost, heavy, 10+ years; seams matter.
- Concrete: high upfront, very heavy (permanent), 30+ years; cold without deep bedding.
- Packed soil + apron: low-moderate cost, light, ongoing top-ups; predator-proofing must be thorough.
- Composite slats: high cost, moderate weight, 15+ years; requires under-mesh and draft management.
Pick by your constraints: if you hose in summer and shovel in winter, choose vinyl over wood or stall mats. If you want “build it once” permanence and can pour, choose concrete with sealer. For a dry-climate run attached to the coop and sand bedding, a well-built packed base with a full apron saves money and cleans quickly. Skipping the apron is how you feed a fox.
Installation Details That Decide Whether It Lasts
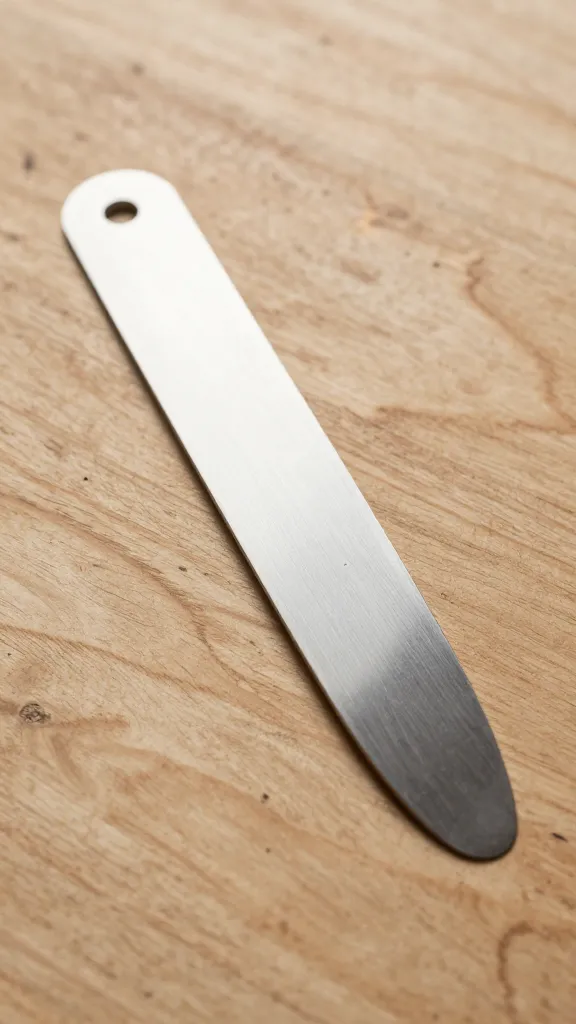
Seal edges and holes on day one: every penetration through a floor (posts, pop-door track screws) gets 100% silicone or polyurethane sealant. At the door, install a 1-1/2-inch aluminum threshold screwed every 6 inches to protect front edges of vinyl or mats. Where wood meets concrete, use a sill gasket and treated lumber.
Bedding depth and type are not cosmetic. On hard floors (vinyl, mats, concrete), run 3-4 inches of pine shavings or chopped straw; add more to 4-6 inches below roosts in winter to insulate. For sand systems, use coarse masonry sand, not play sand, at 2-3 inches. Ammonia tells you when to clean; your eyes adjust before a hen’s lungs do.
My Recommendation — Plain and Simple
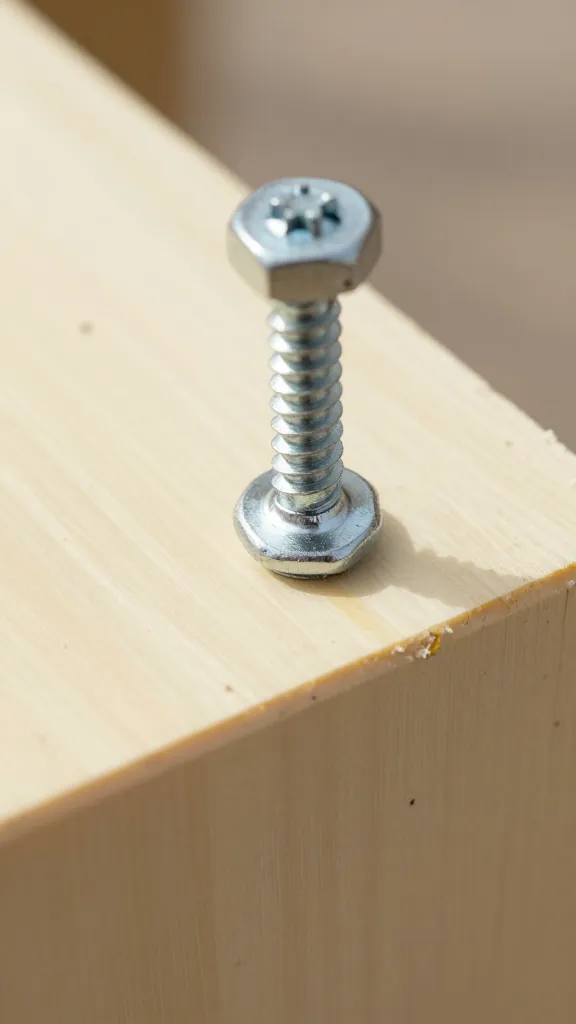
For most backyard coops from four to twelve hens: 3/4-inch exterior plywood topped with a single sheet of 0.1-inch vinyl, coving 2-3 inches up the wall, perimeter-screwed and silicone-sealed. It installs in an afternoon, scrapes clean in minutes, and survives a spilled waterer. If you want the longest life on wood framing, upgrade the top layer to 3/4-inch stall mats; if you’re building new on a permanent site, pour 4 inches of reinforced concrete and seal it. I once tried felt-backed peel-and-stick tiles; they wicked urine within a month and never stopped smelling.
Frequently Asked Questions
What is the easiest chicken coop flooring to clean?
Vinyl over plywood or 3/4-inch rubber stall mats are the easiest to clean because they’re non-porous and smooth. A plastic scraper and a push broom remove bedding in 5-10 minutes, and a nearly dry mop finishes it. If you already have plywood, adding a single 0.08–0.1 inch vinyl sheet is the quickest upgrade.
How thick should plywood be for a chicken coop floor?
Use 3/4-inch exterior-grade plywood on joists 16 inches on center. This thickness resists flexing under 4-6 inches of bedding and a full flock’s traffic. If your joists are 24 inches on center, either add blocking to 16 inches or use a second 1/2-inch layer laminated with construction adhesive and screws every 8 inches.
Is concrete a good chicken coop flooring option?
Yes, a 4-inch reinforced concrete slab is excellent for durability and rodent-proofing. It stays flat, tolerates wet cleanings, and won’t rot; seal it with a penetrating sealer every 3-5 years and use 4-6 inches of bedding in winter to offset cold. If pouring new, include a 1% slope toward the door.
Can I use dirt as my coop floor if I have a predator apron?
Yes, but build the system completely: compact subgrade, lay 1/2-inch, 19-gauge hardware cloth across the footprint and 24 inches out as an apron, then cover with 2 inches of decomposed granite or coarse sand. Without the underlay plus apron, rats and diggers will find a seam within a season. Rake daily and top up 1 inch after heavy rains.
Are rubber stall mats safe for chickens?
Yes, 3/4-inch rubber stall mats are safe and commonly used; they provide grip and a resilient surface under 3-4 inches of bedding. Seal seams and edges to block fines and moisture from getting underneath, and pull mats once a year for a full hose-down and sun-dry of 6-8 hours. Use a plastic scraper to avoid gouging.
Choose the Floor You Can Keep Clean in February
Non-porous, sealed, and edged is the rule: a floor that scrapes in 10 minutes gets cleaned on time. Measure your coop tonight and decide which top layer fits: a single 0.1-inch vinyl sheet you can cove 2-3 inches, or 3/4-inch stall mats you can cut to a tight fit — price both, then buy the one you’ll install this weekend.
— do it right once.