Chicken Coop Materials List & Cost Breakdown
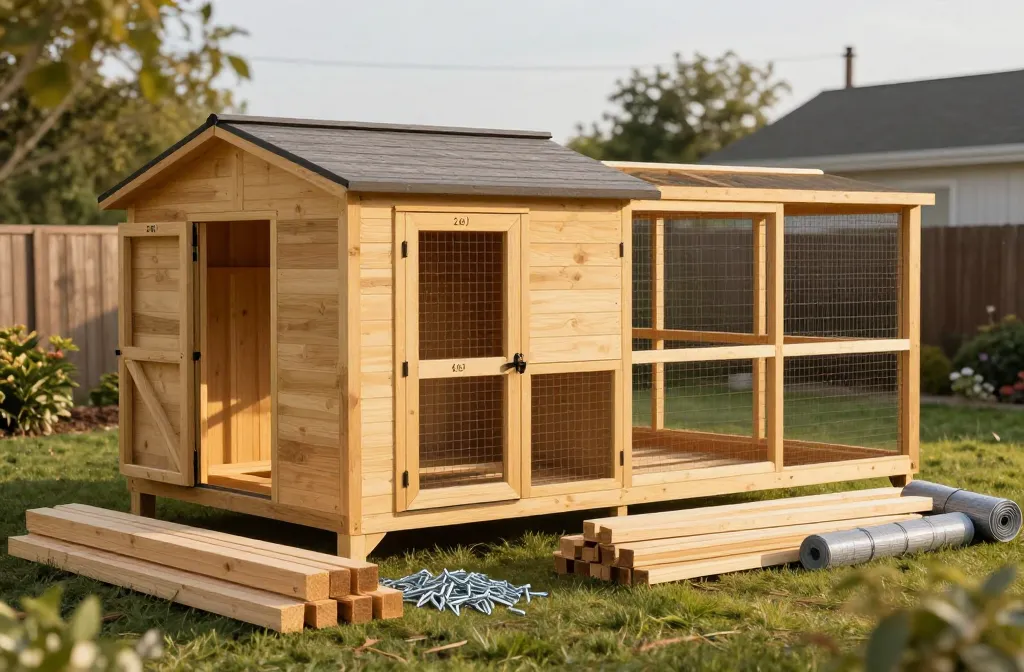
It’s Saturday, the receipts are stuffed in your back pocket, and the lumber on the driveway doesn’t seem to match the sketch you made Tuesday night. This Chicken Coop Materials List & Cost Breakdown turns that pile into a plan you can build without a second trip: every stick, screw, mesh, hinge, and how many of each, with a realistic budget line for a 4×8 backyard coop-and-run that houses 6–8 hens. You’ll see where to spend for strength and where to save without setting a raccoon up for an easy night. Build to these specs and you get a dry, tight, chew-proof coop the first time.
Plan, Size, and Layout That Drive the List
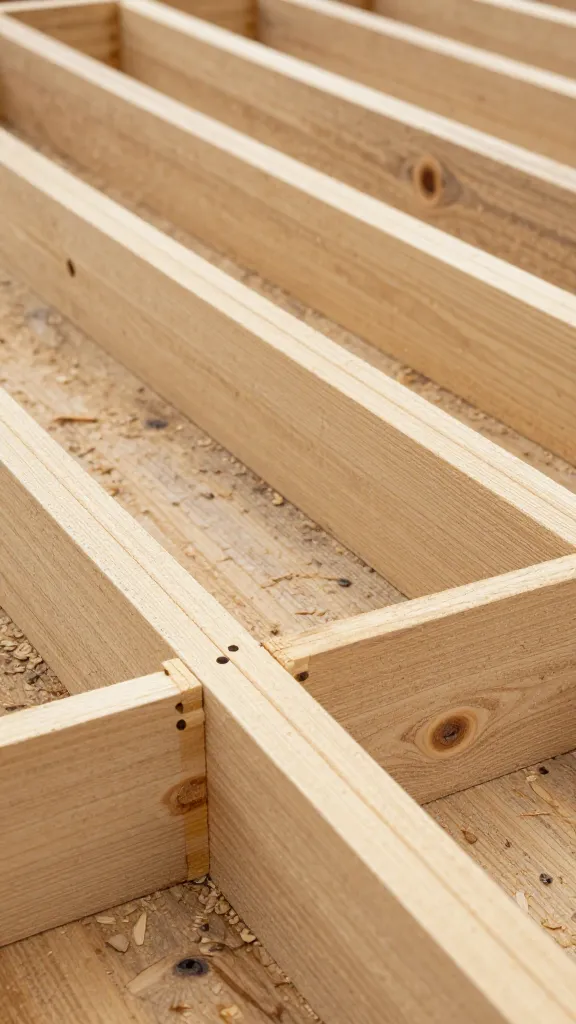
Use a footprint that matches your flock size, then all the quantities downstream make sense. For 6–8 standard hens, plan a 4×8 coop (32 sq ft) with a 6-foot interior height, paired with a 6×12 covered run (72 sq ft). This meets the common yard standard of 4 sq ft per bird indoors and 10–12 sq ft per bird in the run, with headroom for a human to rake without stooping. Frame at 16 inches on center, set your roosts at 36–42 inches high, and give yourself a 24-inch-wide people door and a 12×14 pop door for the birds. A simple shed roof at a 3:12 pitch (front wall 6’6″, back wall 6’0″) sheds water and keeps cuts straightforward.
Chicken Coop Materials List — Quantities You Can Load Once
- Lumber (framing)
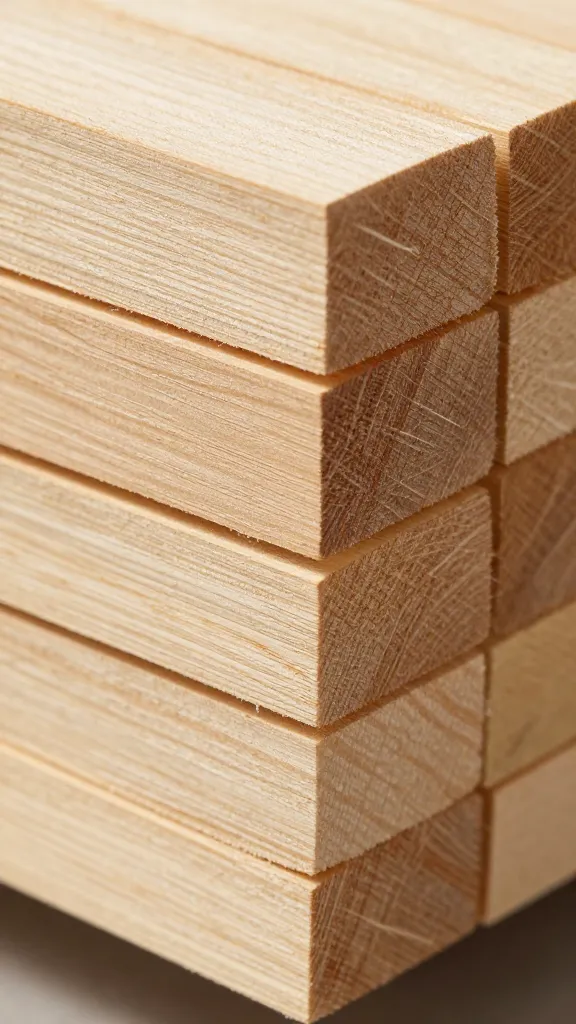
– 2x4x8 SPF studs: 40 (walls, floor joists, roof rafters)
– 4x4x8 PT posts: 10 (run posts, corner reinforcement)
– 2x6x8 PT: 6 (coop floor perimeter and joists if you want stiffer decking) - Sheet goods
– 3/4-inch exterior plywood: 3 sheets (coop floor, cut to 4×8)
– 1/2-inch exterior plywood: 7 sheets (sheathing walls and gable ends) - Exterior cladding (choose one)
– 7/16-inch primed exterior siding panels: 6 sheets
– or 1×10/1×12 pine/fir boards: 350 linear feet - Roofing
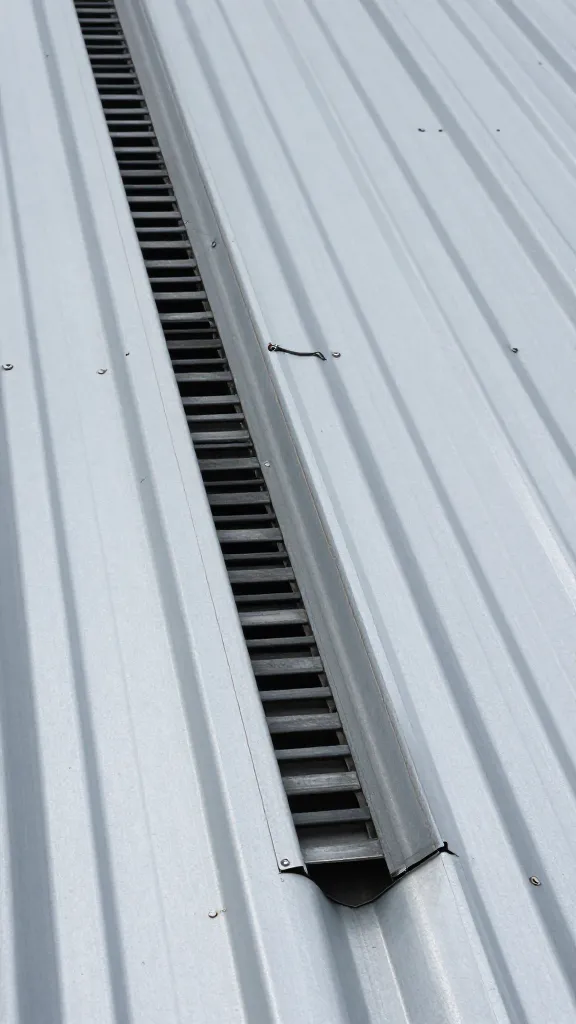
– Corrugated metal panels, 26–29 gauge: 6 panels at 8 feet
– Closure strips and butyl tape: 1 pack each
– Drip edge: 40 linear feet
– Roofing screws with neoprene washers: 150 - Fasteners & hardware
– Exterior deck screws, #9 x 3-inch: 10 lbs
– Exterior screws, #8 x 1-5/8-inch: 5 lbs
– Galvanized framing nails (if nailing): 5 lbs
– 3-inch structural screws/lag screws for ledger/post ties: 1 lb
– Construction adhesive (exterior): 6 tubes
– Galvanized joist hangers for 2×4/2×6: 18
– Heavy-duty strap hinges (people door): 2
– Medium strap hinges (pop door): 2
– Barrel bolt or slide bolt (interior pop door): 1
– Two-step latches for exterior doors (e.g., hasp + carabiner or keyed lock): 3 - Predator-proofing
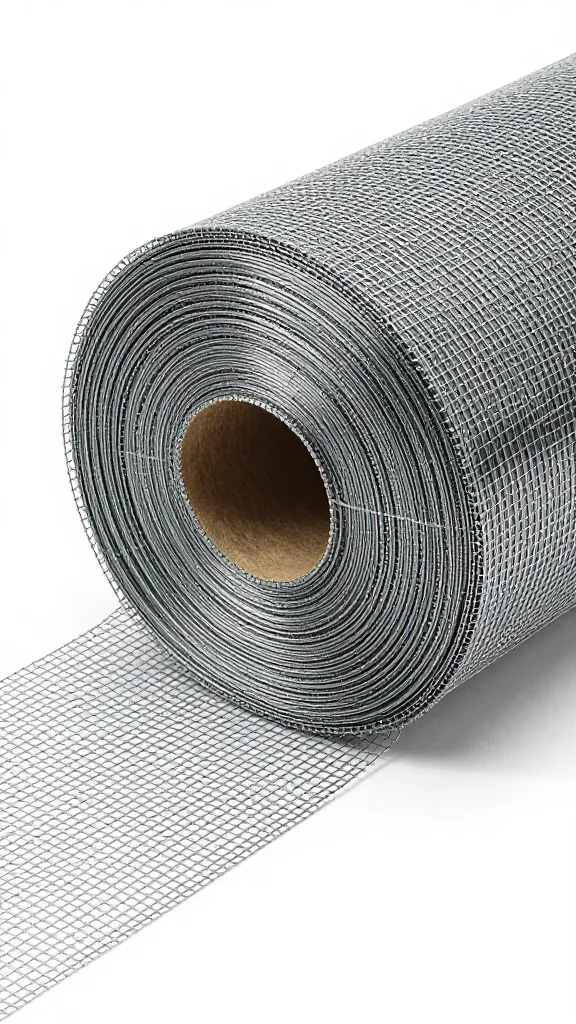
– Hardware cloth, 1/2-inch, 19-gauge, galvanized: 100 feet x 4-foot roll (run walls, vents)
– Hardware cloth, 1/2-inch, 19-gauge: 50 feet x 2-foot roll (soffits, small vents)
– Galvanized poultry staples/U-nails: 2 lbs
– Exterior screws with fender washers for mesh: 200 - Foundation & flooring
– Concrete deck blocks or pavers: 12
– 3/4-inch crushed gravel: 0.5 cubic yard
– Vinyl sheet flooring, thick garage-grade: 1 roll (6×8) or 1 gallon exterior floor paint with grit - Ventilation & openings
– Soffit vents (continuous strip): 32 linear feet
– Hinged window frames (DIY from 1x3s) with polycarbonate sheet: as needed to total 4 sq ft of vent openings - Run covering
– Corrugated metal/polycarbonate for 1/2 the run roof: 4 panels at 12 feet
– Additional hardware cloth for remaining run top: included above - Interior fit-out
– 2x4x8 for roost bars and cleats: 6
– 1×6 or plywood for droppings board: 2 sheets 1/2-inch
– Nesting boxes (build): 1/2-inch plywood: included above; or pre-made buckets: 4–6
– Litter dam boards (1×6): 16 linear feet - Weatherproofing & finish
– Exterior primer: 1 gallon
– Exterior paint or solid-color stain: 1–2 gallons
– High-quality exterior caulk (paintable): 6 tubes - Optional but wise
– Automatic pop door opener (timer or light-sensing): 1
– Gutter and downspout for roof edge: 12 linear feet
– Snow/ice guards if in snow country: as specified per panel
Cost Breakdown — What to Budget and Where to Spend
For a 4×8 coop with a 6×12 covered run, expect a total of $1,200–$1,900 at big-box pricing. Lumber and mesh drive the total; roofing and hardware make the difference between a season and a decade.
- Lumber and sheet goods: $450–$700 (seasonal swings are real)
- Roofing (metal panels, screws, drip edge): $180–$300
- Hardware cloth (1/2-inch, 19-gauge): $250–$400
- Fasteners, hinges, latches: $120–$200
- Foundation materials (blocks, gravel): $60–$120
- Paint, primer, caulk, adhesive: $100–$180
- Windows/vents (DIY polycarbonate): $40–$90
- Optional auto door, gutter, extras: $150–$300
Trim the budget by using exterior plywood + paint instead of fancy siding, and by sheathing the run top with mesh plus a partial solid roof rather than fully roofing it. Do not “save” by dropping to chicken wire or lighter than 19-gauge hardware cloth — that’s not a savings, it’s a scheduled loss.
Cut List and Framing — What Gets Cut From What

Keep cuts clean and repetitive to reduce waste. Frame all walls with 2x4s at 16 inches on center; double top plates and single bottom plates. Rafters are 2x4s at 24 inches on center for a light metal roof at a 3:12 pitch.
- Floor frame (2×6 PT recommended): perimeter 2 @ 96 inches, 2 @ 45 inches; joists 5 @ 45 inches
- Wall plates (2×4): 4 @ 96 inches top, 4 @ 96 inches bottom
- Studs (2×4): 24 @ 72 inches (cut from 8-footers)
- Door framing (2×4): king/jack studs 4 @ 72 inches; header 1 @ 33 inches (2×4 on flat with 1/2-inch ply spacer)
- Pop door frame (2×4): 2 @ 18 inches, 2 @ 16 inches
- Rafters (2×4): 8 @ 50 inches (birdsmouth as needed)
- Roost bars (2×4 on flat): 2 @ 72 inches
- Droppings board (1/2-inch ply): 1 @ 24×72 inches
- Nesting box bank (1/2-inch ply): cut to create 4–6 boxes at 12x12x12 inches
Assembly Sequence — The Order That Saves Time and Screws
- Foundation and floor: Set 12 deck blocks on compacted 3/4-inch gravel. Level, then build the floor frame; sheath with 3/4-inch exterior plywood. Seal edges and lay vinyl sheet flooring or roll on two coats of exterior floor paint with grit.
- Walls: Frame four walls at 16 inches on center, include door and window openings. Sheath with 1/2-inch exterior plywood; stand them, plumb, and screw into the floor. Add a double top plate and tie corners with structural screws.
- Roof: Set rafters at 24 inches on center, add a 1×4 purlin grid if your roofing requires it. Install drip edge, closure strips, then corrugated metal with roofing screws and neoprene washers every crest at 12 inches.
- Ventilation: Cut continuous eave openings to yield a minimum of 8 sq ft of ventilation (target is 1 sq ft per 10 sq ft of floor area in mild climates; more in heat). Cover all vents with 1/2-inch, 19-gauge hardware cloth secured by screws and fender washers at 6 inches spacing.
- Cladding and paint: Hang siding or exterior boards; leave 1/2-inch gap off the floor and seal with caulk. Prime and paint all faces, including cut ends.
- Doors and hardware: Build a 24×60-inch people door; hang with 2 heavy strap hinges. Install a 12×14-inch pop door that slides or swings; use a two-step latch outside and a bolt inside.
- Run frame: Set 4×4 posts at corners and every 6 feet along the 6×12 perimeter, buried 18–24 inches and tamped, or mount to anchors. Tie with 2×4 top and mid rails.
- Run roof and mesh: Roof at least 1/2 the run with corrugated panels; mesh the remaining top with 1/2-inch hardware cloth. Skin all run sides with 19-gauge, 1/2-inch hardware cloth from roof to soil line.
- Predator apron: Extend hardware cloth out from the run perimeter a full 24 inches, lay flat on grade, and pin with landscape staples every 12 inches. Backfill with soil or gravel.
- Interior: Mount roost bars at 36–42 inches, 12 inches from walls, and at least 12 inches apart if you run two. Install a droppings board under the main roost. Set 4–6 nesting boxes at 12x12x12 inches, mounted 18–24 inches high and lower than the roost.
Where to Spend, Where to Save — Fail Points and Fixes

Spend on mesh, roofing, and latches. Use 1/2-inch, 19-gauge hardware cloth for every opening and the run, and attach with screws and fender washers at 6 inches — staples alone pull free. Choose metal roofing at 26–29 gauge over shingles; it sheds water, lasts longer, and is lighter on a small structure. Use latches that require two actions to open and mount them at 48 inches off grade to slow raccoon reach.
Save by using exterior plywood + paint instead of pricier siding, and by building nesting boxes from scrap 1/2-inch ply rather than buying plastic units. Skip interior drywall, insulation, and vapor barriers; in small coops they trap moisture and cause frost issues. The raccoon does not care what color you paint it.
Chicken Coop Materials List Tweaks for Climate and Codes

Hot climates need more open area: aim for 1–1.5 sq ft of vent per 10 sq ft of floor, add a 24×24-inch gable vent on the leeward side, and run a full-length ridge vent covered in hardware cloth under the metal ridge cap. Cold climates keep the same vent numbers but place them high, above roost level, with a solid north wall and wind baffle; prioritize a tight building envelope and dry litter over adding heat. Snow zones increase roof pitch to 4:12 or 6:12, add more rafters at 16 inches on center, and verify local load requirements. Always confirm setbacks, height limits, and bird counts with your municipality before you sink posts.
Time, Tools, and Help — Realistic Build Window
Plan for 16–24 hours of build time for one competent person, spread over a weekend and an evening or two; add 6–8 hours for painting and mesh work. A second set of hands saves 3–5 hours during wall raising, roofing, and mesh tensioning. Tools: circular saw, drill/driver, impact driver, speed square, level, staple gun, aviation snips for mesh, metal-cutting blade or shears for roofing, and PPE (gloves, eye protection, ear protection). Pre-prime siding panels laid flat the night before — it dries, you sleep, the next morning goes faster.
The One Mistake That Forces a Rebuild

Undersized or misplaced ventilation ruins good carpentry. Too little venting, or vents at roost height, means condensation, frostbite at 20°F, and ammonia at any temperature. The fix is specific: create at least 8 sq ft of high vents in this 4×8 plan, all covered in 1/2-inch, 19-gauge hardware cloth, and keep every opening above roost level; then seal every crack below with caulk. I once rebuilt a roof edge because I left a pretty gap instead of a protected vent — pretty gaps make sick birds.
Frequently Asked Questions
How much does a chicken coop cost to build for 6–8 hens?
Budget $1,200–$1,900 for a 4×8 coop with a 6×12 covered run using 2x framing, 1/2-inch, 19-gauge hardware cloth, and metal roofing. Lumber pricing and mesh quality drive the range, with roofing and hardware next. If space is tight, keep the coop at 4×6 and expand the run; you can shave $150–$300 that way without compromising safety.
What should be on a Chicken Coop Materials List to be predator-proof?
You need 1/2-inch, 19-gauge hardware cloth for all openings, a 24-inch hardware cloth apron around the run, and two-step latches on every door. Attach mesh with screws and fender washers at 6-inch spacing and bury or lay the apron flat and pin every 12 inches. If you already framed the run, add a mid-rail so mesh edges land on wood, not mid-air.
How much ventilation should a 4×8 coop have?
Provide at least 8 sq ft of high, draft-free ventilation year-round in a 4×8 coop, split across eaves and gables. This keeps moisture and ammonia from building up and prevents frostbite while avoiding direct roost-level drafts. In hot zones, increase to 10–12 sq ft and use shade plus a partial open wall protected with hardware cloth.
Can I use chicken wire instead of hardware cloth to save money?
No — use 1/2-inch, 19-gauge hardware cloth for every predator-facing surface. Chicken wire keeps chickens in but does not keep raccoons or dogs out; they tear it or reach through the large openings. If budget is tight, reduce decorative cladding or shorten the run roof coverage, but never downgrade the mesh.
What size screws and how many will I need for a coop this size?
Plan on 10 lbs of #9 x 3-inch exterior deck screws for framing and 5 lbs of #8 x 1-5/8-inch for sheathing and trim. Add about 200 exterior screws with fender washers for mesh attachment and 150 roofing screws with neoprene washers. If you substitute nails for framing, keep a 5-lb box of galvanized 8d/10d and still use screws at stress points.
Build the Cart Before the Coop
Frame at 16 inches on center, skin with exterior plywood, cover every opening with 1/2-inch, 19-gauge hardware cloth, and budget for metal on top — that’s the whole build in one line. Tonight, start your materials list with the mesh: add a 100-foot x 4-foot roll and a 50-foot x 2-foot roll of 1/2-inch, 19-gauge hardware cloth to your cart, then count how many fender washers you have; you’ll need about 200.
— do it right once.