How to Build a Chicken Coop from Scratch
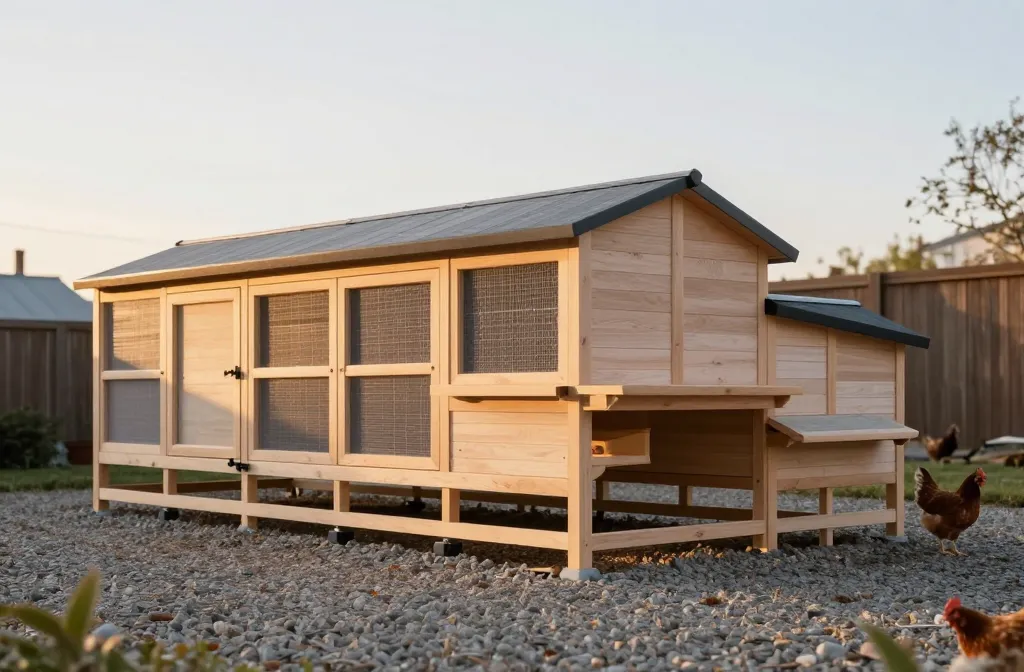
It starts in the hardware aisle at 7 a.m., staring at two stacks of 2x4s and realizing the math on your sketch doesn’t match the pile on the cart. This is how to build a chicken coop from scratch without a mid-project do-over: the footprint, the cuts, the predator-proofing, and the small details that keep eggs clean and birds healthy. Follow these dimensions and materials and you will end with a dry, draft-free coop that vents well, resists raccoons, and cleans in under 10 minutes. You’ll also know where people overspend and where you never, ever cheap out.
Plan the Footprint, Capacity, and Site
Size the coop for 4 sq ft per standard hen inside the coop and 10 sq ft per hen in the run; bantams do well at 3 sq ft inside, heavy breeds want the full 4 (or 5 in snow country). A practical backyard build for six hens is a 6×4 coop (24 sq ft) on skids with an attached 6×10 run (60 sq ft). Choose high ground that drains, with the long wall facing south or east; avoid low, soggy corners that become ammonia traps in January. Allow at least 3 ft of clearance on two sides for maintenance — if you can’t swing a shovel and push a wheelbarrow, you won’t clean it.
Ventilation is non-negotiable: plan for 1 sq ft of permanent ventilation per 10 sq ft of floor area, placed high above roost height and protected with 1/2-inch, 19-gauge galvanized hardware cloth. Sketch the layout to scale: door locations, window openings, roost line, and nesting box wall. One last siting check before you dig: confirm setbacks and flock limits with your municipality and any HOA; it takes 5 minutes and avoids a tear-down later.
Materials and Cost — What to Buy, and What Gauge Matters
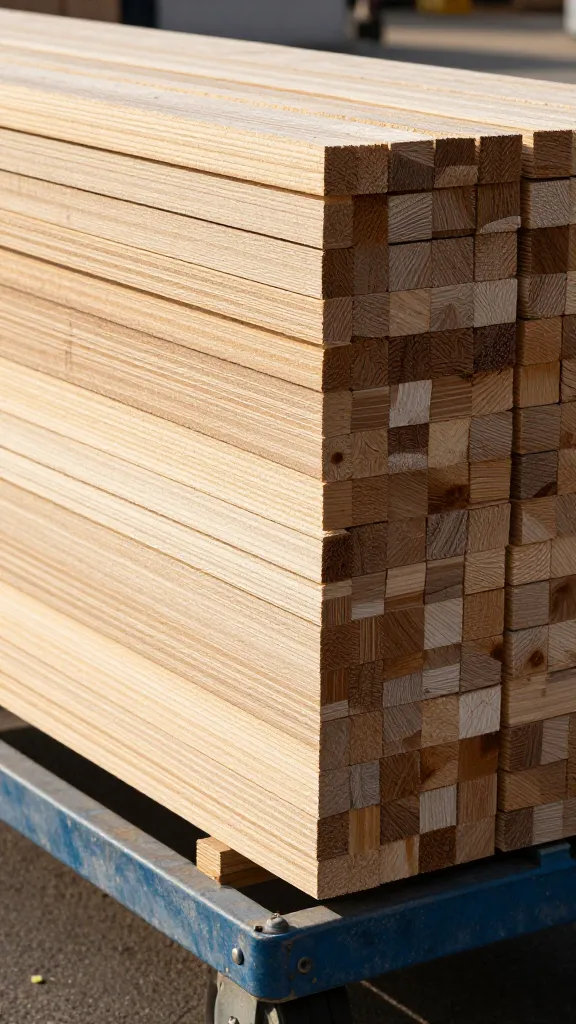
Build with standard lumber and exterior-rated fasteners. Pressure-treated where wood contacts soil; kiln-dried SPF for frames and sheathing. Predators dictate the metal spec, not the budget line.
- Lumber
- 2×4 studs, 8 ft: 28 pieces (framing walls, roof, run)
- 2×6, 8 ft: 6 pieces (skids/floor joists if raised)
- 3/4-inch exterior plywood: 2 sheets (floor)
- 1/2-inch exterior plywood or OSB: 6 sheets (walls/roof sheathing)
- 1×4 trim, 8 ft: 6 pieces (vent baffles, facia, drip edges)
- Wire & Metal
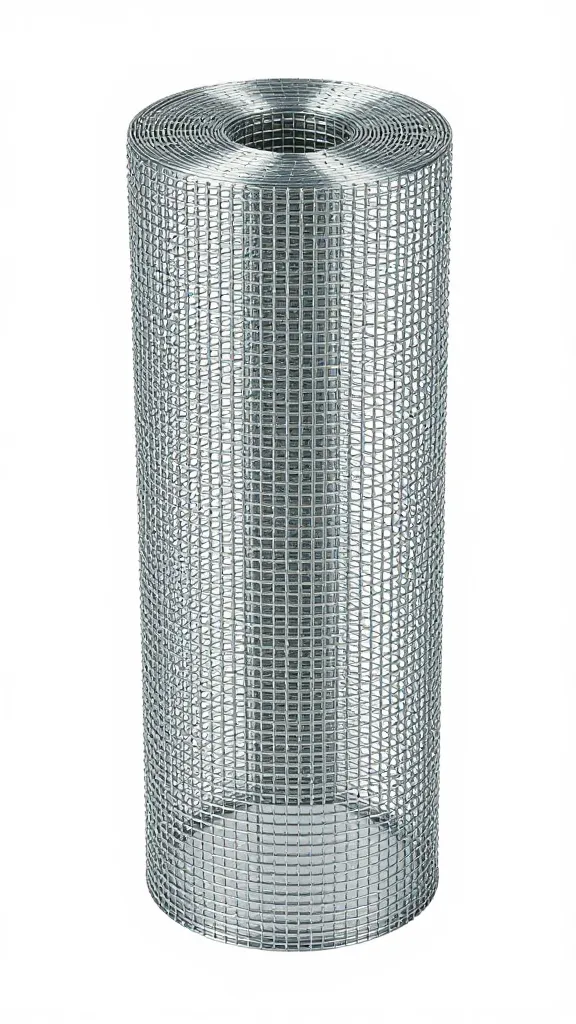
- 1/2-inch hardware cloth, 19-gauge, 36-inch wide: 50 ft (vents, windows)
- 1/2-inch hardware cloth, 19-gauge, 48-inch wide: 100 ft (run sides)
- Galvanized welded wire or hardware cloth, 19-gauge, 24-inch wide: 50 ft (predator apron)
- Roofing: asphalt shingles or corrugated metal to cover ~80 sq ft, plus appropriate underlayment
- Drip edge flashing: 40 linear ft
- Fasteners & Hardware
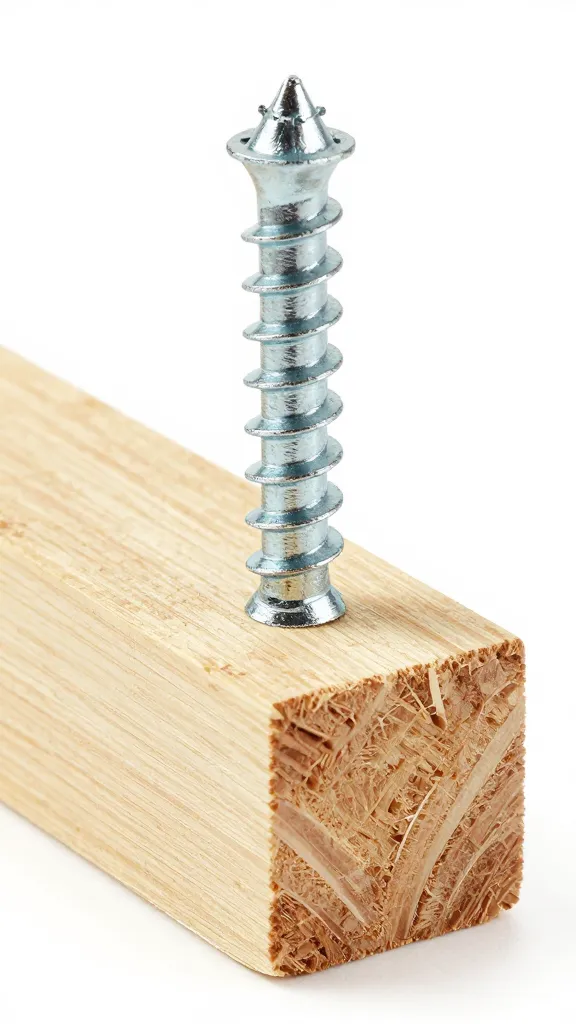
- Exterior screws, #9 x 3 inch: 5 lb box
- Exterior screws, #8 x 1-5/8 inch: 2 lb box
- Galvanized poultry staples or 1-inch washer-head screws for wire: 1 lb
- Construction adhesive (exterior): 2 tubes
- Heavy hasp and two lockable, spring-loaded barrel latches per door
- 3 heavy-duty hinges per door
- Coatings & Floor
- Exterior primer + paint or stain: enough for 250 sq ft
- Sheet vinyl or pond liner scrap: 1 piece 6×4 (floor topper)
- Silicone or polyurethane exterior sealant: 2 tubes
- Interior
- 2×4 for roosts: 2 pieces at 6 ft
- Plywood for nesting boxes: 1 sheet 1/2-inch
- Hardware for removable roost brackets: 4 angle brackets
Expect to spend in the mid-three figures for a 6×4 coop with a 6×10 run using 19-gauge hardware cloth and a shingled roof; metal roofing typically adds a modest premium but lasts longer. If a quote seems suspiciously low, it usually hides lighter 23-gauge mesh that a raccoon can bend.
Cut List and Framing the Base
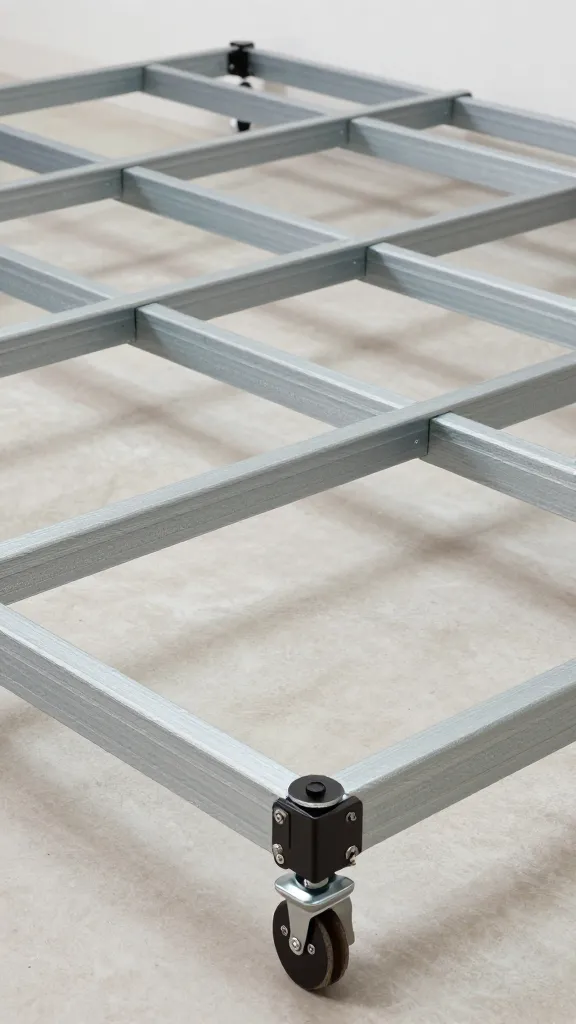
Decide on grade contact. Raised floors stay drier and deter rats. For the 6×4 raised coop:
- (2) 2×6 @ 72 inches (front and back joists)
- (4) 2×6 @ 45 inches (sides and mid-joists)
- (4) 4×4 posts @ 18 inches (legs) or sit on concrete blocks
- (2) 3/4-inch plywood @ 48×36 inches each (floor halves)
- Assemble a 6×4 rectangle with 2x6s; add two 2×6 joists at 16 inches on center. Screw with 3-inch exterior screws; glue all plywood-to-joist faces.
- Level on concrete blocks or set 4×4 legs in 12-inch deep tamped gravel holes. Aim for the finished floor to sit 18-24 inches off grade for shovel access and airflow.
- Lay 3/4-inch plywood floor, stagger seams, glue, and screw every 8 inches. Cap with sheet vinyl trimmed tight and sealed along edges with exterior sealant; this turns cleanout into a 5-minute job.
Ground-contact alternative: pressure-treated 4×4 skids under the 2×6 frame work on well-drained sites. Never set non-treated lumber directly on soil.
Walls, Openings, and the Roof Structure
Frame four walls from 2x4s at 16 inches on center. Front wall height: 72 inches, back wall: 60 inches to create roof pitch for runoff and headroom. Include headers for doors and windows using 2x4s flat; this is a small structure — keep it simple but square.
Openings to frame now:
- Human door: 24×60 inches minimum for a 6×4; wider if you want a wheelbarrow passthrough.
- Pop door: 10-12 inches wide x 12-14 inches tall, centered 6 inches above the finished floor to keep bedding in.
- Windows/vents: high on the walls, continuous strip vents at the top of the long walls totaling at least 2.4 sq ft for a 24 sq ft floor (1 sq ft per 10 sq ft floor). Back this with 19-gauge, 1/2-inch hardware cloth tight to the framing.
Skin the walls with 1/2-inch exterior plywood or OSB. Leave the pop-door opening clean; cut window and vent openings with a jigsaw after sheathing so the mesh can sit behind trim and shed water. Add corner braces if your framing racked while sheathing — it happens one time to everyone.
Roof framing: set two end gables with 2×4 rafters at a low pitch (3:12 to 4:12) or use simple sloped rafters front-to-back. Overhang eaves 8-12 inches to throw water clear of walls and vents. Sheath with 1/2-inch panels, add underlayment, then shingles or metal roofing. Install drip edge flashing at eaves and rakes.
Predator-Proofing the Coop and Run

Every opening smaller than a fist gets 1/2-inch, 19-gauge hardware cloth fastened with screws and washers every 4 inches. Staples alone loosen over seasons. Doors get two different latches each (a spring-loaded latch plus a hasp with carabiner or padlock); raccoons test latches until one gives.
Build the run at least 6 ft tall in front for your back and to allow winter tarps. Frame with 2x4s, skin with 19-gauge hardware cloth, not lightweight garden net. Bury a predator apron: attach 24 inches of hardware cloth around the run base, laying it flat outward at ground level and pinning it with landscape staples every 12 inches, then cover with 2 inches of soil or gravel. This stops diggers without digging a trench.
Roof the run with rigid panels or at least wire plus a solid snow-load plan; aerial predators learn schedules. If snow is common, set a 2×4 ridge and pitch panels so they shed rather than sag. Hardware cloth edges should cap under 1×4 battens to prevent sharp snags and to lock mesh from peeling.
Ventilation, Moisture Management, and Winter Setup
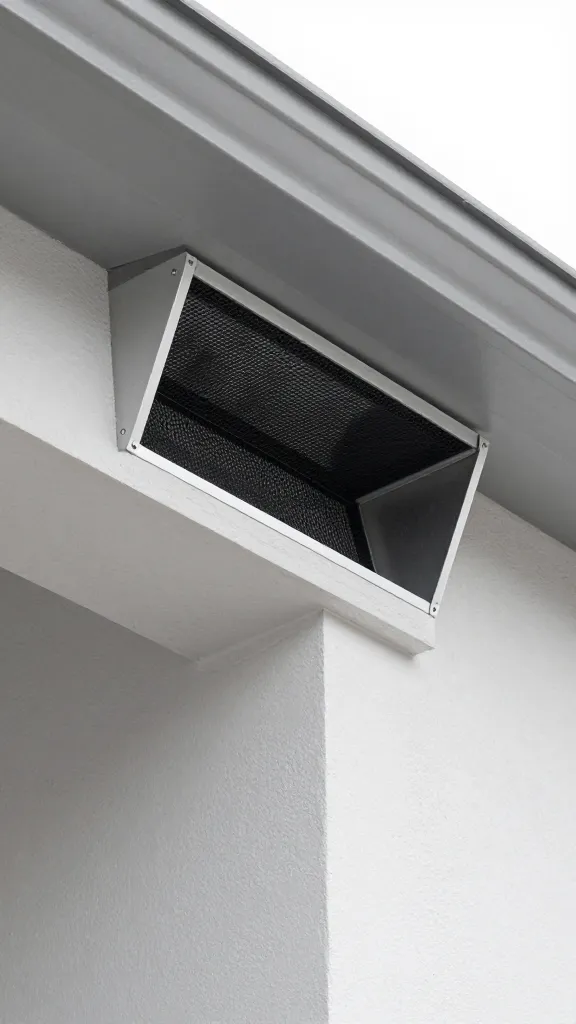
Keep vents open year-round. Place continuous slots under the eaves totaling the earlier 1 sq ft per 10 sq ft of floor, plus operable side vents for summer. Shield vents with exterior baffles or deep eaves so rain doesn’t blow in; the air should move above roost height, not on the birds. Ammonia burns at nose level in still air, not because a draft offended a hen’s sensibilities.
Flooring: vinyl-topped plywood with 3-4 inches of pine shavings works in most climates; add more in winter to absorb and insulate. Deep litter is a valid method in dry, cold climates if you commit to stirring weekly and adding carbon; skip it in humid areas. Provide a covered, dry run section so birds are not forced to live on wet ground — a 6×4 rain roof panel over one run bay is enough for small flocks.
Roosts, Nesting Boxes, and Interior Layout

Roosts: use 2×4 laid flat with the wide side up so feet are fully supported, preventing frostbite in cold snaps. Allow 10-12 inches of roost length per hen, mounted 36-42 inches off the floor, all bars at the same height to prevent ladder-fighting. Place roosts away from vents’ direct line and at least 12 inches from the wall to keep tails off plywood.
Nesting boxes: one box per four hens, each 12x12x12 inches. Mount the box lip at 18-24 inches off the floor and below the lowest roost bar, with a 4-inch front to keep bedding in. Position boxes on the darkest wall; add a simple hinged lid for egg collection if the coop layout demands it. Keep 3-4 inches of clean, dry nesting material; change weekly or when soiled.
Feeder and waterer: hang or mount them so the lip is at the birds’ shoulder height — roughly 8-12 inches depending on breed — and keep at least 18 inches clear beneath roosts to avoid a nightly manure shower. In freezing climates, plan a cord grommet and a GFCI-protected outlet for a heated water base.
Doors, Finishing, and Weatherproofing
Build the human door from 2x4s and sheathing or use a prehung exterior slab trimmed to fit. Weatherstrip the jamb lightly; the goal is draft-free at bird level, not airtight. The pop door can be a vertical slider or side-hinged panel sized to your opening specs; add a 1-inch exterior stop to close against, and set the latch high enough that bedding doesn’t foul it.
Prime all cut edges and faces with exterior primer, then two coats of exterior paint or solid-color stain. Seal horizontal seams and trim joints with polyurethane sealant. Paint or stain inside walls to a washable finish; it adds one afternoon now and saves many later. Install gutters if a roof edge dumps water at your run gate — mud by the entrance becomes ice at exactly the wrong time.
Build Sequence — From First Screw to Last Latch
- Square and level the base; install the floor and vinyl topper.
- Frame walls with all openings; stand and plumb; tie corners.
- Sheathe walls; cut out windows, vents, and doors; install roof framing.
- Sheathe roof; add underlayment and roofing; install drip edge.
- Mesh all vents and windows with 1/2-inch, 19-gauge hardware cloth; batten edges.
- Hang doors; install two latches per door; confirm smooth close.
- Build the run; skin with 19-gauge hardware cloth; add the 24-inch predator apron.
- Install roosts, nesting boxes, feeder, and waterer; lay 3-4 inches of bedding.
- Prime, paint, seal; install gutters or splash blocks as needed.
- Test: sit inside at dusk; check for light at seams at bird level and for airflow above roosts.
The Common Mistakes That Cost a Rebuild

Undersized ventilation: a 6×4 coop needs roughly 2.4 sq ft of vent area, year-round, above roost height. People fear drafts and then fight respiratory issues all winter. Next is weak wire: 23-gauge “hardware cloth” and hex chicken wire bend under a raccoon’s weight; use 19-gauge 1/2-inch mesh for every predator-facing surface.
Door hardware is where clever raccoons graduate. Use two different latch types per door and set them at different heights. Mounting roosts above nesting boxes invites nightly sleeping in the boxes; keep roosts higher and boxes darker. And never place the pop door under a roof dripline unless you enjoy chiseling ice at 6 a.m.
Frequently Asked Questions
What size should a chicken coop be for 6 chickens?
Plan for at least 24 sq ft inside (4 sq ft per hen) and a 60 sq ft run (10 sq ft per hen). That’s a 6×4 coop with a 6×10 run. In snowy or very wet climates, bump the run to 12 sq ft per hen so birds can stay active when weather pins them in.
How to build a chicken coop from scratch on a budget?
Spend on 19-gauge, 1/2-inch hardware cloth and solid latches, then simplify finishes. Use a 6×4 footprint, asphalt shingles over underlayment, and exterior paint you already own. Reuse framing lumber only if it’s straight, dry, and untreated for interior parts; never reuse wire lighter than 19-gauge where predators can test it.
How much ventilation does a chicken coop need?
Provide 1 sq ft of vent area per 10 sq ft of floor, placed above roost height and covered with 1/2-inch, 19-gauge mesh. For a 6×4 coop (24 sq ft floor), that’s about 2.4 sq ft split across high eave vents and a gable opening. In hot climates, add operable side vents for summer while keeping the high vents always open.
How high should roosts be in a backyard coop?
Mount roosts at 36-42 inches off the floor with 2x4s laid flat. Keep 10-12 inches of roost length per hen and place bars at the same height to reduce squabbles. If headroom is tight, drop to 24 inches but keep nests lower than roosts to prevent sleeping in boxes.
Do I need a predator apron around the run?
Yes — install a 24-inch wide hardware cloth apron, attached at the base of the run and laid flat outward under 2 inches of soil. This stops foxes, dogs, and raccoons from digging in at the edge. If you already poured a slab edge, tie the apron to anchors set in the concrete and cover with gravel.
Build the First Panel This Weekend
Four square feet per bird inside, 10 outside, 1 sq ft of vent per 10 sq ft of floor, 1/2-inch 19-gauge mesh on every opening — that’s the backbone of a safe, dry coop. Tonight, buy and cut the 2x4s for a single 6-foot wall section and pre-drill the stud layout at 16 inches on center; tomorrow you’ll stand a straight, square panel in 20 minutes.
— do it right once.