Dog House to Chicken Coop Conversions

I dragged a sun-faded plastic dog house out from behind the garage on a 92°F Saturday, set it on two cinder blocks, and realized the roof didn’t open unless you had the wrist strength of a rock climber. Dog House to Chicken Coop Conversions sound simple, but that afternoon I learned chickens need ventilation and I needed a better plan than “cut a hole and hope.” I made the conversion work for 4 pullets in my first season, and I’ll show you exactly what I did, what it cost, and the two mistakes that sent me back to the store. If you’re staring at a dog house and a small budget, I’ll help you turn it into a safe starter coop without gambling on your birds.
What I Paid and What I’d Budget

- Used large dog house (plastic shell), 1 — $0 from a neighbor; I see them locally for $20–$60.
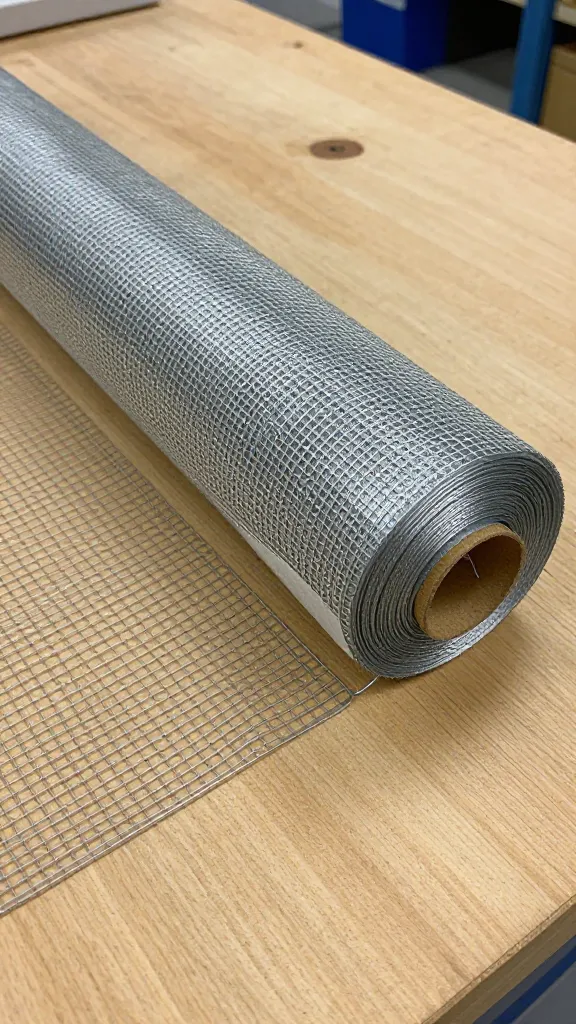
- Half-inch hardware cloth, 25-foot roll — $45–$70 depending on gauge and region.
- Exterior screws, washers, and small box of rivets — $12–$20.
- Hinges and latch for roof or access door — $10–$18.
- 2×3 studs or furring strips, 3–4 pieces — $12–$24.
- Corrugated roof offcut or scrap panel (optional rain hood) — $0–$20.
- Vinyl floor remnant or peel-and-stick tile — $5–$15.
- Exterior caulk and a small can of exterior paint (if wood add-ons) — $10–$25.
- Concrete blocks, 4 — $8–$16.
- Hardware for a small pop door (handle, additional latch) — $6–$12.
Total I spent: $113 (free dog house, $54 hardware cloth, $14 fasteners, $14 hinges/latches, $11 blocks, $10 floor remnant, $10 odds and ends). Buying the dog house would have put the total around $140–$180 in my area.
What a Dog House Coop Can Safely House
I tried to squeeze 6 birds into a jumbo plastic dog igloo because the listing said “XXL.” That lasted 3 nights before the top hen started sleeping wedged in the doorway like a bouncer. Usable floor space beats “size labels.” My shell measured 36″ x 30″ inside — about 7.5 sq ft on the floor and 12–14 cu ft of air. That comfortably housed 3–4 standard hens in mild weather if they had a decent attached run; more than that and you’ll see pecking and damp bedding. If your dog house is smaller (under 30″ x 24″), think 2 bantams or 2 very docile standards with a roomy run, or skip the idea.
How I Converted the Shell Without Ruining It

My first cut was the worst one: I made a square too low on the side and turned a future roost zone into a permanent draft. Here’s the order that worked on attempt two and saved me from buying a second roll of hardware cloth.
- Raise it and level it. I set the house on 4 concrete blocks (about 8″ high) to keep splash-back off the shell and to discourage gnawing. Cost: $11. I checked level with a $4 torpedo level so the pop door wouldn’t rub.
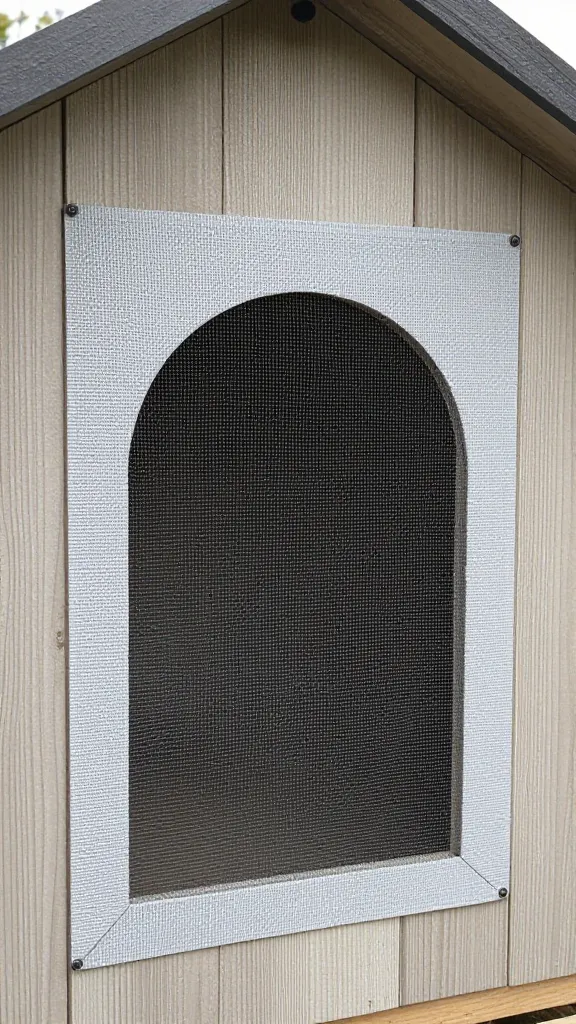
- Plan the airflow first. I marked two 4″ x 10″ vents up high, on the leeward sides near the “eaves” line. High vents exhaust ammonia and steam; low holes become winter wind. I cut with a fine-tooth jigsaw blade and a slow hand.
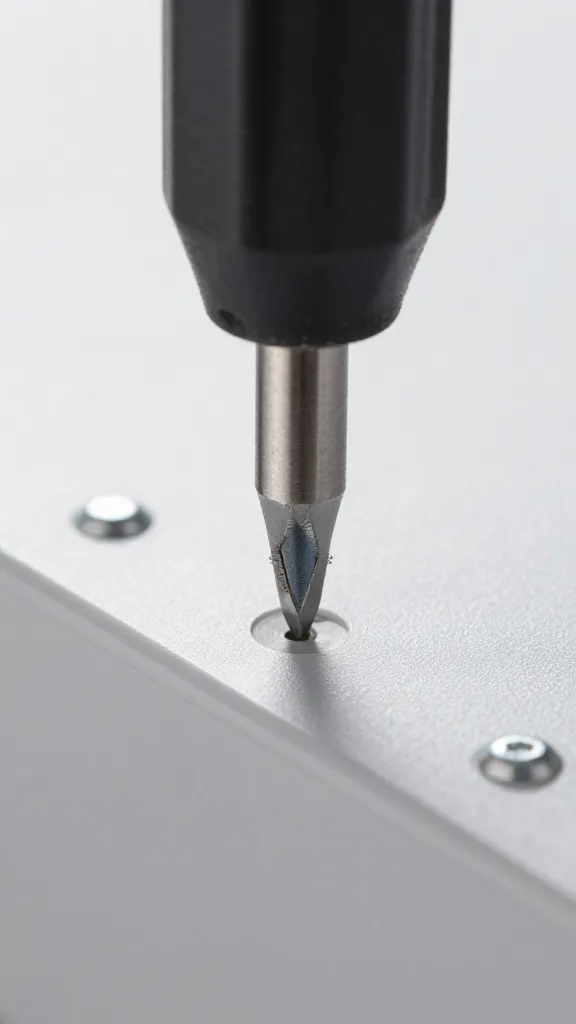
- Back the cuts with wood. Plastic flexes. I screwed 1×2 backing strips inside the shell around each vent so I could sandwich the hardware cloth with washers outside and short screws inside.
- Hardware cloth the vents (not chicken wire). I cut the cloth with tin snips, leaving 1″ extra all around. Washers on every screw so raccoons can’t pry it. Cost line item: $54 for the 25′ roll and I had leftovers for the run.
- Cut a pop door above floor level. I made a 9″ x 12″ opening on the long side, with the bottom of the hole 4″ above the interior floor to hold bedding in. I framed the cut with furring strip both sides and hung a plywood flap door with 2 hinges and a locking hasp. Cost: $14 in hardware.
- Add an access roof or side panel. My roof didn’t open. I cut along a molded seam to create a lift-up panel and added a piano hinge and a prop stick. If your model snaps together, you can convert those snaps into a hinge with bolts and washers.
- Flooring for sanity. Bare plastic is slick; droppings weld on. I pressed in a vinyl floor remnant and ran a bead of exterior caulk around the edges. Cost: $10–$15. Now a 5-minute scrape cleans it.
- Add a rain hood to the pop door. I fastened a 10″ x 18″ scrap of corrugated panel over the opening with 1″ standoffs so weather sheers off. Cost: $0–$20.
I kept the original “dog door” molded opening closed with a screwed-on panel from scrap plywood lined with hardware cloth — set high enough not to draft the birds on the roost.
Roosts and Nesting in Tight Quarters

My first roost was a broom handle zip-tied to the walls. The lead hen rolled off it like a log the first night. Round, skinny perches hurt feet and make for poor sleep. I cut a 2×3 to the interior width and mounted it the “wide” side up, about 12″ off the floor and 6″ from the back wall. For 3–4 hens, a single 24–30″ roost is plenty. If your roof arcs, set blocks or brackets so the roost sits level even if the wall curves. Cost: $4–$8 in lumber and screws.
Nesting: putting a nest box inside this footprint ate all the floor space. I tried a 12″ cube milk crate screwed inside, and by day 3 everyone was trying to sleep in it. I moved the nest outside as a bolted-on box over a cutout with its own hinged lid. That gave me eggs without kneeling in shavings, and the interior became roost and feeder only. If you’re staying inside, use just 1 low nest for 3–4 hens and block it at night for the first week to break the “sleep in the nest” habit.
Predator-Proofing a Plastic Shell
I learned the hard way that plastic stops rain, not teeth. On night 6 a raccoon pulled at the pop door and found the weak point: my single cheap hook-and-eye. I woke up to muddy prints and a bent latch but no losses, because the door still held against the frame. I fixed it the next morning with a hasp and carabiner through the eye and added two latches on opposite corners of the roof panel. I also ran a 12″ hardware cloth skirt around the base, pinned with landscaping staples, then covered with soil and brick scraps. That alone took an extra hour and about $6 worth of staples, and it stopped the digging attempts I saw later.
Do not rely on the factory dog door flap. Replace or back every opening with hardware cloth. If you can flex a gap with two fingers, a raccoon can make it bigger.
Attaching a Run That Actually Works
My first “run” was 10 feet of bargain rabbit fencing zip-tied to garden stakes. The hens walked it flat in 2 days and a neighborhood dog leaned through it like taffy. I rebuilt using two 8′ 2×3 frames with hardware cloth stapled on, forming a 4′ x 8′ run that butted to the pop door. Cost for the basic framed run with cloth and screws ran me $70–$110 depending on wood prices. I added a simple tarp over half for shade and to keep the dog house entry dry. If building a frame isn’t an option this month, at least use half-inch hardware cloth on a short 3–4′ tunnel from the pop door to a sturdier area so you’re not left with “door to nowhere.”
Weather and Ventilation: Summer and Winter

I live where summers hit 90–95°F and winters drop to 20°F a few nights. On hot days, the plastic shell wanted to be a rotisserie. I added two more high vents (same 4″ x 10″) and propped the roof panel 1″ on the downwind side at dusk to purge heat. Shade was mandatory — I parked the whole unit on the north side of my shed. In winter, I sealed the windward vents with removable coroplast covers leaving leeward vents open; moisture management mattered more than absolute air-tightness. With 3–4 hens, bedding stayed dry and there was no frostbite, but I would not attempt this setup for a northern deep-freeze without a larger, better-insulated coop.
When a Dog House Coop Is Not the Right Call
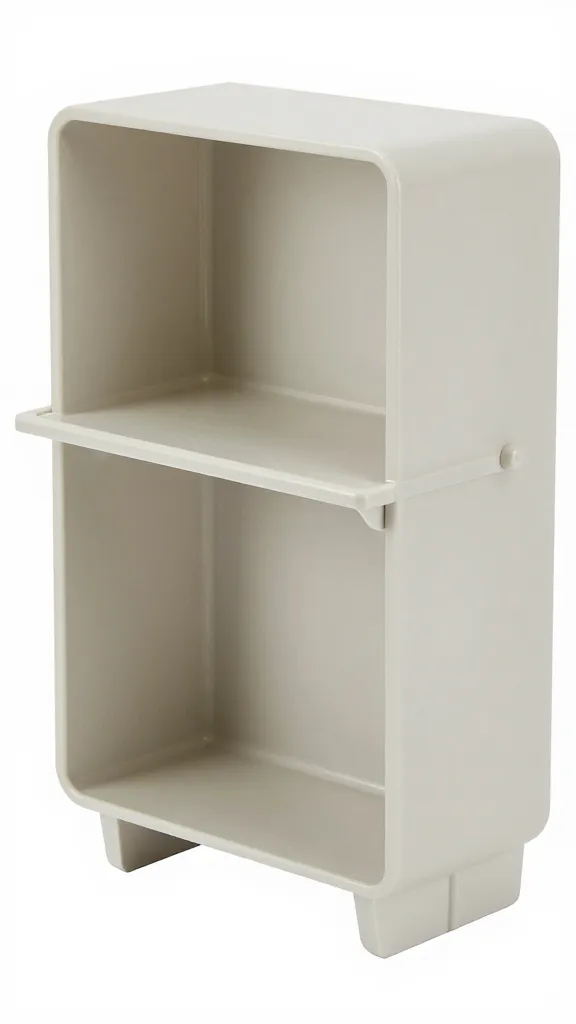
My neighbor handed me a smaller wooden dog house the following year and I tried to make it work out of stubbornness. Inside was 28″ x 20″ and 18″ tall at the peak. By week 2 it smelled like a gym bag and I was cleaning daily. The birds were fine; I was not. I scrapped it and built a 4′ x 4′ coop for those birds. If your flock is 5+ standards, or your nights dip below 10°F for weeks, or you can’t attach a secure run, converting a dog house becomes an exercise in upgrades that never end. A dog house coop is a short-term, small-flock solution, not a forever home.
What I’d Do Differently If I Started Over

I’d cut every vent before I touched the pop door because I kept chasing chips of plastic into my bedding. I’d also pre-drill and use machine screws with fender washers and locknuts anywhere hardware cloth meets plastic; sheet-metal screws backed out after 6 months and I had to re-tighten them mid-rain. Finally, I’d build the external nest box on day one. My hens taught me they don’t care how cute the inside looks; they care that they can breathe and that their roost doesn’t roll.
Frequently Asked Questions

How many chickens can a dog house chicken coop hold?
A large plastic dog house with about 7–8 sq ft of floor space is comfortable for 3–4 standard hens if you provide a 30–40 sq ft run. Smaller shells under 5 sq ft are best for 2 bantams or skip the conversion.
What do I need to add to convert a dog house to a chicken coop?
You need half-inch hardware cloth for vents and doors, a secure pop door with a real latch, a 2×3 roost, and elevated placement on blocks. Expect $100–$180 total depending on what you already have.
Is a dog house chicken coop safe from predators?
It can be if you harden every opening with hardware cloth and use two latches on doors and access panels. Add a 12″ buried or skirted barrier to stop digging; my first week without a skirt invited nighttime probing and muddy paw prints.
Can I use a wooden dog house instead of plastic?
Yes, but seal and paint the wood and check for rot. Wooden houses insulate a bit better, but you still need high vents, a hardware cloth pop door, and a raised base; untreated pine floors will sponge up moisture in 1–2 months.
Do chickens need nesting boxes inside a dog house coop?
Not necessarily. With tight space, an external 12″ cube nest bolted to the side works better and frees up roost room. For 3–4 hens, one nest is sufficient and easier to collect from.
Start With the Shell You Have, Then Add Air and Teeth
If your dog house is big enough and the run will be solid, this is a perfectly decent first-season setup. This weekend, measure the interior footprint, buy the hardware cloth first, and cut two high vents before anything else — it’s the fastest way to turn “box” into “coop.”
— ask me how I know.