Raising Baby Chicks — Week-by-Week Guide

Raising baby chicks felt simple in the feed store under those flattering heat lamps — then I got home, set the brooder on my dining room table, and realized I’d forgotten a thermometer. This week-by-week guide is exactly what I needed in that moment: the temperatures, space, feed, and the “this is normal” vs “fix this now” stuff, by week. I started with 4 day-old pullets in a stock tank and a Pinterest board, and I learned the hard way what matters and what’s noise. You’ll get the numbers I use now, what it cost me (down to the $14 bag I didn’t need), and how I handle the wobbles without turning it into a second job.
Week 0–1: Arrival Day to Day 7
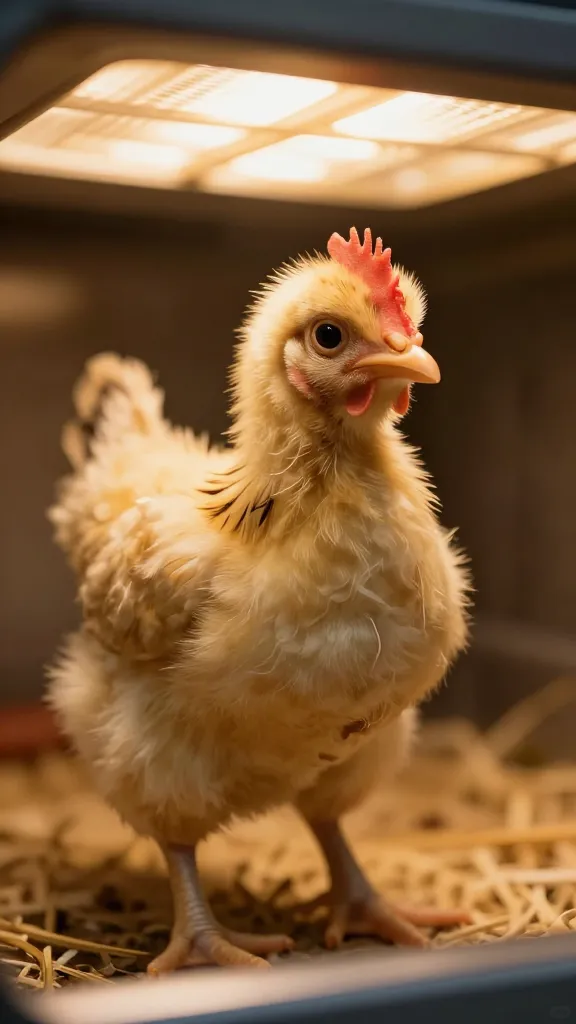
I brought mine home in a cardboard carrier, chirping like I had a shoebox full of marbles. The brooder was a galvanized stock tank set up in my mudroom because the garage was still 40°F at night. For a heat source, I used a radiant plate I found on sale for $45–$65 (regional), and I added a clamp light with a 250W red bulb as backup the first night because my power flickers when the wind throws a mood. I taped a digital thermometer with probe to chick height; the target at bedding level is 95°F the first week. If you don’t have a probe, set a cheap analog one inside; mine was $7 and paid for itself the first hour.
- Space: about 0.5 sq ft per chick. My 4 fit in a 2’x3’ tank with room to flee heat.
- Feed: medicated or unmedicated starter crumble, 18–20% protein. I paid $16–$24 for a 20–25 lb bag and used about 4 lb in week 1.
- Water: room temp with electrolytes on day 1–2. I spent $6 on a small packet that lasted the whole brooding run.
- Bedding: pine shavings, never cedar. One compressed bale was $6–$8 and lasted 3 weeks.
Small moment: I learned to dip each chick’s beak in water as I placed them. It takes 3 seconds per chick and cuts the chaotic first-hour dehydration panic. For pasty butt, I did warm water on a cotton pad, dab-dry, then a tiny smear of plain coconut oil so it wouldn’t re-glue — solved in under 2 minutes per bird.
Watch the chicks, not just the thermometer. If they huddle under the heat source, too cold. If they hug the edges and pant, too hot. Mine told on me the first night by forming a disgruntled donut; I raised the plate 1″ with scrap blocks and they settled in under 60 seconds.
Week 2: Day 8–14

Drop the temp to 90°F at bedding level by raising the plate or dimming/moving a heat lamp. I bumped my plate up to the second notch and angled the clamp light off-center so there was a warm-to-cool gradient. They started trying to roost on the feeder like tiny gymnasts; I added a 1″ dowel as a low perch for $2 so they’d stop tipping their feed.
- Space: aim for 0.75 sq ft per chick. I added a cardboard extension ring with binder clips — cost $0.
- Feed: still starter. Expect 0.1–0.15 lb per chick per day. My 4 ate roughly 3–4 lb this week.
- Chores: spot-clean daily, full refresh every 3–4 days. I timed it — 8 minutes with a dustpan and bucket.
Small moment: I tried a cute mason-jar waterer because it was $5; I was mopping by lunch. I switched to a narrow chick waterer base with a wider trough ($6–$10) and raised it on a 1.5″ scrap of plywood to cut shavings in the water by half.
Week 3: Day 15–21
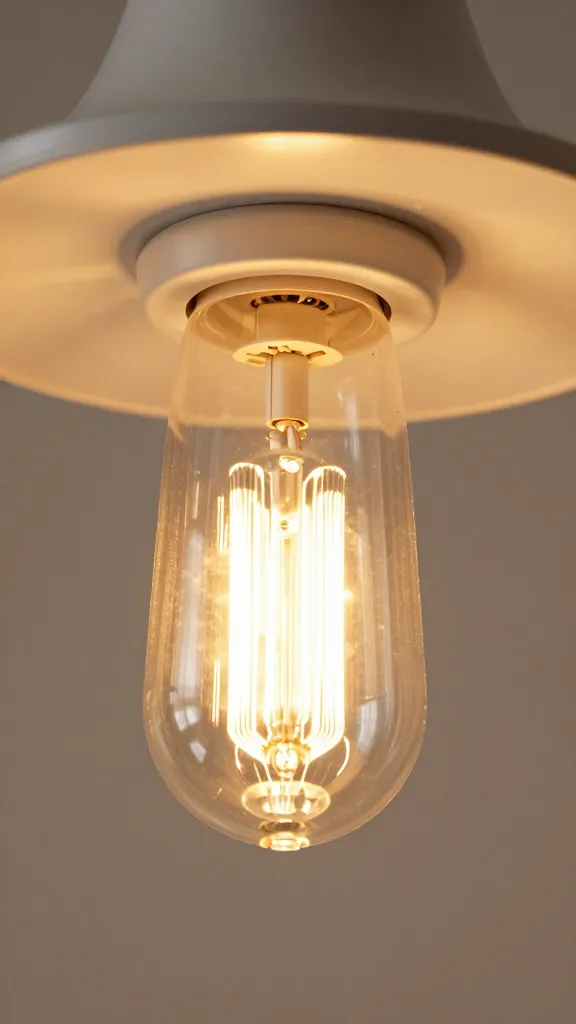
Lower to 85°F. This is when the fluff turns into awkward shoulder feathers and the dander starts. I moved the brooder to the garage and added a $12 small box fan on low across the ceiling to keep dust away from my laundry corner. I covered half the lid with 1/2″ hardware cloth (a leftover scrap; a new 25’ roll runs $45–$70) to keep curious cats out and air flowing.
- Space: push toward 1 sq ft per chick. I built an “annex” from a second stock tank I borrowed for free and zip-tied the rims together — glamorous, no, effective, yes.
- Grit: if you offer any treats (a teaspoon of chopped hard-boiled egg saved from breakfast, or a pinch of greens), add chick grit ($6–$9 bag) in a bottlecap so they can self-serve.
- Enrichment: a paper towel tube with a handful of crumble inside kept mine from learning the art of escape in pure boredom.
Health check: One of mine sneezed twice in a row and I spiraled. Two sneezes after a shavings change is normal dust; sneezing with discharge, lethargy, or open-mouth breathing is not. If you see those, call an avian vet — respiratory issues move faster than your forum thread will.
Week 4: Day 22–28

Target 80°F. Feathers are coming in heavy now; you’ll see chest and back mostly covered. I did a full brooder clean and switched to a thin layer of pellet bedding under shavings ($6–$7 small bag) — it cut ammonia smell in half. Keep feeders and waterers raised to shoulder height so they’re not raking shavings in with every step.
- Space: 1–1.5 sq ft per chick. If you’re running tight, this is where things get pecky. I learned that the expensive fix is time — I added a second feeder ($8–$15) so no one guarded the food like a dragon.
- Heat cutback: on warmer days I turned the plate off for 6–8 hours and watched behavior. They barely noticed; heat went back on at night.
Small moment: I tried sand because someone swore by it. It weighed more than my willingness to haul it ($5 for 50 lb and I needed 2 bags) and it held droppings smell in humid weather. I shoveled it back out the next morning and returned to shavings. If sand works for you, great — I won’t do it again.
Week 5: Day 29–35
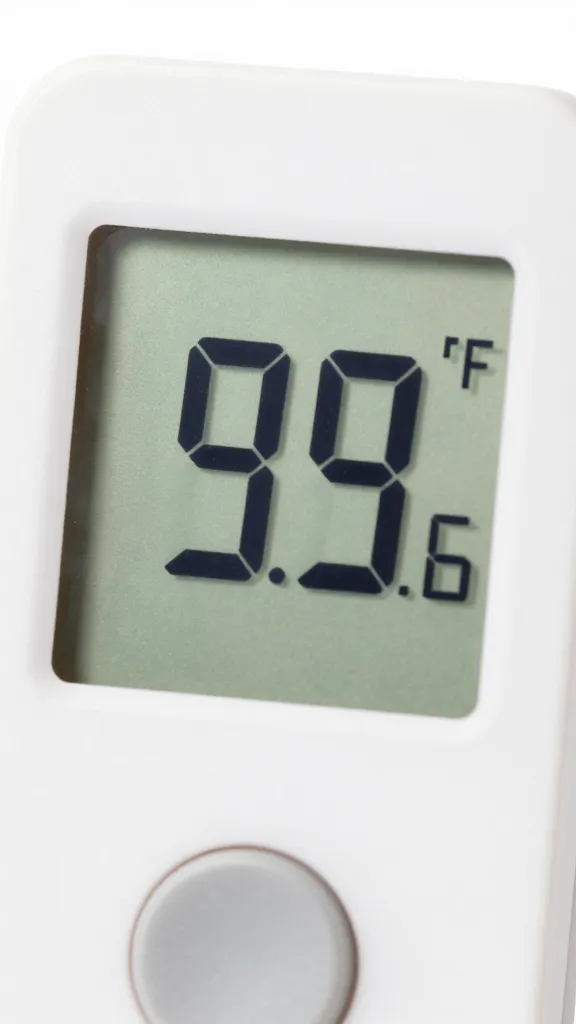
Drop to 75°F, and if your room is 70–72°F and they’re fully feathered on the body, they may not need supplemental heat except at night. Mine chose to sleep under the plate out of habit more than necessity; I raised it high so it was a warm tent, not a toaster.
- Feed: finish your starter bag. Expect 0.2 lb per chick per day now; my 4 ate about 5–6 lb this week.
- Short field trips: on a 65°F calm afternoon, I gave them a 15-minute supervised lawn visit in a wire puppy pen. They learned “grass” and I learned to bring a dustpan because they will find the one cat turd in 300 sq ft like truffle hogs.
Integration prep: I started parking their brooder pen inside the main coop for an hour with no adult access so they could smell the space. No drama, and it made move-in week painless later.
Week 6: Day 36–42

Heat is usually done if your ambient space is 65–70°F and they’re well feathered. If nights are dipping into the 40s and they’re still partially bare, keep a 70–75°F warm zone until week 7. This week I swapped from starter to starter-grower 18% or just stayed on starter — no calcium yet. I also moved to a larger hanging feeder I already owned, which finally ended the daily “surf the trough” routine.
- Space: 1.5–2 sq ft per chick. If you can’t stretch space, stretch enrichment — add a small platform, a roost, or a cabbage hung on twine like a tiny punching bag. Yes, it’s silly. Yes, it burns an hour of their energy for $1.
- Outdoor time: bump to 30–60 minutes supervised on mild days. Shade and a wind block matter more than air temp.
Health check: Coccidiosis shows up as lethargy, hunched stance, poor appetite, and sometimes bloody droppings around this age. That’s a vet call; I keep the number saved. Clean, dry bedding and proper space are your best prevention; I learned that the week I “stretched” a cleaning day and paid for it with stress and a $95 consult.
Week 7–8: The Move-Out Plan

By week 7 or 8, they’re ready for the big house if nights are consistently above 50°F and they’re fully feathered. My move-out costs were mainly one afternoon and a roll of 1/2″ hardware cloth for a partition ($45–$70). I made a “see but no touch” pen inside the coop: 2’x6’ framed from 1x2s I had, zip-tied the cloth, and added their brooder feeder and waterer. They lived there for 5–7 days while the adults recalibrated from “intruders” to “neighbors.”
- First free-mix: 30 minutes with all birds supervised near dusk so they’re naturally winding down. A little chasing is normal; pinning and pecking that draws blood is not. I keep a $8 can of Blu-kote-type wound spray and a spare dog crate as a time-out box just in case.
- Roosting: the first night out, mine piled in a corner like a feathered beanbag. I physically placed them on the lowest roost bar two nights in a row, and on night three they made the hop without me.
Small moment: I once moved a batch out the day after a storm because I was impatient. The coop was dry but the run was mud soup. They spent the day on tiptoe and then tracked it into the coop like toddlers. Waiting 24 hours for the run to drain would have saved me an hour of scraping and a full bag of shavings.
What This Actually Cost Me (and What I’d Skip Next Time)

- Stock tank brooder: $75–$120 new; I found one secondhand for $40.
- Heat source: radiant plate $45–$65 on sale; red bulb and clamp light backup $18–$25.
- Thermometer: $7–$15.
- Starter feed (two 20–25 lb bags): $32–$48 total; I had half a bag left at week 8.
- Pine shavings (2–3 bales): $12–$24.
- Waterer + feeder: $12–$25 each.
- Hardware cloth (for lid/partition): $45–$70, and I always have leftovers.
- Electrolytes + grit: $12–$18 combined.
My first run of 4 chicks, counting the used tank and sale heat plate, landed around $180–$240 in my region, plus the chicks themselves ($4–$8 each for common breeds). I wasted $14 on a specialty “brooder deodorizer” that did nothing a timely clean wouldn’t. I also bought two extra red bulbs for $10 and never used them because I stuck with the plate. Spend the money on hardware cloth and a decent plate or a safely mounted bulb; skip the scented bedding, the quart-sized feeder (you’ll outgrow it by week 2), and the decorative chick treats that are basically sugar.
I don’t brood in cardboard boxes anymore; the floors get soggy by day 3 and the corners invite pecking and piling. A rigid-sided brooder you can scrub is cheaper than replacing a limp box twice.
Common Problems by Week and the Fix

Chilled chicks (Week 0–1)
Huddled under heat, loud peeping. Raise the temp to 95–98°F for 30 minutes and re-check. I use a towel over half the lid to hold heat, never the whole lid — they need air.
Pasty butt (Week 0–2)
Soft droppings stick and block the vent. Clean gently twice daily if needed, dab dry, tiny smear of oil. It usually resolves in 48–72 hours once temperature and hydration are steady.
Feather picking (Week 3–5)
Usually crowding or boredom. Add space to 1–1.5 sq ft per chick, 2 feeders, and a roost. A pinch of scrambled egg can reset the vibe; protein helps, but the real fix is room.
Ammonia smell (Any week)
That sharp eye-sting means change the bedding now. I do a full dump if I can smell it at the door. Ventilation is free; I propped one side of the lid with a 1×2 for a permanent gap.
Chick comfort beats any aesthetic. I like a tidy brooder as much as the next person, but I will choose an ugly raised waterer on scrap blocks over artsy bowls every time because dry and clean birds grow better.
Frequently Asked Questions

How long do I keep baby chicks under heat?
Plan for 4–6 weeks depending on your room temperature and how fast they feather. Start at 95°F the first week and drop about 5°F per week until you reach ambient. If your room holds 65–70°F and they’re fully feathered, heat can usually stop around week 5–6.
What temperature should I keep chicks each week?
Week 1: 95°F; Week 2: 90°F; Week 3: 85°F; Week 4: 80°F; Week 5: 75°F; then maintain a warm zone near 70°F if nights are cold. Always watch behavior — panting or crowding means adjust by 2–3°F.
When can Raising Baby Chicks move to the coop?
Most batches move out at 7–8 weeks when fully feathered and night temps stay above 50°F. I use a “see but no touch” setup inside the coop for 5–7 days, then supervised mixing near dusk.
What do baby chicks eat and when do I switch feed?
Use starter at 18–20% protein from day 1. Many keep starter or starter-grower until 16–18 weeks, then switch to layer once the first egg appears. Don’t give calcium supplements before laying age — it can harm kidneys.
How much space do baby chicks need?
Start around 0.5 sq ft per chick in Week 1 and grow to 1.5–2 sq ft by Week 6. If you see pecking, crowding, or nonstop pacing, add space or split the group — behavior is your early warning.
You’ve Got This — Start Small and Real
Set up a rigid bin or tank, a safe heat source, a thermometer, and a 20 lb bag of starter, and you’ve covered 90% of the job. If you do one thing this weekend, cut and clip a hardware-cloth lid that actually fits your brooder — it solves pets, airflow, and peace of mind in one hour.
— ask me how I know.