9 Aesthetic Chicken Coop Ideas That Still Work as a Coop
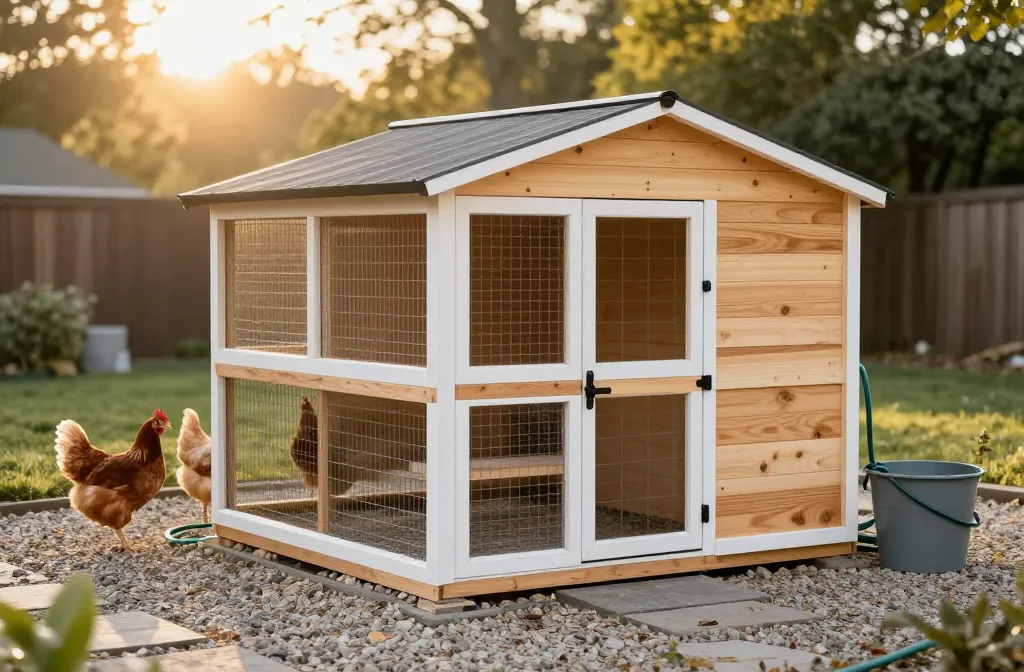
Aesthetic chicken coop ideas are wonderful until you’re zip-tying a curtain in a windstorm and wondering why you did this to yourself. I stood in the paint aisle holding a $24 gallon of “sage” and a $14 exterior primer, doing math against a $200 total budget while my original door sat crooked at home. By the end of this, you’ll have 9 looks you can actually build or buy with normal tools and money, what each cost me (or could reasonably cost you), and how they held up to rain, mud, summer stink, and my local raccoons. I’ll tell you where the cute worked, where it failed, and what I rebuilt at 11 pm with a headlamp. I started with 4 chicks and a Pinterest board and learned fast that pretty has to hose off and lock tight.
1. Cedar-Tone Stain and Simple Trim: Warm Look, Low Upkeep
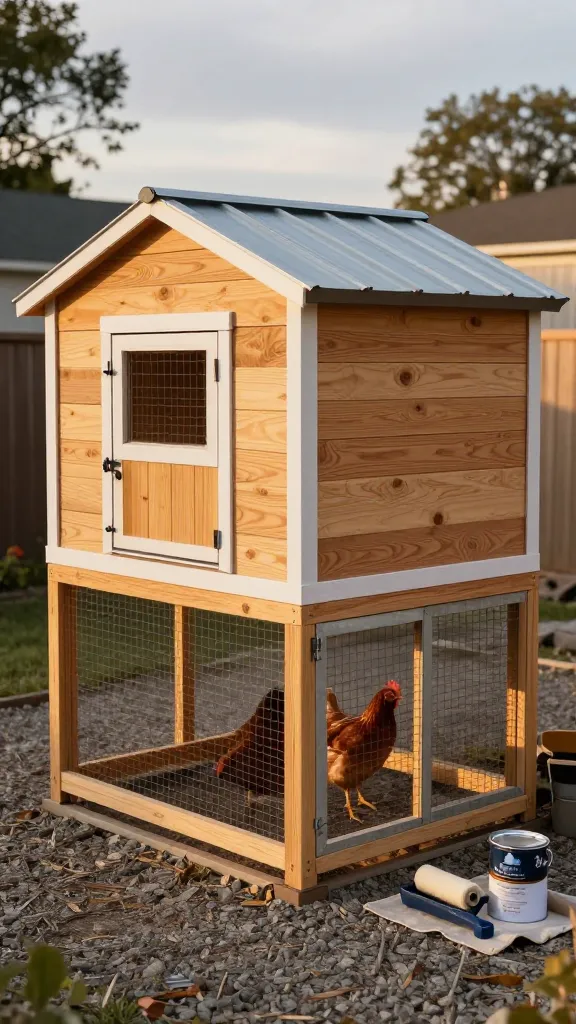
I wanted the cedar-board look without paying for real cedar. My first try was interior stain I already owned; it looked gorgeous for 8 days, then bled when the first storm hit and left drips like tiger stripes. I sanded the drips off and used an exterior semi-transparent stain in a cedar tone on basic plywood walls with 1×3 trim.
One gallon covered a small coop and run skirt for $28–$45 depending on brand and region, plus $12 for a foam brush/roller kit and $24–$36 for primed 1x3s. Total was around $75–$95. It’s held color for 18 months with one 30-minute recoat on the south side. I paired it with half-inch hardware cloth on openings (a non-negotiable $45–$70 per 25-foot roll), because trim does not stop teeth.
The catch is drying time. I rushed a second coat at dusk and left fingerprints that I can still see. Also, stain won’t hide ugly edges—sand or your seams will broadcast up close.
Make it yours: use solid exterior stain if your siding is a Frankenstein of scraps; it covered my patched panel for only $6 more than the semi-transparent at the time, and it unified the whole face.
2. A-Frame Chicken Coop Silhouette: Clean Lines, Small Footprint
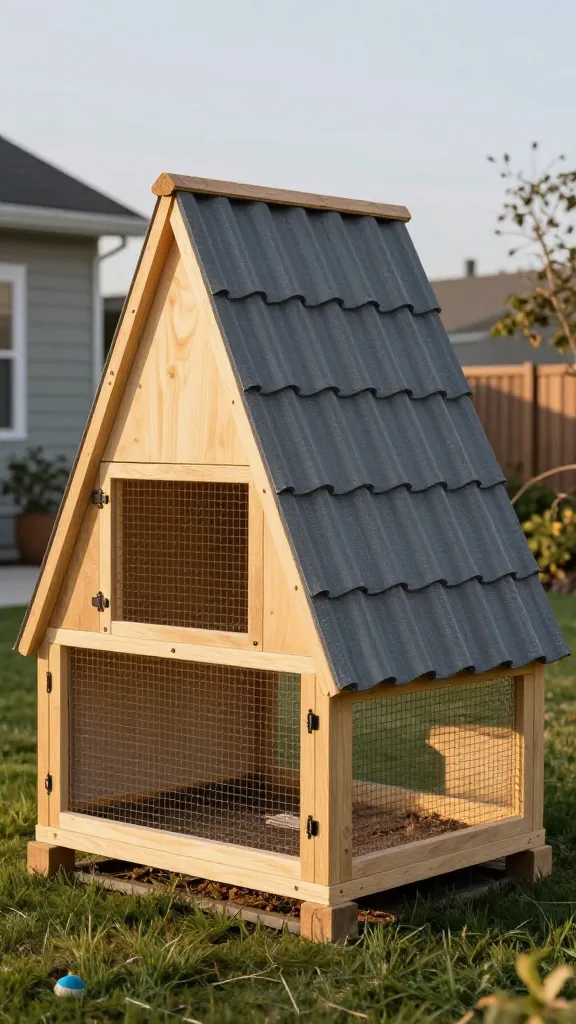
I went A-frame because I could cut every angle with a circular saw set once at 30°. The first weekend, I framed with 2x3s, skinned one side with plywood, and left the run side open with hardware cloth. It looked tidy in the yard and didn’t block sightlines from the patio, which my HOA-ish neighbor appreciated.
Costs: four 2x3x8s were $16–$24, two plywood sheets were $50–$80, a 25-foot roll of half-inch hardware cloth $45–$70, and roofing panels $40–$75. Add screws and hinges $15–$25. My total: about $180 in 2023, and it’s still solid after 14 months. It moves as one piece; I dragged it 12 feet by myself across lawn with a strap.
Ventilation is where I nearly messed up. The A-frame traps heat if you don’t vent the peak. I cut a 3-inch continuous ridge along the top and covered it with hardware cloth and an overhang—zero drip inside through a full winter.
Make it yours: if you’re in heavy snow country, switch to 2×4 for the rafters; it added $12 to a friend’s build and spared her from mid-February shoring.
3. White-and-Black Farmhouse Paint, But With Real Venting
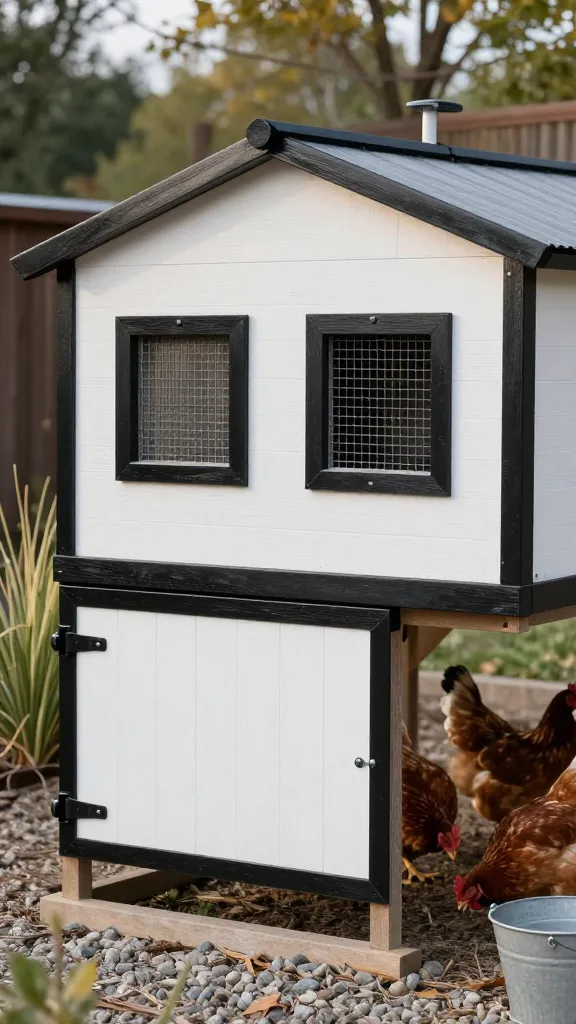
I wanted the crisp white coop with black trim like every photo save. My first pass was cheap interior white because I had it; by week 3, it chalked and held dirt like Velcro. I repainted in exterior satin white and semi-gloss black on trim and hardware guard boards.
Paint ran me $24–$40 for the white gallon, $12–$18 for a quart of black, and $10 in rollers/angle brush. I cut two 6×12-inch vents high on the wall and covered them with half-inch hardware cloth ($5–$8 worth of a roll). The look stayed sharp through a muddy spring; satin hoses off faster than flat.
The thing nobody tells you: white shows every hinge smear and glove print. I keep a rag and a bucket by the run and do a 2-minute wipe when I lock up, or it looks tired fast.
Make it yours: swap white for a very light gray; I tested one sample board and the coop stayed “clean-looking” a full month longer between wash-downs.
4. Transparent Roofing Over the Run: Light, Dry, and Not Ugly
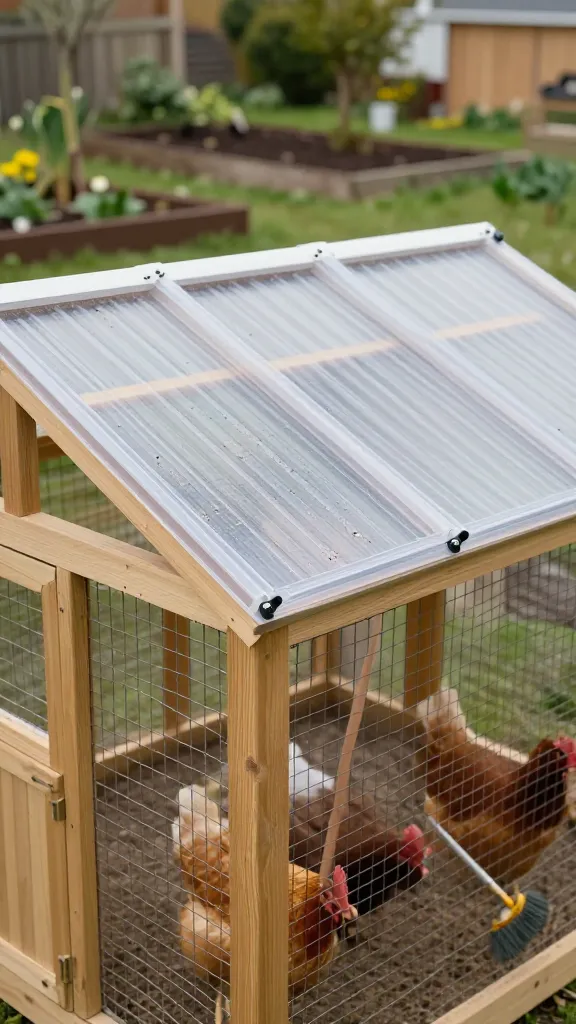
One April I realized my “cute open run” was also a cold mud pit. I added clear corrugated roof panels over the run with 2×2 purlins, pitched 1 inch per foot. Suddenly it looked intentional—light, bright, and it actually kept the dust bath dry.
Panels were $18–$28 each and I used three, plus purlins $12–$18, roofing screws with rubber washers $6–$10. Call it $72–$112 total. The panels are still clear after 11 months; a long-handled brush knocks off pollen in 5 minutes. In summer, I hang 60% shade cloth under the west side for $20–$30 so the run doesn’t go greenhouse-hot.
Wind matters. My first panel install used too few screws and a gust rattled it like a snare drum at 2 am. I went back and used screws at every other rib; no issues since.
Make it yours: if you want less glare, choose the “frosted” version—same price here, and it softened the look on my neighbor’s coop without darkening the run.
5. Dutch Door on the Coop: Looks Charming, Vents Safely
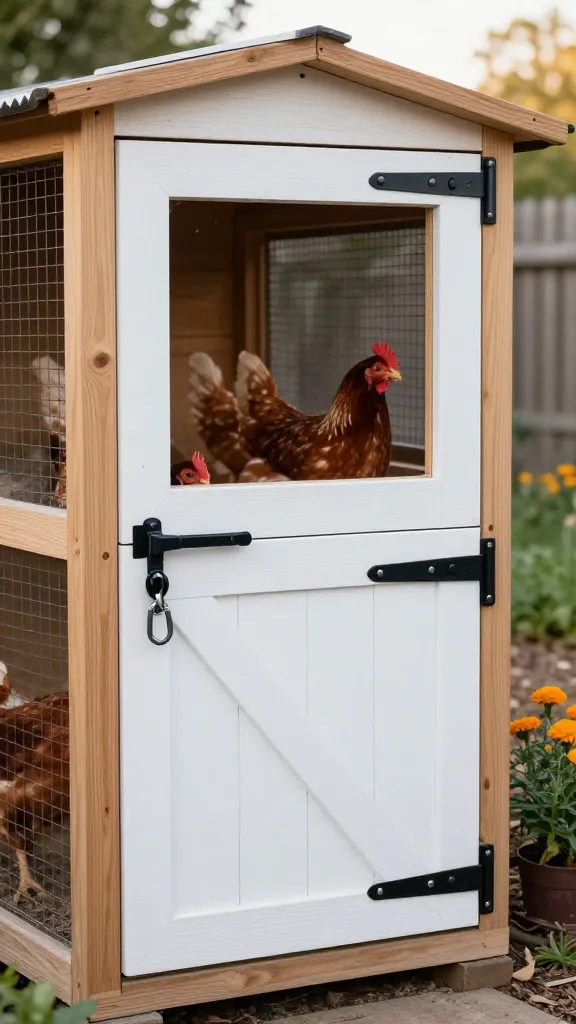
I built a full-height door and immediately learned my birds like breezes at chest level, not ankle level. I cut it into a Dutch door so I could open the top in summer while the bottom stayed shut against dogs and small hands.
Hinges and a latch set were $18–$30, plus a second latch for the top half $6–$12. The door itself was scrap plywood wrapped in 1x3s I already had, maybe $16–$24 if you buy fresh. It’s been perfect for 2 summers. The raccoon test? It tried—and failed—because I used a two-step latch on both halves. Cute only works if it locks.
My first cut was crooked by 1/4 inch, and the halves rubbed. I planed the edge and added an exterior-grade sweep to close the gap. Weather stayed out; flies dropped because airflow improved without leaving a wide-open invite.
Make it yours: add a small 6×6-inch pass-through flap in the bottom door if you want a pop-door without cutting your siding again; the hinge and flap cost me $9.
6. Board-and-Batten Siding From Fence Pickets: Texture on a Budget
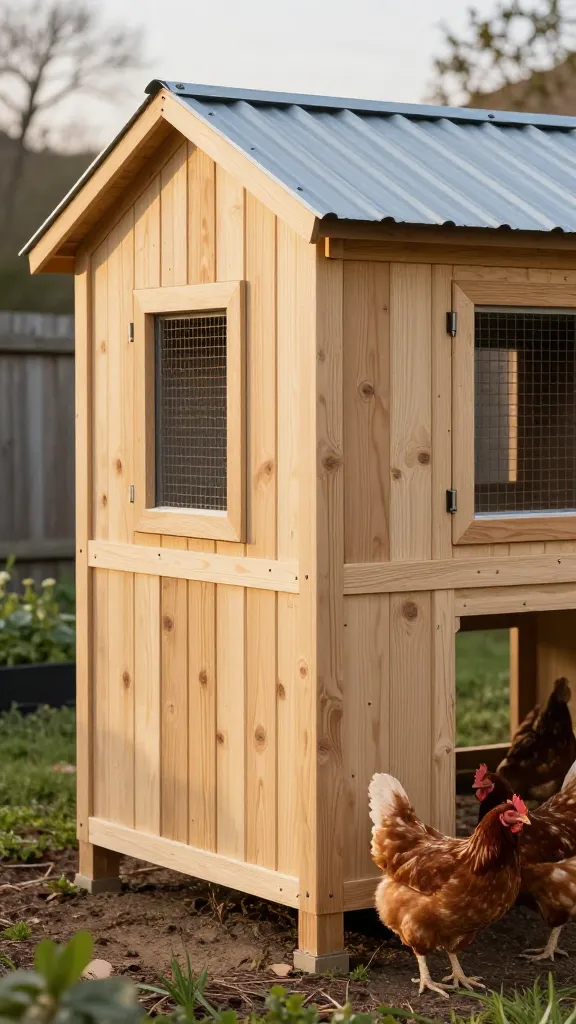
I loved the board-and-batten look, priced cedar, and laughed out loud in the aisle. I used dog-eared fence pickets instead—trimmed the ears, used them as “boards,” and ripped a few into 2-inch “battens.”
Pickets were $2–$3 each here; I used 22 for a small face and one side, so $44–$66. Exterior screws $6–$9. I back-primed the pickets (one cheap quart at $12–$16) and hit the front with stain. One year in, zero cupping because I spaced 1/8 inch between boards. It looks like a real outbuilding, not a crate.
The time tax is real. Ripping battens with a circular saw took an evening, and I wore a mask because pickets can be dusty. Also, you must run hardware cloth behind it, not window screen—screen tears. My first “oh I’ll just tack screen for a day” lasted exactly that day.
Make it yours: if moisture is your issue, skip stain and do two coats of exterior paint; it sealed my north wall better and matched the trim perfectly.
7. Gravel Perimeter and Planter Front: Pretty Edge, Predator Guard
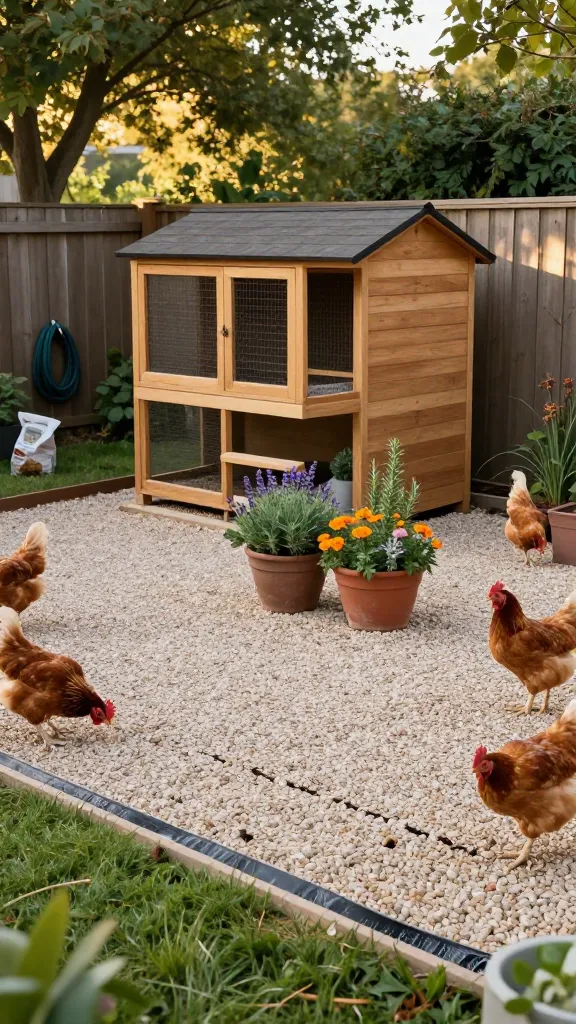
I wanted the coop to read as a little garden shed, not a crate in a patch of bare dirt. The first time, I set decorative planters and called it done; within 2 weeks a skunk had tunneled right behind them. I rebuilt with a 24-inch-wide hardware cloth apron under 2 inches of pea gravel, then set the planters on top.
Hardware cloth apron used about 16 feet of a roll, call it $30–$45. Pea gravel was one pickup-bed’s worth at $42 from the landscape yard, enough for a 3-foot-wide strip around two sides. I used two cheap resin planters at $12–$20 each and filled them with perennials that don’t mind chicken dust. It looks finished and I haven’t seen a dig attempt cross that apron in 10 months.
Lesson learned: fabric alone won’t stop claws. I tried landscape fabric first because I had it; a raccoon peeled it like a sticker. The apron must be metal, pinned, and overlapped at corners.
Make it yours: swap pea gravel for angular 3/4-inch drainage rock if you get splash-back; it stayed put better through my fall storms for just $6 more per load.
8. Big Windows With Hardware Cloth “Screens”: Bright and Safe
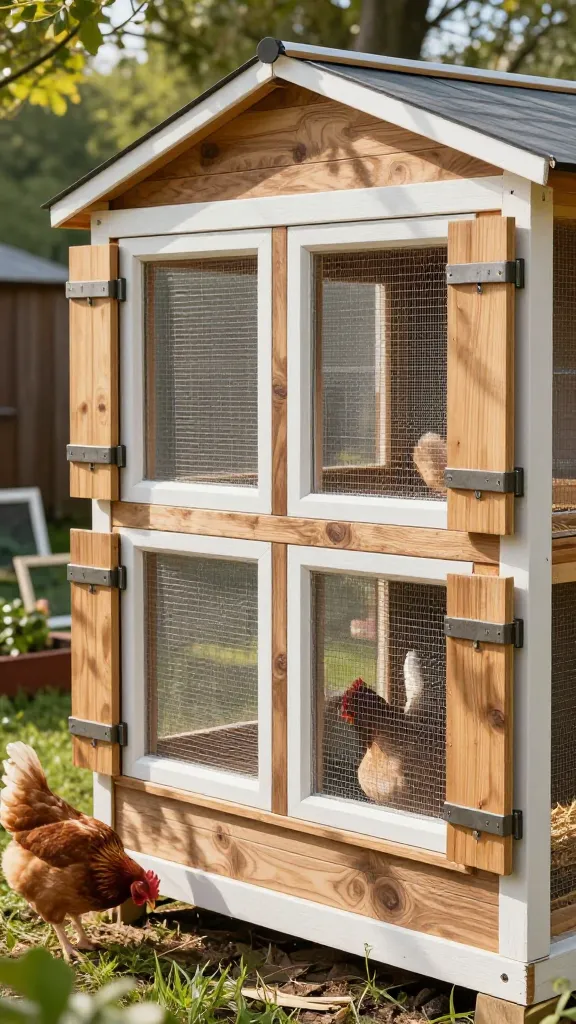
I framed generous windows because every cute coop I saved had big panes flooding the roosts with light. My first “window” was a repurposed picture frame with actual glass—it lasted 1 week before a soccer ball took it out. I rebuilt with hinged plywood shutters and hardware cloth “screens” inside the frame.
Two window openings 12×18 inches, hardware cloth squares from the same $45–$70 roll, piano hinges $10–$14 each, magnetic catches $6–$10, and trim I already had ($12–$18 if you buy). It’s been two years. I can open the shutters for airflow, close them for storms, and the interior stays bright because I painted the inside white with leftover exterior.
One detail matters: I mounted the cloth on the inside face of the framing, not the outside. That way, even if a hinge loosened, a paw can’t pry it outward. It also looks cleaner from the yard.
Make it yours: if you want the glass look, use polycarbonate instead of glass; a 24×18-inch sheet was $20–$30 and shrugged off hail last May.
9. Matching the Coop Roof to the House: Corrugated Metal Done Quiet
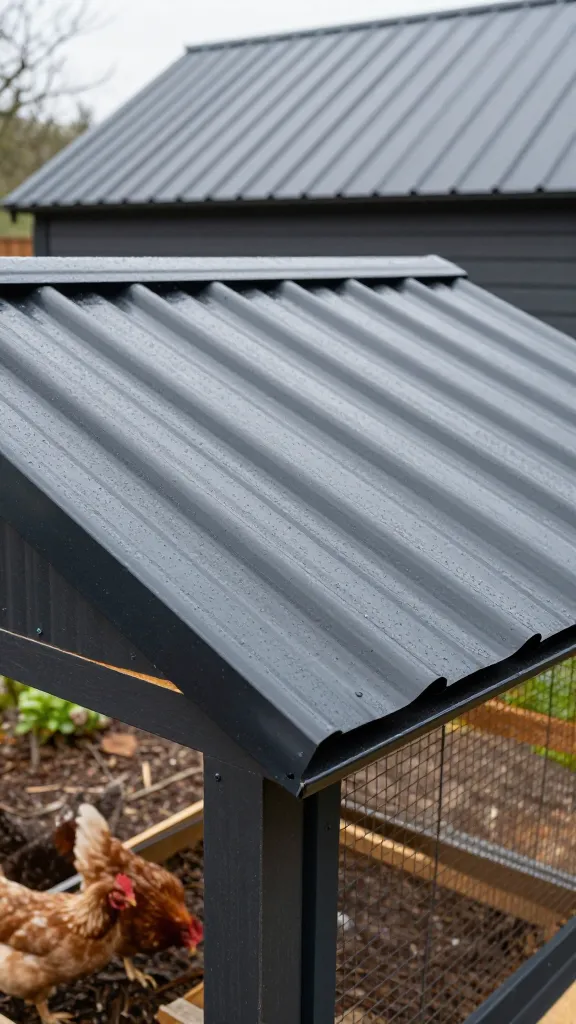
I wanted the coop to echo our house’s dark metal roof so it didn’t shout from the yard. My first metal panel install sounded like a drum every time it rained; the birds didn’t care, but I did. I added a thin plywood underlayment and a strip of foam closure, and it went from clangy to normal “rain” overnight.
Two panels were $48–$70 total, foam closures $8–$12, underlayment sheet $20–$30, roofing screws $6–$10. It’s watertight and tidy, and the dark color visually shrinks the coop. I also ran a 6-inch overhang with drip edge ($9–$14) to keep water off the siding so the paint still looks new in year 2.
Heat is the trade. Dark metal gets hot in July. I left a 2-inch vent gap under the ridge and added a pale shade sail on the west for $24–$36. Inside temps stayed within 3–4°F of ambient on our 98°F week.
Make it yours: if you’re in full sun all day, pick a light gray panel; my neighbor’s coop runs cooler, and the look still ties to a modern house.
Frequently Asked Questions
What are aesthetic chicken coop ideas that don’t sacrifice safety?
Anything pretty has to start with structure and half-inch hardware cloth. Think Dutch doors with two-step latches, large windows with interior-mounted hardware cloth, and a gravel-over-hardware-cloth apron. My safest “cute” builds ran $150–$300 depending on size and roofing.
How much does it cost to make a coop look good without rebuilding it?
Paint or stain and trim can do a lot for $60–$130. Expect $24–$40 for exterior paint, $12–$18 for a quart of accent, and $24–$36 for 1×3 trim. Add $6–$10 for caulk so the seams read clean.
Do I need to change anything in winter for a stylish setup?
Plan for covered ventilation, not sealed windows. Two 6×12-inch high vents with hardware cloth plus a roof overhang kept my small coop dry at 15°F while avoiding frostbite. I switch clear run roofing to include a piece of shade cloth on the west even in winter sun if temps swing above 45°F.
Are A-frame builds practical long term?
Yes, if you solve ventilation at the ridge and provide enough run space. My A-frame cost about $180 and is 14 months in with no structural issues. The triangle limits interior headroom for you, not the hens; I mounted roosts at 24 inches and clean with a short rake.
What’s the best way to match the coop to my house without overspending?
Pick one high-visibility element to echo—roof color, door style, or trim pattern—and keep the rest simple. Matching roof panels and a black-on-white door cost me about $90–$120 beyond the basic build and made the whole thing look intentional from the street.
Start With the Stuff That Has to Survive
If you do one thing this weekend, price your hardware cloth and roofing, then pick one face of the coop to finish with paint or picket battens. A good door that latches, vents that stay open safely, and a dry run will make any style read as “cute on purpose,” not “project that scared the raccoons into laughing.”
— ask me how I know.