7 White Chicken Coop Ideas — And How to Keep Them White
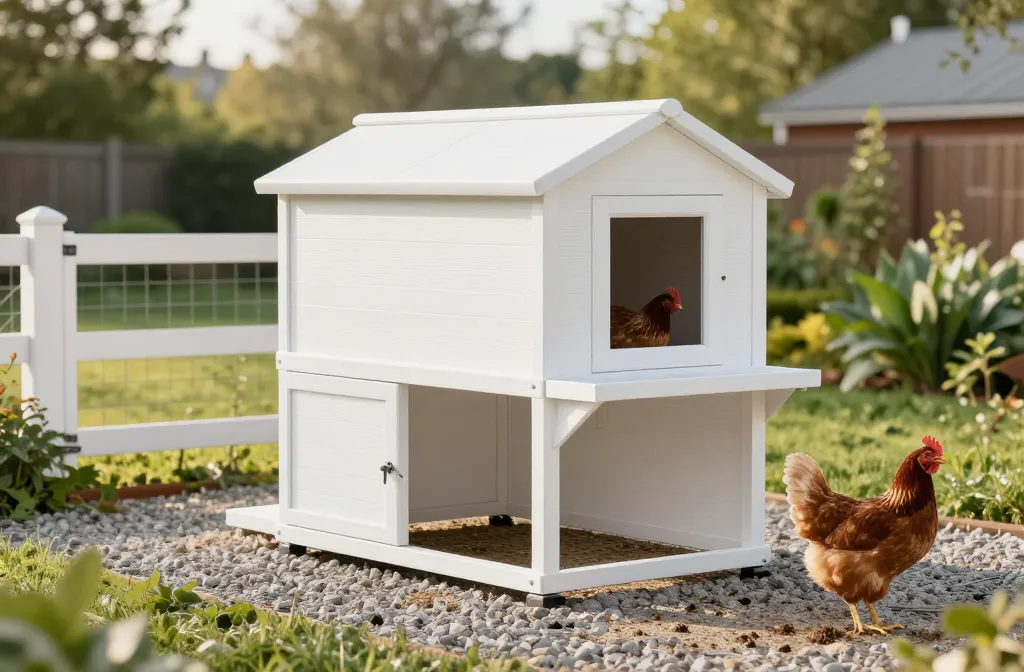
White chicken coop ideas look gorgeous on Pinterest, and I fell for them hard standing in the paint aisle, calculator out, debating a $28 gallon of exterior white versus the $19 contractor special. The first time I painted my little coop bright white, I didn’t understand how fast mud and rooster feet could turn it beige. By the end of this, you’ll have 7 ways I’ve actually kept white coops looking white, what each option cost me, and what failed so you don’t repeat it. I’ll give you the cleaning routine that stuck, the materials that don’t yellow, and the one compromise I will not make again for the sake of “aesthetic.”
1. Semi-Gloss Exterior Paint for the Coop: A Primer-First Rule
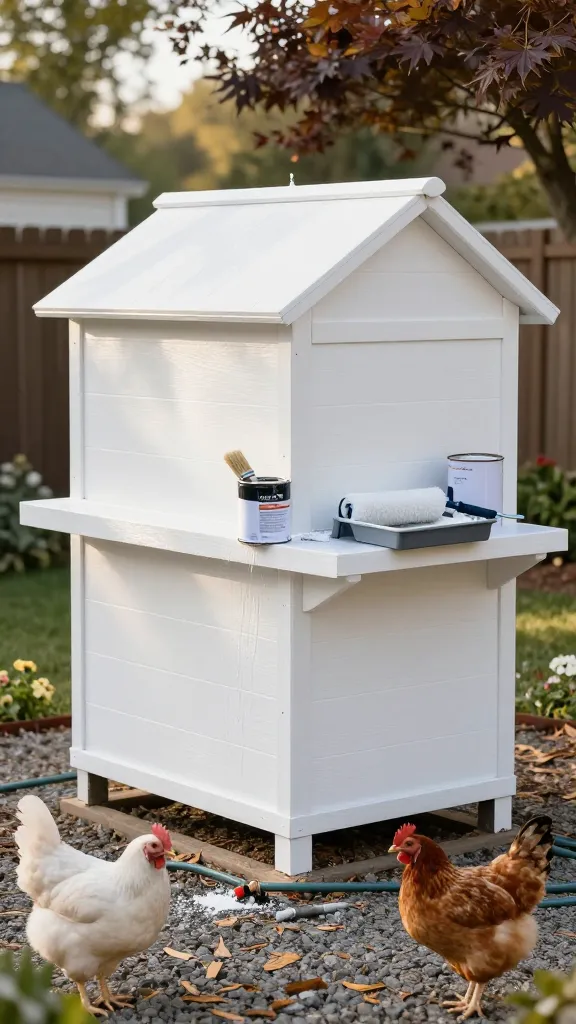
I started with flat exterior white because it was on sale and I thought paint is paint. It looked magazine-clean for exactly 3 days, then every splash stuck. I repainted with a dedicated exterior bonding primer (1 coat) and a semi-gloss exterior acrylic (2 coats). My receipt: $21–$30 per gallon primer, $25–$42 per gallon semi-gloss. On my 4×8 build, that was 1 gallon primer and 1.5 gallons paint — call it $70–$105 depending on your store’s pricing. The semi-gloss wipes clean with a hose and brush; it’s held up 18 months with one quick touch-up on a windward corner.
Here’s the catch: it took me two Saturdays because I let every coat cure overnight. When I didn’t, the first time, the surface nicked and trapped dirt under a sticky film. The prep mattered more than the paint: I washed the plywood, filled screw holes with exterior filler ($6–$8), and caulked seams so grime had fewer places to live.
Make it yours: if you’re in a wet climate, spring for a mildew-resistant exterior formula. On my second coop that added about $8 to the gallon and saved me hours of scrubbing green film in October.
2. PVC Trim Boards Where the Splash Happens
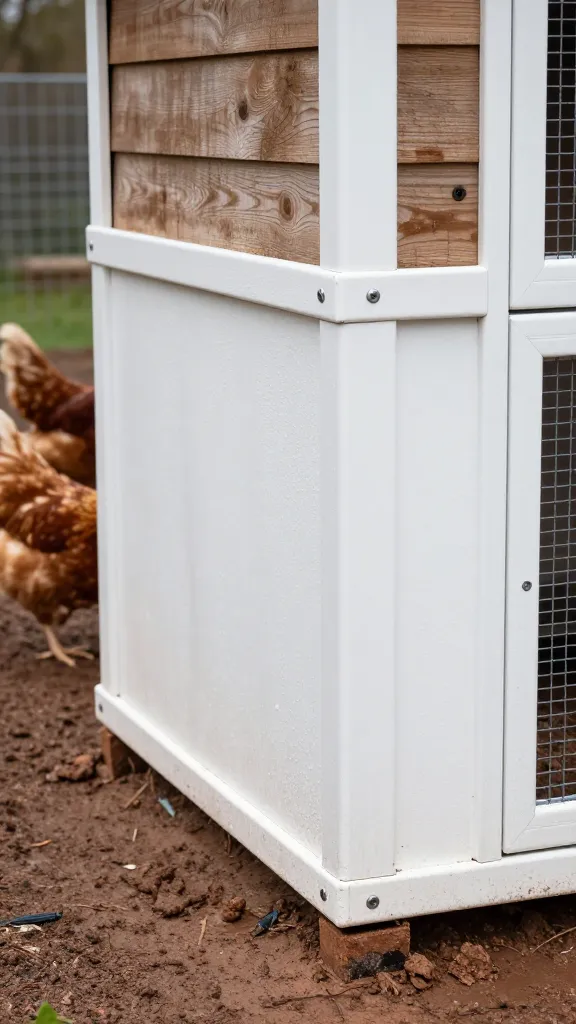
My run sits on clay, so the bottom 12 inches of the coop walls used to look tie-dyed by June. Painting that band twice a season wasn’t sustainable. I switched to 3/4-inch cellular PVC trim boards for the skirt and door jambs — the boards don’t absorb water and chicken prints hose off. In 2024 pricing, I paid $22–$29 for an 8-foot board; I needed 6 boards for a 4×8 footprint with corners and door edges, so $132–$174 in material plus stainless screws ($9–$12). It’s been 2 years and still bright after a 2-minute rinse.
I tried cheaper primed pine first at $10–$12 a board. It lasted 7 months before the lower edges swelled and the paint blistered. That $60 “savings” cost me a weekend of ripping soggy trim off and repainting the scars. If you can only do one area in PVC, make it the kick zone below roost-height windows and the doorway the birds bottleneck through.
Make it yours: snap on a 10-inch metal drip edge (about $7–$10 each) over the top of the PVC skirt to redirect rain splash — I added this later and it cut mud stripe cleanup in half.
3. White Metal Roofing That Doubles as Sun Control
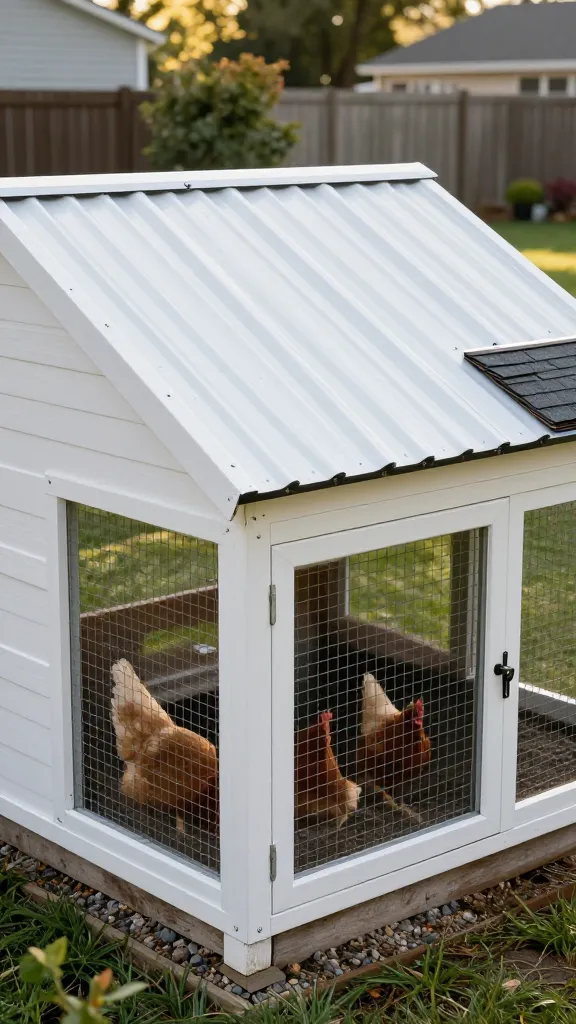
I wanted a clean white coop and underestimated rooftop heat. The first summer I had dark shingles and a glossy white body; my thermometer hit 102°F under the ridge at 3 p.m. I swapped to white corrugated metal roofing panels — reflectivity helps in heat and they rinse cleaner than asphalt. For a 4×8 roof, I used 3 panels at $32–$45 each plus closure strips and screws ($15–$20). Call the total $111–$155. With a 6-inch overhang and a ridge vent gap, coop temps dropped 6–8°F on hot afternoons, and gull dust and leaves rinse off with a hose.
The honest part: metal is loud in rain, and the edges are sharp when you’re cutting. I paid for one sloppy cut with a glove slice and learned to tape the edge and use snips. I tried to paint asphalt shingles white once with leftover exterior paint — it looked chalky fast, trapped algae, and the paint flaked by month 9. Don’t do that.
Make it yours: add a radiant barrier roll under the metal if you’re in the South. Mine cost $28 for a small roll and dropped another couple degrees; it also kept condensation off the interior sheathing in January.
4. The Removable Coop Kick-Panel You Can Take to the Hose
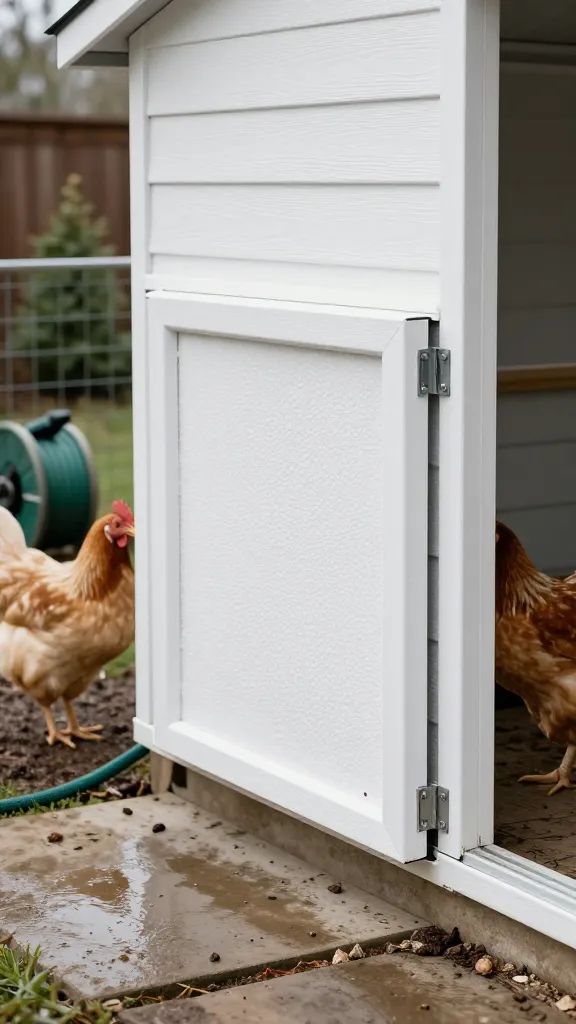
My most-used upgrade is also the ugliest on the workbench and the best in practice: I built a 10-inch-tall removable panel inside the pop-door area where the birds launch themselves on wet days. First try was a scrap of painted plywood; it warped in 4 weeks and trapped damp litter. The keeper was a piece of white, textured fiberglass-reinforced panel (the wall stuff used in commercial kitchens) cut to width, set into a simple U-channel frame. The sheet cost me $38–$55, and a 4-foot stick of PVC U-channel was $9. The panel slides out in 2 seconds and I hose it flat on the lawn.
It’s not structural — don’t rely on it to hold litter back more than a couple inches. I learned that after I let the bedding drift up to 6 inches and blocked the pop door from closing one January night. Also, pre-drill if you do screw it anywhere; over-tightened screws pucker the panel and create grime-catching ridges.
Make it yours: in freezing climates, add a thin foam weatherstrip ($5) on the channel so the panel doesn’t rattle and draft in wind. Mine quieted down and the corner dust bunnies stopped accumulating.
5. Hardware Cloth Painted White Before It Goes On
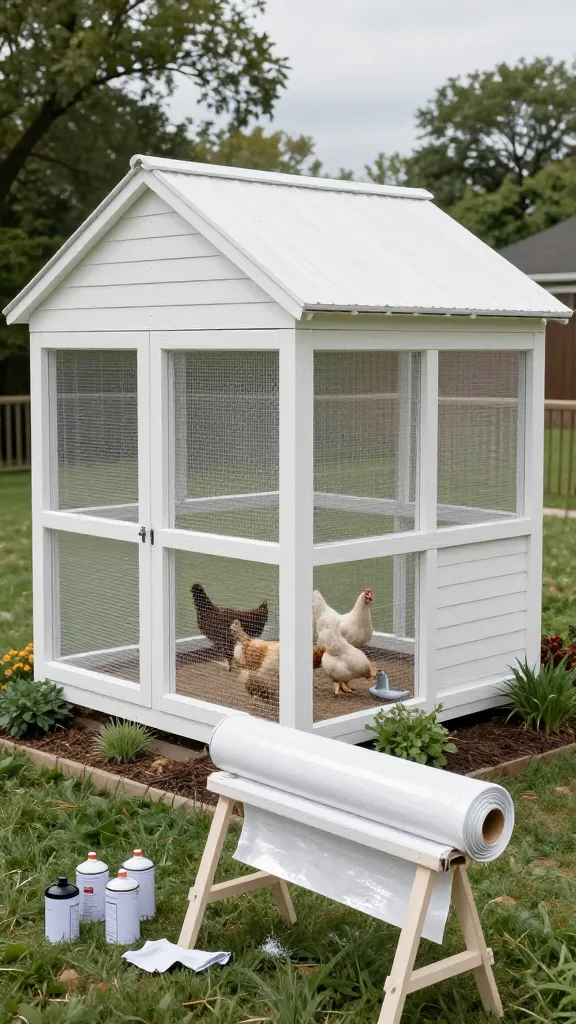
I wanted the run to “disappear” against the white coop, not read as a big gray box. Painting hardware cloth after install is misery — ask my shoulder. The second time, I unrolled the 1/2-inch hardware cloth on sawhorses and used a rust-inhibiting spray primer and a satin white spray over that. I used 3 cans of primer and 3 cans paint for a 4×12 run section: $36–$54 total depending on can price. The pre-painted cloth blends into the white frame, reflects light under the overhang, and it hasn’t flaked noticeably in 14 months.
What went wrong first: I tried brushing on leftover wall paint. It gummed between wires and cracked the first time I tightened a staple. Spraying is faster and coats the cross points. Also, do this on a windless day or your lawn will look like modern art. The real non-negotiable: it’s still hardware cloth, not chicken wire. Don’t “upgrade” appearance by downgrading safety; my $60 first-year run used chicken wire and a raccoon tore it open like cotton candy in 1 night.
Make it yours: if you hate spray cans, use a small HVLP sprayer and a quart of exterior enamel thinned to spec — I borrowed one once and got more even coverage for about $18 in paint plus a long cleanup.
6. A Cleaning Loop You’ll Actually Do: 10 Minutes, Once a Week
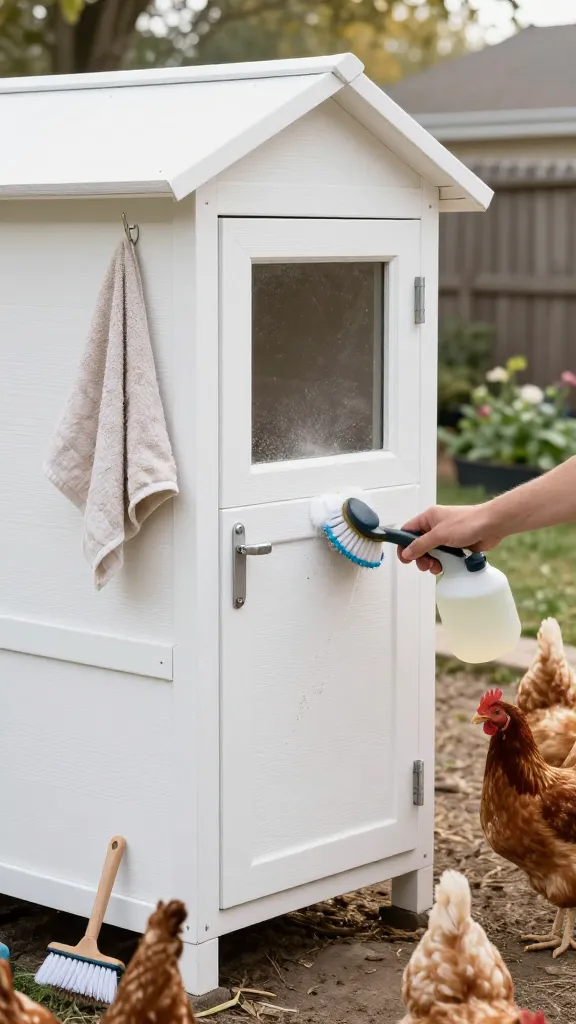
Keeping a white coop white is 30% what you build and 70% what you’ll repeat. My first plan involved a pressure washer and a playlist and lasted one Saturday. The loop I stuck to is a 10-minute weekly pass: I keep a dedicated soft-bristle brush ($6–$9), a garden sprayer with a 1:10 mix of outdoor cleaner or plain dish soap ($0.25–$0.60 per fill), and an old towel. I hit the high-touch spots — pop door frame, around the handle, the PVC skirt, and under the roost window. Monthly in muddy months I add 10 minutes to rinse the run posts.
Skipping winter isn’t worth it. The one year I told myself “it’s frozen, who cares,” I spent 2 hours in March scrubbing baked-on splashes that would’ve wiped in 60 seconds fresh. Also, avoid bleach around birds; I tried a strong mix once, and the fumes lingered in the vents. If you need true disinfection, do it when the flock is out and the day is breezy, and verify your cleaner is safe for exterior use around animals.
Make it yours: swap the towel for a cheap microfiber mop head ($6–$8) on a stick so you’re not squatting — I started doing that after a knee twinge and it sped me up by a third.
7. White Coop, Natural-Stained Run: Contrast That Stays Clean
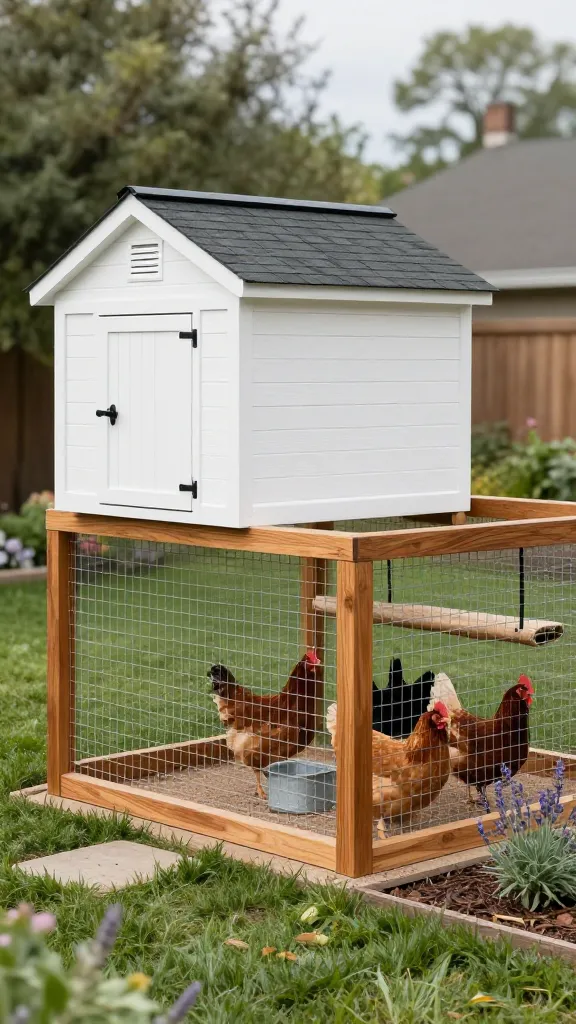
My hardest lesson was that trying to make every surface white is a losing fight in a real yard. The time I painted the entire attached run white, it looked perfect for 11 days; by week 4 the lower rails were espresso. What actually reads clean long-term is a white coop body and doors with a medium-brown or natural-sealed run frame. I used a clear exterior wood sealer on the run posts and rails ($22–$35 per gallon), two coats, and left the wire pre-painted white as above. The coop still pops like a postcard, and the run looks intentional at month 18.
There’s a cost trade: stain or sealer needs a re-coat every 2–3 years. Paint would push that to 4–5 in some climates, but not in the splash zone, and the visual cost of dirty white down low is worse than paying $22 for a fresh gallon on year 3. I priced this out twice before I trusted my own math: keeping the whole run white cost me an extra ~$18/year in paint and 3 extra hours of cleaning. Not worth it.
Make it yours: if you need pure white in photos, hang a removable white shade cloth panel ($12–$20) behind the pop door area and take it down when the mud season starts. Mine lives in a labeled tote now instead of on the fence.
Frequently Asked Questions
How do I keep a white chicken coop from turning yellow or green?
Use a primer-plus-semi-gloss system and wash high-touch zones weekly. I mix a mild outdoor cleaner at 1:10 and spend 10 minutes once a week on the skirt, doors, and window trim. Mildew-resistant exterior paint adds about $8/gallon and slows green film through fall.
What’s the best paint finish to keep everything white?
Semi-gloss exterior acrylic holds up and wipes clean; flat finish traps grime. On my 4×8, 1 gallon of primer and 1.5 gallons of semi-gloss cost $70–$105 total and has lasted 18 months with one touch-up.
Is a white coop too hot in summer?
Not if you vent it well and use reflective roofing. When I switched to white metal panels and added a 6-inch ridge vent gap, my afternoon interior dropped 6–8°F. Shade from a tree or a simple awning over the west wall helps more than paint color alone.
How do you clean the setup fast without a pressure washer?
Keep a garden sprayer with soap at the coop and a soft brush. Spray, brush, and towel the PVC skirt, door edges, and window rails — 10 minutes weekly. Monthly in muddy months, add a hose rinse on the run posts; that adds another 10 minutes.
Can I paint hardware cloth white to match the coop?
Yes — before you install it. I used a rust-inhibiting spray primer and satin white, 6 cans total for a 4×12 section, and it’s held 14 months without flaking. Don’t downgrade to chicken wire for looks; the first year I tried that, a raccoon breached it in 1 night.
Start With What You’ll Clean, Then What You’ll Paint
If you do one thing this weekend, prime and semi-gloss just the pop-door frame and the lower 12 inches — it’s a 2-hour project that makes Monday-morning wipe-downs easy. If you’ve got another hour, cut a removable kick-panel from a fiberglass sheet and test how satisfying it is to hose yesterday off today.
— ask me how I know.