8 Chicken Coop Paint Color Ideas — And What Holds Up Outside
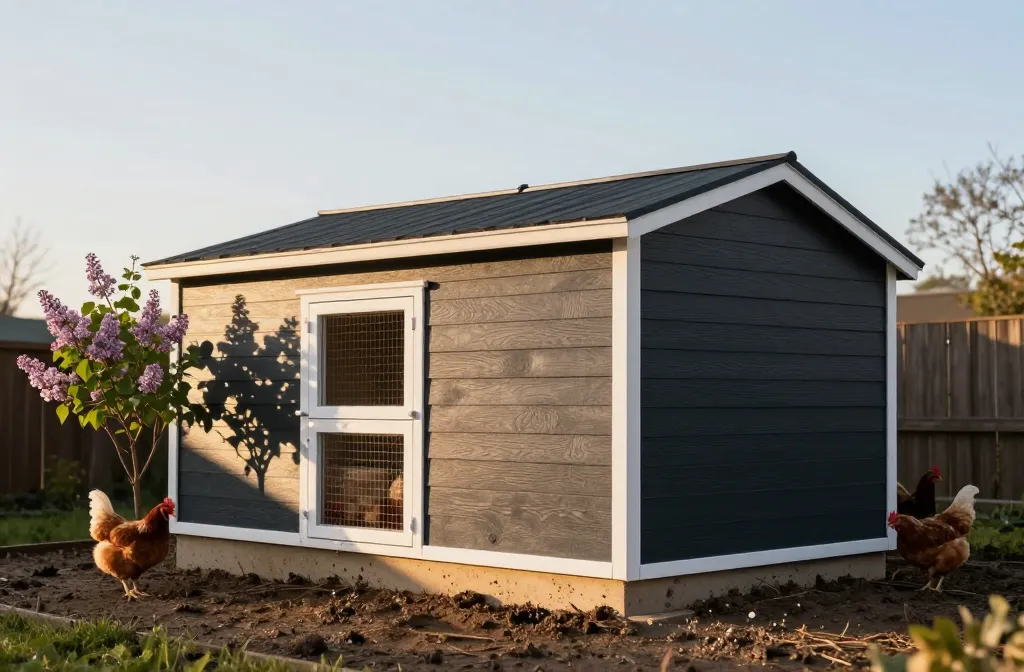
Chicken coop paint color ideas are fun until you’re standing in the exterior aisle with four sample quarts and a cart full of pipe strap. The first time I painted my coop, I picked a cute sage for $24 a gallon and watched it chalk off the south wall in one summer. Here’s what I’ve actually painted, what it cost me per wall or per coat, and which finishes made it through real weather. By the end, you’ll know which colors and products to buy on a normal Saturday so your coop looks good and still sheds water in year 2.
1. Deep Charcoal Siding, White Trim: Hides Mud and Sun Fade
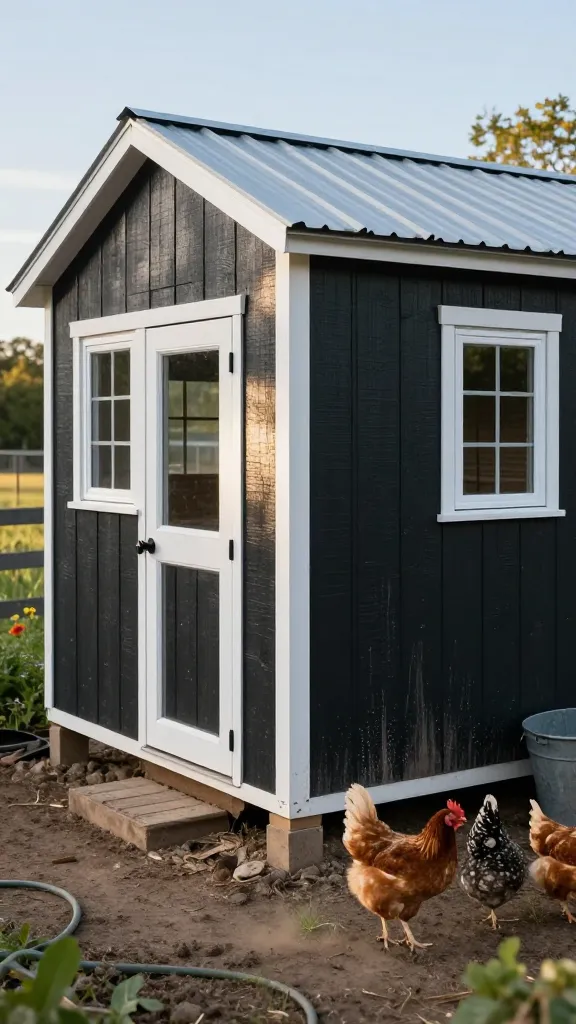
I wanted “farmhouse fresh,” but my run is a mud machine in March. After scrubbing mud splatter off a light wall for the third time, I taped everything and rolled on a deep charcoal exterior paint. It cost me $38–$55 per gallon depending on the sale and covered in 2 coats over primer on plywood.
The best part is how it hides splash-back and the weird green dust my flock kicks up in August. The catch: dark colors get hotter on sun walls. On my west wall, surface temp hit 128°F on a 96°F day when I checked with a cheap IR thermometer. I planted a $22 bare-root lilac for shade and added a vent strip high under the eave; the birds still had real ventilation and I didn’t have to repaint every spring.
Make it yours: go mid-charcoal instead of near-black if you’re in a hot climate; you’ll shave 5–10°F off that surface temp with almost the same mud-camo effect.
2. Barn Red Body with Black Hardware: Classic That Hides Rust
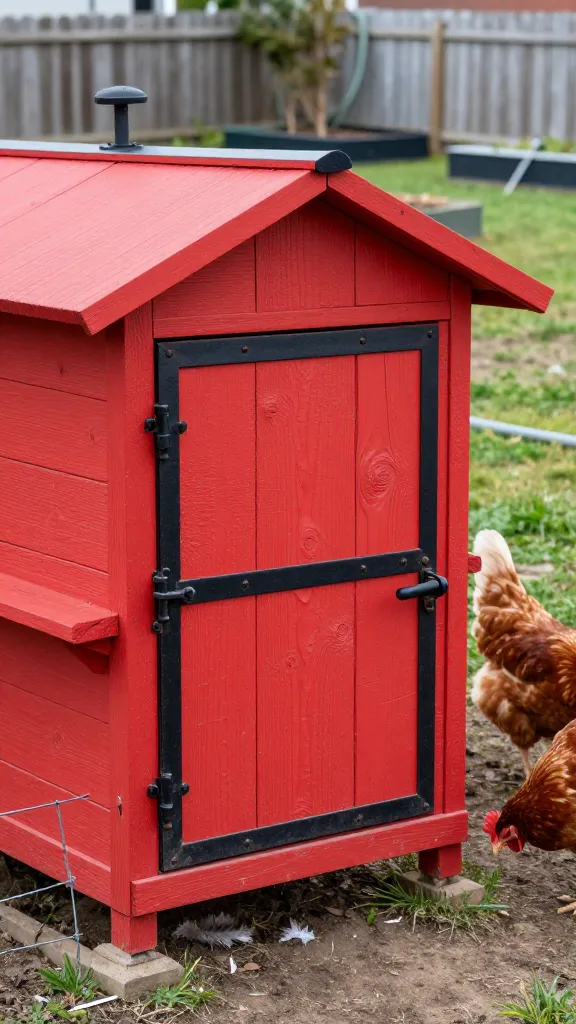
I swung barn red because the leftover trim paint from a neighbor’s shed project came my way for free and I’m not proud. I bought $22 of exterior primer to keep the tannins from bleeding through and one $42 gallon of exterior red covered a 4×8 and a 4×6 wall plus trim touch-ups.
Red does fade, but mine faded evenly over 2 summers and didn’t show rust stains from the latch the way white did. The con is bleed-through: I skipped primer on one panel and the knots shadowed back in 2 months. If your siding is raw or patched, budget the primer. I learned that twice and paid for it twice.
Make it yours: if you want the red without the maintenance, choose a slightly browner red—less pigment fade, fewer recoat regrets.
3. Light Gray Coop, White Doors: Clean Without the Scrubbing
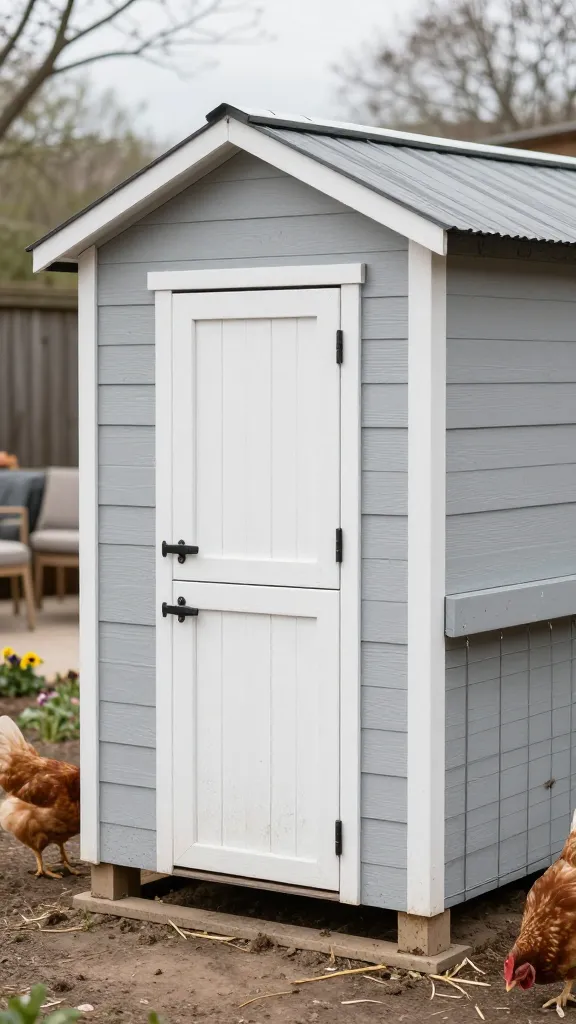
The time I tried a pure white coop, every rain turned the bottom 12 inches beige. I repainted with a soft light gray exterior paint, $36–$50 a gallon, and switched the door to white so it still looked crisp from the patio.
Light gray shows less splash and sun chalking than white. I still hit the lower skirt with a hose in spring, but it doesn’t look like a before photo by July. The tradeoff is touch-up: if you mix your own gray from leftovers (I did on the pop door), you will not match it again. Keep a labeled jar of the actual color for the season; my $3 sample pot saved me a second $40 gallon. I also write the mix ratio on masking tape stuck inside the coop door, since I have already forgotten it once and had to eyeball a rematch from memory.
Make it yours: pick a gray with a tiny green undertone if your yard reads warm brown—dust and pine shavings disappear against it better than a blue-gray.
4. Two-Tone: Dark Lower 18 Inches, Lighter Above for Splash Control
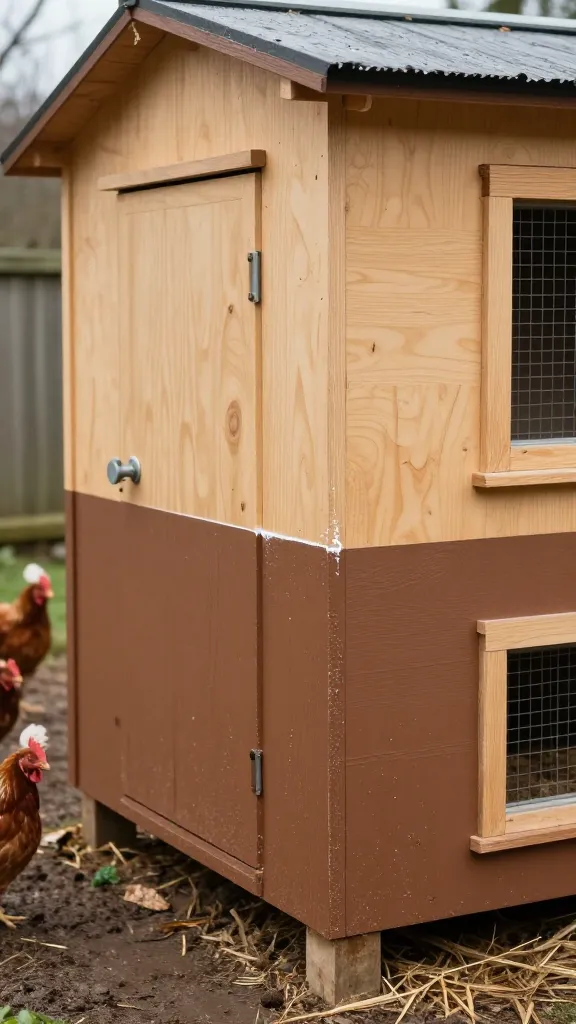
I got tired of repainting the lower skirt and tried what a fence guy told me: go darker where the mud hits. I taped a level line at 18 inches and rolled the bottom in a medium brown (leftover deck color), top in a lighter tan. My spend was $0 on the brown (leftover) and $34 for one gallon of the tan, plus a $6 roll of tape.
It looked intentional and bought me a full extra season before the bottom band looked tired. Two years on, the dark lower band still hides splash the way it did on day one; it’s the tan upper section that needed a light refresh coat this spring, and that was one $18 quart, not a full gallon. The con is the tape line: on rough plywood it bled. I ran a bead of cheap clear caulk on the line for the second side and it stayed crisp. If you don’t love caulk, use a wider trim board as the visual break and skip the tape entirely.
Make it yours: swap the brown for deep green if your run has grass half the year; splash marks go invisible and you’re not fighting undertones.
5. Natural Wood Look with Exterior Stain: Fast to Recoat
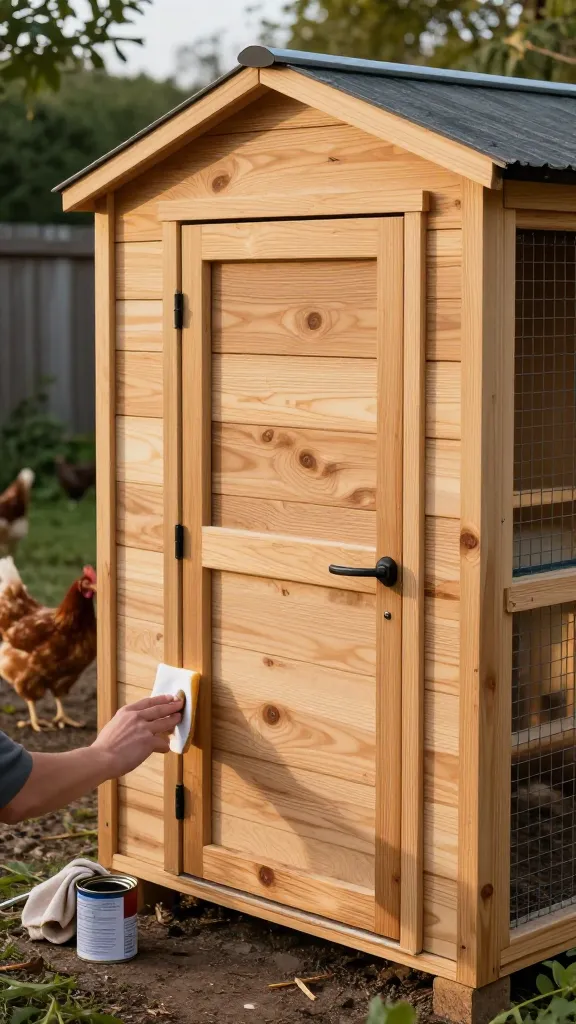
When I rebuilt the east wall with new plywood, I wanted fast coverage and a forgiving recoat. I used a semi-transparent exterior stain in a cedar tone, $28–$45 a gallon. It soaked in quick and one afternoon took the wall from raw to sealed.
Stain won’t peel like paint; it just fades, and that’s why I like it on doors that get kicked and bumped. The rub is UV: my south-facing door needed a fresh wipe-on coat at 18 months. That was a 20-minute job and maybe 6 ounces of product, so I didn’t mind. Don’t use stain over old flaking paint—strip or sheath it, or the blotchiness will haunt you.
Make it yours: if your coop siding is rough-sawn, choose semi-solid stain; it evens things out and lasts closer to 2–3 years on the sun side.
6. High-Contrast Trim to Save a Messy Build
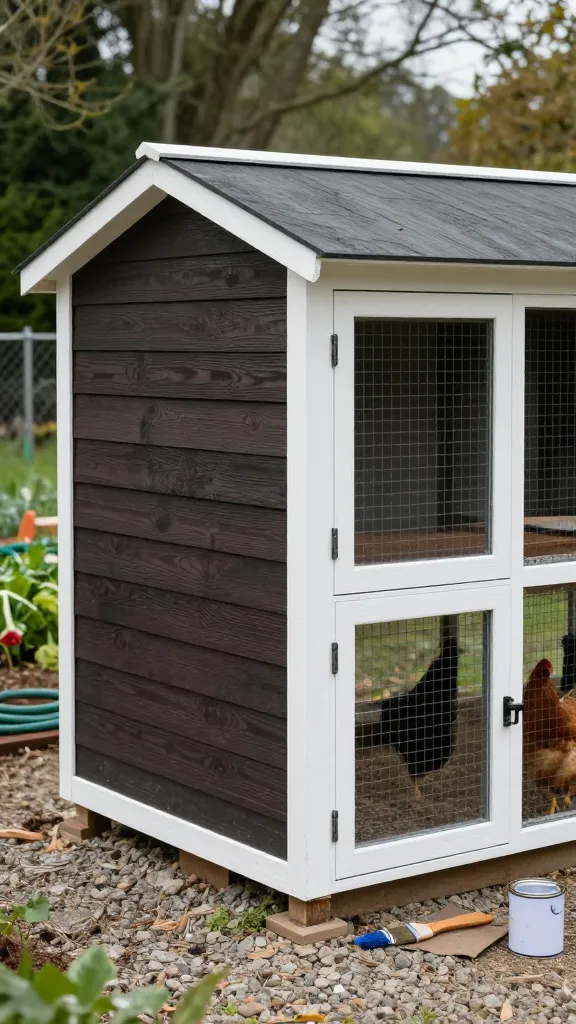
I have never cut a perfectly square trim board on the first try. The day I discovered high-contrast trim, I stopped pretending and leaned in. I spent $24 on a quart of exterior enamel and hit only the trim, fascia, and pop-door frame in crisp white against darker siding.
It makes the whole thing look deliberate, and the enamel cleans with a hose. The hitch: enamel will show brush marks if you go back over half-dry paint. I learned to do long wet passes and stop touching it. It’s not structural, but honestly it is the single cheapest “my cuts weren’t perfect” camouflage I’ve found that still looks tidy from 20 feet.
Make it yours: choose an off-white or very pale tan for trim if you have a gravel run; it hides dust better but still reads bright.
7. The Primer That Actually Matters on a Coop
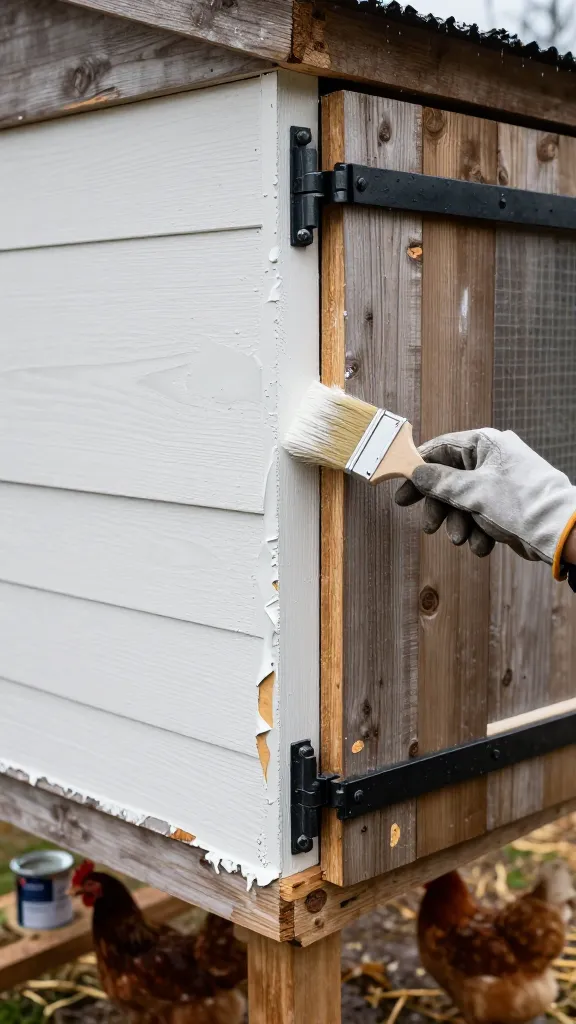
The first time I skipped primer to save $20, my topcoat peeled around the hinges in 4 months. Moisture sneaks under hardware and into end grain. Now I use an exterior bonding primer on raw edges, knots, and around all hardware spots, even if I’m too impatient to prime the whole sheet.
My last go took 1 quart at $18–$24 and added maybe 30 minutes, and I keep a leftover quart on the shelf now specifically for touch-ups around the latch and hinge plates where moisture likes to sneak in first. Two winters later the south wall still beads water instead of chalking. The only downside is scheduling: if you’re racing a rain cloud, primer adds a cure window. I prop a box fan in the pop door and it’s usually dry to coat again in an hour.
Make it yours: if your budget is tight, spot-prime only the lower 24 inches, all cut edges, and knot clusters; that’s where failure starts first.
8. Hardware and Accents in Flat Black: Dings Disappear
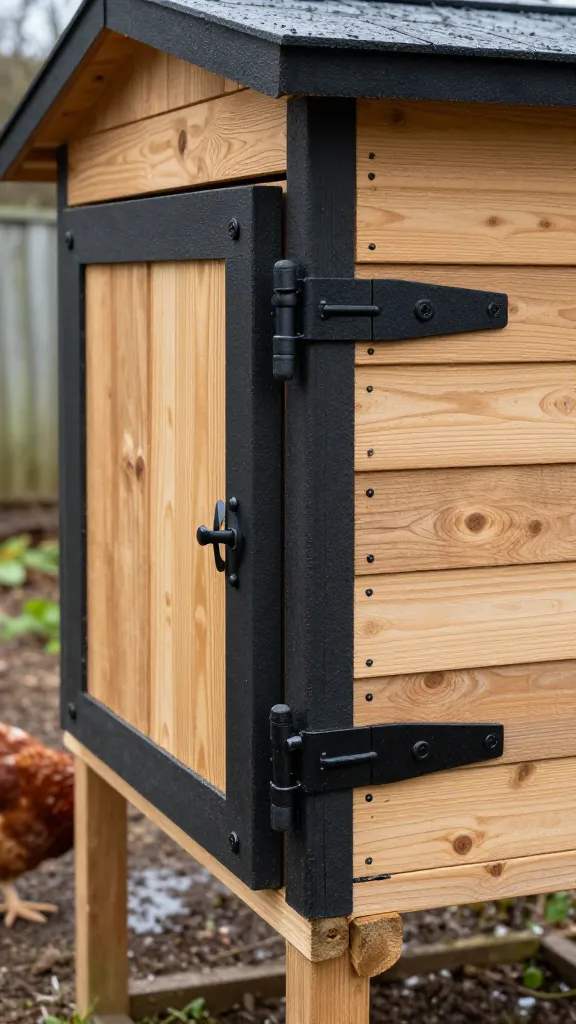
I used to use whatever metal finish was in the garage. Every scuff shouted at me, and the zinc took on weird streaks after our first wet winter. I switched to painting all exterior screws, hinges, and latches with a $7–$12 rattle can of flat black meant for outdoors.
Black hides fingerprints and the occasional hammer miss, and it makes a plain $9 hardware-store hinge look like you planned it that way from the start. The caution is moving parts: don’t spray into the pivot or you’ll gum it up—I did that on a hasp and had to work it loose with WD-40 and an old toothbrush. Also, paint hardware after installation, not before, or you’ll chip it driving screws.
Make it yours: if you like a softer look, use dark bronze instead of black; same dirt-hiding, slightly warmer next to reds and browns.
Frequently Asked Questions
What paint colors hold up best on a chicken coop in full sun?
Mid-tone colors (charcoal, medium brown, dusty green) fade more gracefully than bright whites or pure reds. My deep charcoal needed no touch-up for 2 seasons, while my white band showed dirt in 2 weeks and needed a washer pass monthly. Expect south and west walls to age faster by a full season in hot zones.
Do I need to prime a coop before painting?
Prime raw wood, cut edges, and around hardware every time. I use about 1 quart ($18–$24) for a small coop’s problem areas and it prevents peeling at hinges and end grain. If you’re recoating sound old paint, wash, scuff, and spot-prime only where you sanded through.
How much paint will a small build actually use?
For a 4×8 footprint with two tall walls and two short, I use 1–2 gallons of exterior paint for two coats, plus a $24 quart of trim enamel. Stain goes farther—usually 1 gallon for the same footprint with one generous coat.
Is stain or paint better for a coop in a wet climate?
Semi-transparent or semi-solid stain wins for me where rain is frequent because it won’t peel; it just fades and is easy to refresh. On my south door, I wiped on a quick coat at 18 months using maybe 6–8 ounces. Painted walls look crisper but need better prep and ventilation to avoid peeling.
What’s the safest finish around the flock?
Use exterior-rated products and let them cure fully before birds touch them—at least 24–48 hours for paint and 24 hours for stain in dry weather. Skip painting the inside of the coop where they roost and peck; seal end grain only and use hardware cloth for protection rather than relying on a finish.
Pick a Color You Can Live With at 6 a.m. in Mud Boots
If you’re stuck, buy one gallon of the wall color you think you want and paint a single side this weekend. Take notes on what it looks like at noon sun and after one rain. The herd of “perfect” options gets smaller and kinder when you see them on your actual coop.
— ask me how I know.