8 Colorful Chicken Coop Ideas — Beyond Barn Red
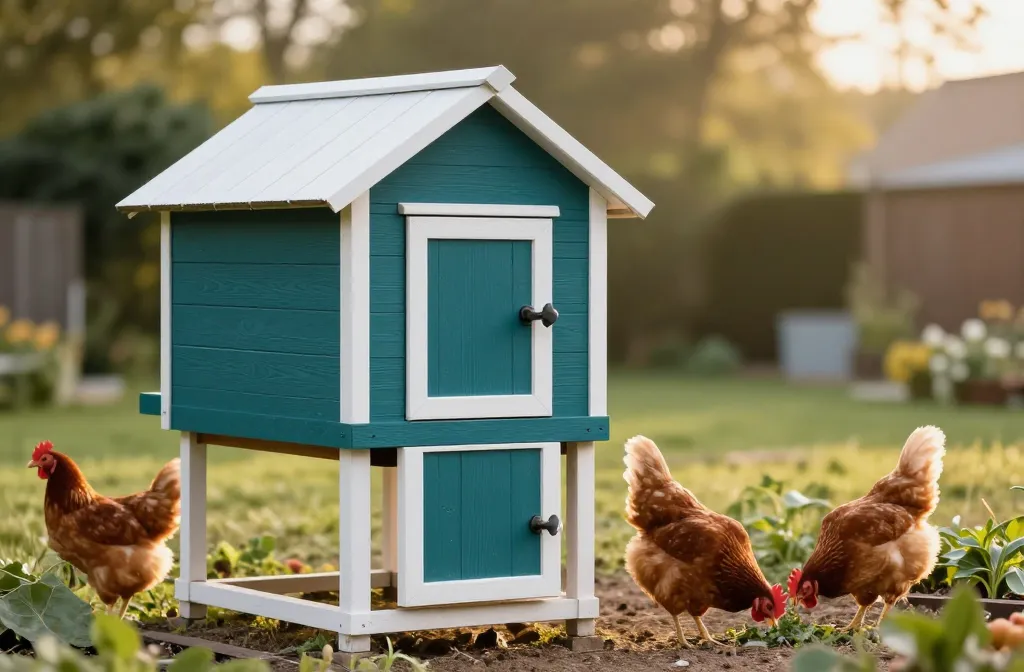
Colorful chicken coop ideas are fun until you’re standing in the paint aisle at 7:42 p.m. doing math on the back of a feed receipt. I was there with three sample chips, a stubborn memory of “barn red,” and a $75 paint budget that had to cover the whole coop, trim, and a door I forgot I’d primed. Here’s what I actually painted, what held up through two summers and one hard winter, and what I’d skip. By the end, you’ll have eight specific ways to add real color without wrecking your weekend or your birds’ routine.
1. Two-Color Coop Body and Trim: , Zero Guesswork Later
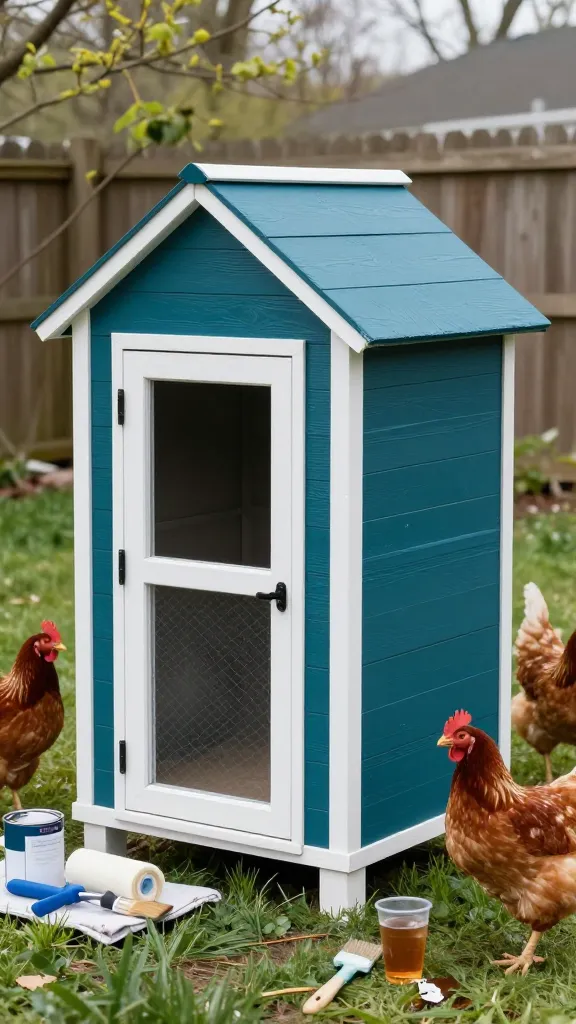
I wanted cheerful without circus, so I taped off one Saturday for body-and-trim like a normal house. I bought a 1-gallon exterior satin for the body in a deep teal and a 1-quart exterior semi-gloss for trim in white — $68 + $22 = $90 in my region last spring. I used a 2.5-inch angled brush, a 6-inch roller, and painter’s tape I already had; total time was 4 hours with drying breaks and one iced tea I kicked over with my boot.
The honest part: I tried doing the whole thing with a single color first to save the $22, and the coop looked like a storage shed until I added the white trim the next day. The white semi-gloss is easier to clean around the pop door and nest box edges — dried mud wipes in one pass. If you’re in a wet place, get the mildew-resistant exterior line even if it’s $8 more; mine didn’t peel through one winter of freeze-thaw.
Make it yours: flip the values — light body, dark trim — if your coop bakes in full sun. A light body color will run 5-10°F cooler inside on July afternoons than a dark one, all else equal.
2. Painted Plywood “Tile” Floor: Color That Mops,
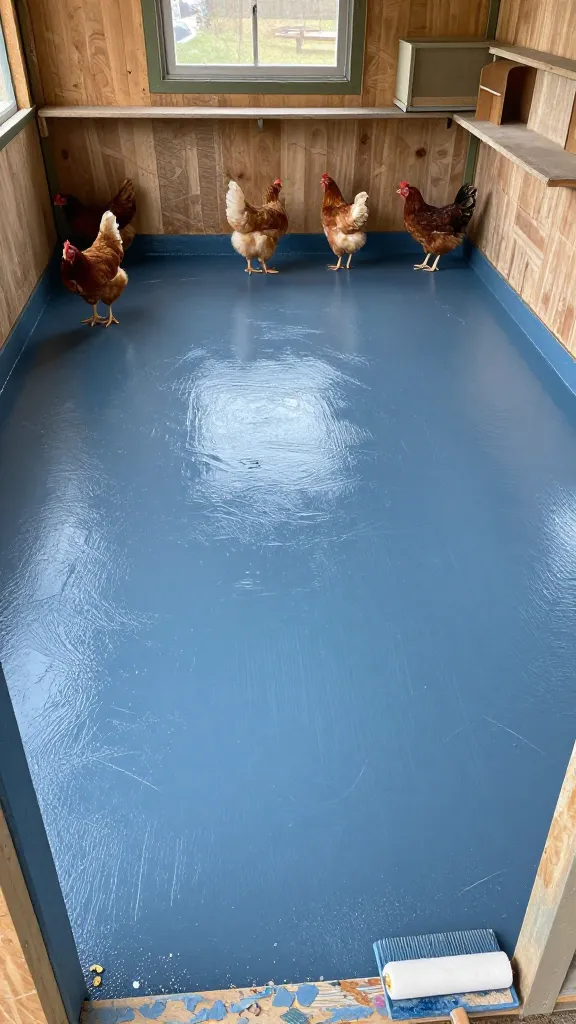
The first time I tried color on the inside, I went cute with peel-and-stick “tile” that cost $36 for a box and lasted 11 days before the corners curled under pine shavings and humidity. I pulled it all up and rolled on two coats of porch/floor enamel in a slate blue, $42 for a quart, straight onto sanded plywood.
I cut in at the edges with a 2-inch brush and used a foam roller; each coat dried in about 4 hours at 68°F. The finish has survived daily scratch-and-kick from six hens for 14 months. The catch is traction: enamel is slick if it’s wet. I mixed in 1 tablespoon of non-slip grit from the paint aisle for the second coat — it was $6 and solved the skating rink problem after a rainstorm blew in.
Make it yours: if you deep-litter, skip floor color and put the enamel on your kick boards and threshold instead — you’ll scrub there, not under 6 inches of shavings.
3. Color-Blocked Nest Boxes: The 40-Minute Lift
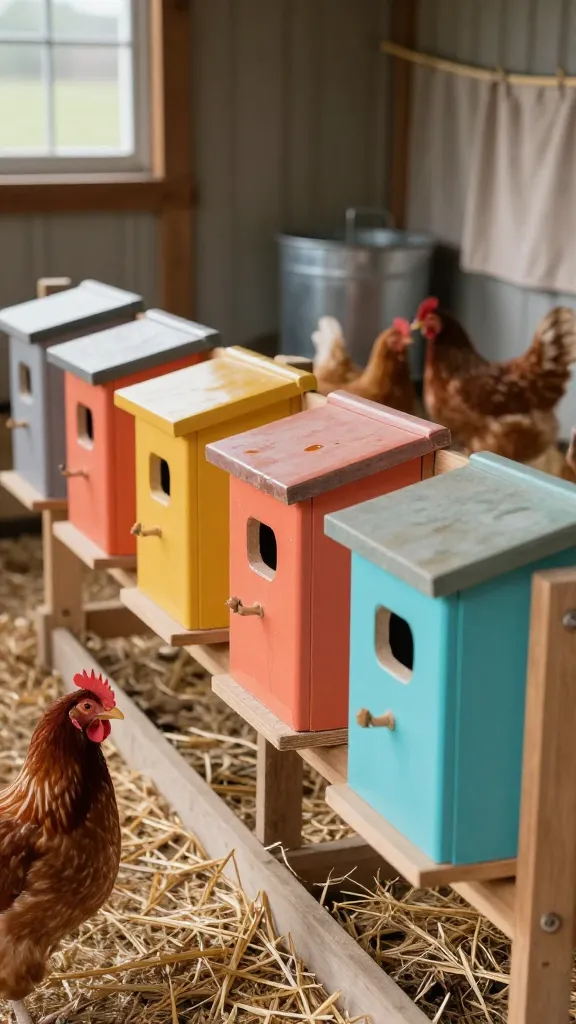
My nest fronts were scruffy plywood that looked worse every time I wiped them. I masked each opening with tape and hit them with three different bright colors from $4–$6 sample pots I already had — coral, mustard, and lagoon. Total paint-on time was 40 minutes; I let them cure overnight with the nest curtains clipped up.
Payoff was bigger than expected: the contrast makes it obvious when a box needs attention, and the semi-gloss finish actually releases dried yolk from a break I didn’t see for a day — one damp rag, done. The only hiccup was the hens pecking the tacky edge the first hour I reopened the boxes; I now paint in the evening so it’s bone-dry by morning. Fresh paint smell clears faster if you leave the pop door and vents open for 24 hours.
Make it yours: use a single bold stripe across all nest fronts if you want color without busy — 1.5 inches of tape, one sample pot, and it reads intentional.
4. Hardware Cloth With a Painted Frame: Secure First, Then Color
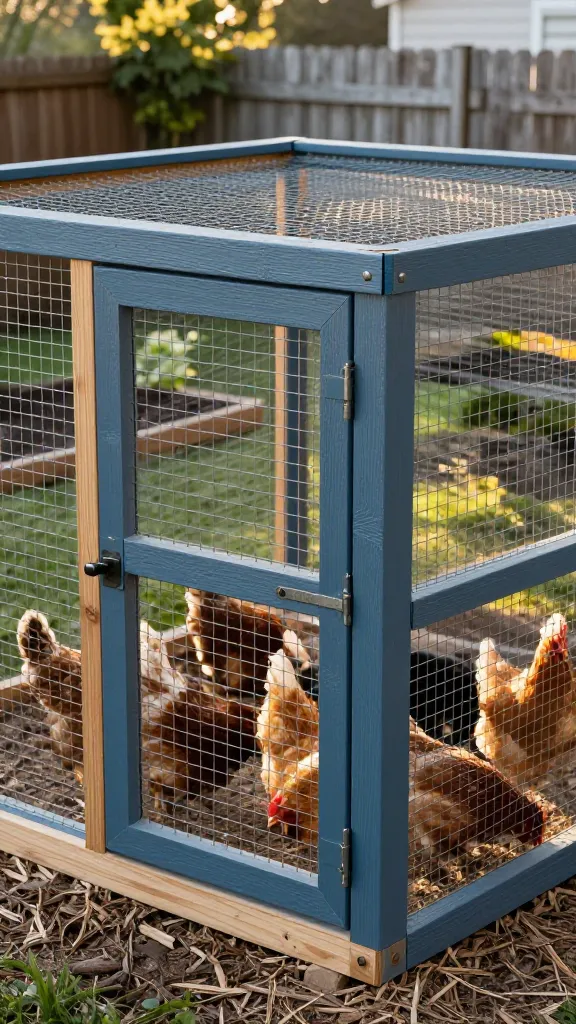
I tried to “color” my run once with plastic mesh in a cute green. It cost $28 for a 50-foot roll and lasted exactly one night — something chewed through it like al dente pasta. I rebuilt with half-inch galvanized hardware cloth at $45–$70 per 25-foot roll in my area and painted only the wood frame a classic blue-gray.
That’s the stance I landed on: color belongs on the structure, not the security. Hardware cloth is worth the line item every time. I primed the pressure-treated posts after 30 days of drying, then brushed on two coats of exterior satin; it took one afternoon and one extra beer because I undercounted screws and had to go back for a box of 1.625-inch exterior screws, $9. Two winters in, the cloth is tight, the frame looks clean, and the only maintenance is touching up scrapes where I rammed the wheelbarrow.
Make it yours: if you’re renting and can’t paint posts, paint removable 1×4 trim slats in your color and screw them over the run framing — same look, easy to pull when you move.
5. Sunny Pop Door With a Contrasting Edge You Can See at 20 Paces
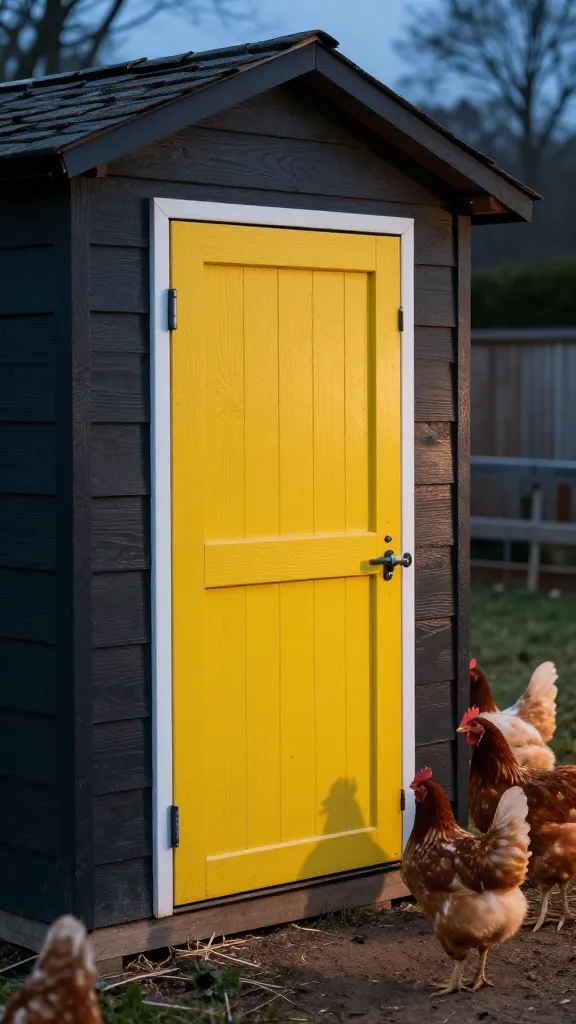
I kept leaving the pop door cracked because the coop and the door were the same dark color. After one cold snap where I found it ajar at 10 p.m., I painted the pop door a bright yellow from a $5 sample and ran a 1-inch white border around the opening with leftover trim paint. Now I can spot “open” or “shut” from across the yard without guessing.
I sanded the door, primed with a general exterior primer I had, and put on two thin coats with a foam brush — 25 minutes of actual work. The catch is peck curiosity again: I waited a full 24 hours before letting the flock see it. The white edge also makes it easier at dusk for them to hit the opening — blunt truth is, chickens see contrast better than nuance, and the line helps.
Make it yours: in snow country, pick a door color that pops against white — cobalt or tomato red — so you see it during storm checks at 6 a.m.
6. Painted Vent Baffles and Soffits: Airflow You Won’t Regret Photographing
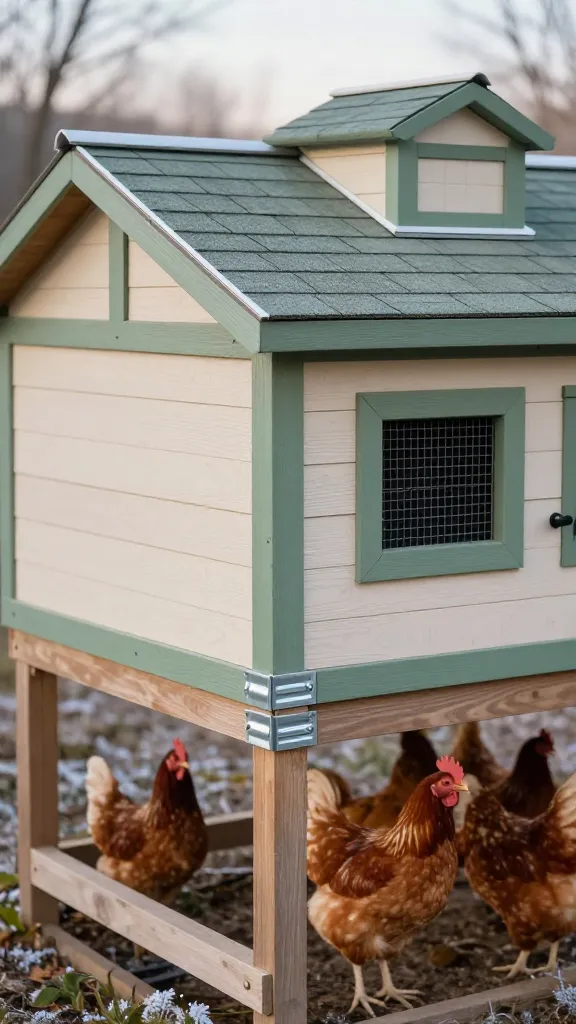
The first winter I learned ventilation the hard way: frost on combs even though the coop was tight as a thermos. I added continuous soffit vents and two high gable vents and painted the baffles a calm sage instead of trying to hide them. Materials were $18 for metal vent strips and $12 for a quart of exterior paint I found in the mis-tint rack.
The color is almost a footnote, but it mattered. By painting the baffles, I stopped mentally treating them like “temporary fixes” and stopped stapling random stuff near them. Moisture dropped; ammonia never spikes now because I leave them open year-round. The only watch-out is to avoid dark colors on south-facing soffits — they can run hot in July and soften paint faster; I learned that on one fascia board I had to sand and repaint after 1 summer.
Make it yours: if you don’t want to paint soffits, paint the vent surround only — a 2-inch ring in a fun color reads finished without committing you to a ladder day.
7. Stencils on the Run Panels: Pattern Without Paint Buckets
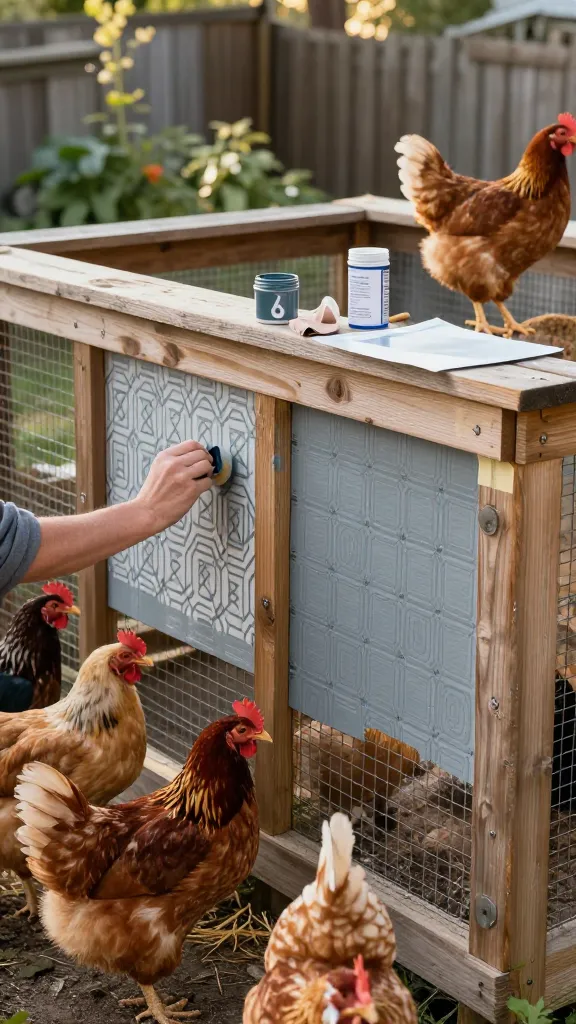
I was suspicious of stencils because everything I pictured looked like a faux farmhouse sign. Then I tried a $12 mylar stencil with a simple geometric repeat and one $6 sample pot in a cool gray on the run’s outer boards. I did one panel as a test; it took 30 minutes and cheered the whole side yard up.
What worked: low-tack spray adhesive on the stencil, a dry foam dabber, and taking my time. What didn’t: trying to rush the second coat; that’s when you smudge. The pattern also helps me spot loose staples because the eye stops on “off” spots — I’ve found two popped staples fast because a diamond was crooked. Weathered wood holds stencil paint just fine if you wipe dust first; mine’s held through 9 months of rain and sun with only one tiny touch-up.
Make it yours: do a single band around the middle of the coop like a belt if you’re worried about visual clutter — the line gives you color without busyness.
8. Corrugated Coop Roof With a Painted Underside: Sound and Shade
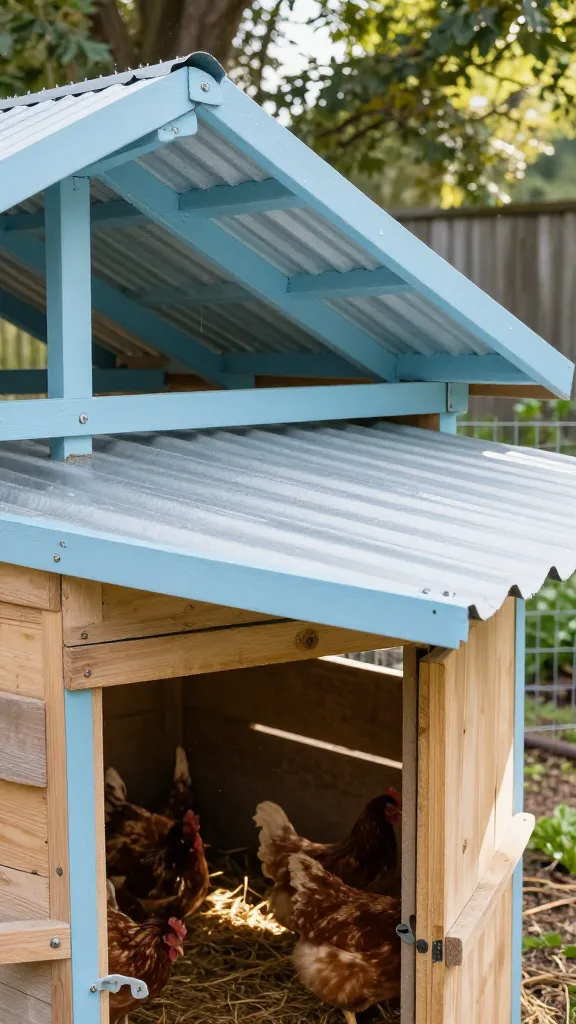
I priced colored metal roofing, and the quote made me laugh-cry: $240 more than galvanized for my 6×8 roof. I bought plain galvanized panels at $22–$28 each (I needed 4) and painted the underside of the roof framing a soft blue with a $22 quart. It lifted the gloom inside and, unexpectedly, calmed the sound in rain — less echo against bare wood.
I left the topside unpainted for heat reflection; the light color stays cooler than dark paint here in July by a few degrees. The only catch is drips: paint overhead is drippy work. I wore a hat, rolled with a 3/8-inch nap, and kept a drop cloth over the roosts. Two summers later, the blue is still blue, and I don’t dread cleaning days because the interior doesn’t feel like a shed anymore.
Make it yours: if you already have dark shingles, skip interior color on the ceiling and paint the roost bars instead — one quart covers 4 bars with two coats and makes scrubbing droppings faster.
Frequently Asked Questions
What paint is safest for a chicken coop interior?
Use exterior, low-VOC latex in satin or semi-gloss and let it cure fully with vents and doors open for 24–48 hours. I’ve had good results with porch/floor enamel on high-abuse spots; it took 2 coats and a full day to stop smelling.
Do colorful chicken coops attract predators?
No color choice compensates for security. Predators follow scent and opportunity, not paint, so spend the $45–$70 on half-inch hardware cloth and solid latches first. Keep color to the wood and trim; never substitute decorative mesh for real wire.
How much does it cost to paint the whole thing in two colors?
Plan on $90–$130 for one gallon of body color and one quart of trim, plus brushes and tape if you don’t have them. My teal-and-white setup was exactly $90 for paint and 4 hours of labor; add $8–$12 if you choose mildew-resistant lines.
What colors help keep the coop cooler in summer?
Lighter body colors reflect more sun and can keep interior temps 5–10°F cooler on hot days compared to dark paints of similar sheen. Pair that with shade over the run and steady ventilation — color helps, airflow matters more.
Can I paint the run, or will the birds peck it off?
You can paint the wood framing of the run; let it cure completely and avoid painting any surface they’ll regularly peck or scratch. My framed boards held paint for 9–24 months before any touch-up, while I leave the hardware cloth bare for safety and longevity.
Pick a Color, Then Buy the Hardware Cloth
If you’re stuck spinning the color wheel, choose one body color and one trim, and put your real dollars into the secure parts. This weekend, you can tape one door, roll one side, and see a win by dinner.
— ask me how I know.