8 Cute Chicken Coop Ideas — Small Touches That Add Up
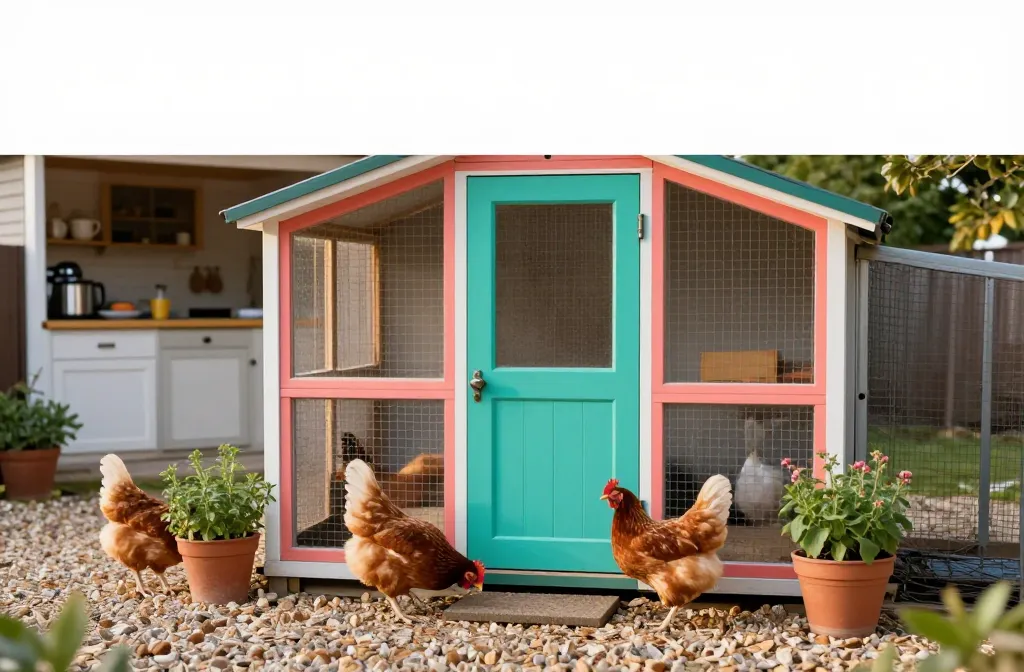
Cute chicken coop ideas got me into this mess the first spring I brought home four peeping chicks and a hardware store receipt that made me sweat. I stood in the paint aisle holding three sample cards and a $12 quart, trying to figure out how to make a plywood box look like something I meant. By the end of this, you’ll have eight small, buy-it-at-the-store touches that make a coop look pulled together without skipping safety or blowing $300 on decor. I’ve done all of these in my own yard; some flopped for a week, some are still going two winters later. Nothing here needs a nail gun or a table saw.
1. A Color Block Door You Can See From the Kitchen
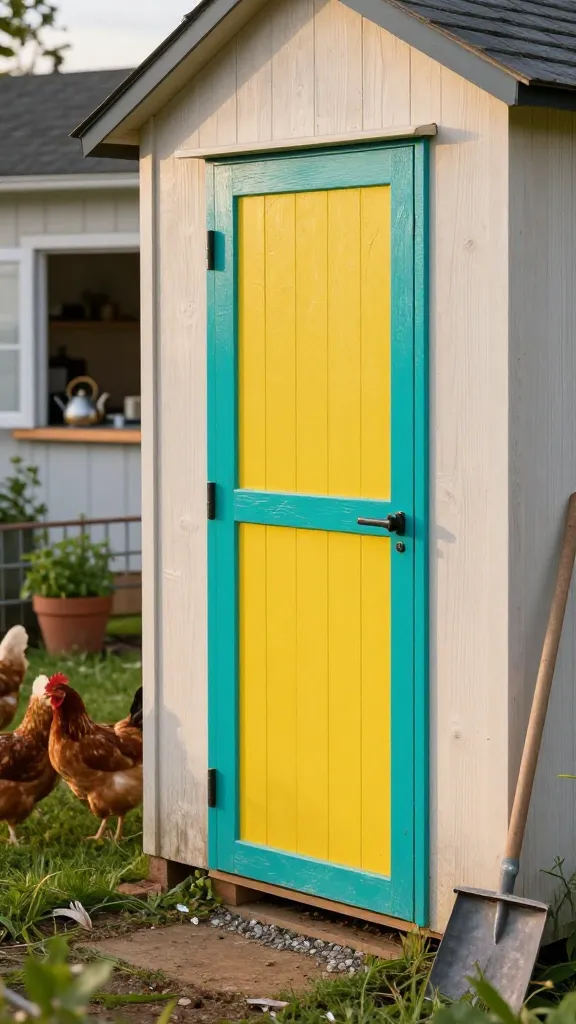
The day I painted my coop door a high-contrast color, I was really just trying to see at a glance if I’d latched it. The week before, I left it ajar at dusk and found feathers in the grass. I grabbed an exterior sample quart in a bright shade and a 1-inch angled brush and went to work.
One quart of exterior paint ran me $12–$18 depending on the store and year, plus $3–$5 for a cheap brush. I scuffed the plywood with 120-grit, wiped it down, and did two thin coats. It dried in under 2 hours in mild weather and has held up 11 months with one quick touch-up on the latch edge. The payoff is visual: from 40 feet away, I can tell the door is shut because the color sits flush in the frame.
The catch: glossy finishes show dust; I switched to satin the second time. And paint on raw edges will wick water — I sealed the cut edges with exterior caulk first, which added another $5–$7 and 15 minutes.
Make it yours: if you rent or can’t paint, screw on a thin panel of pre-finished PVC trim in a contrasting color — I paid $11 for a scrap-sized piece and it wipes clean with a hose.
2. Hardware Cloth Window Grilles That Read Like Cottage Trim
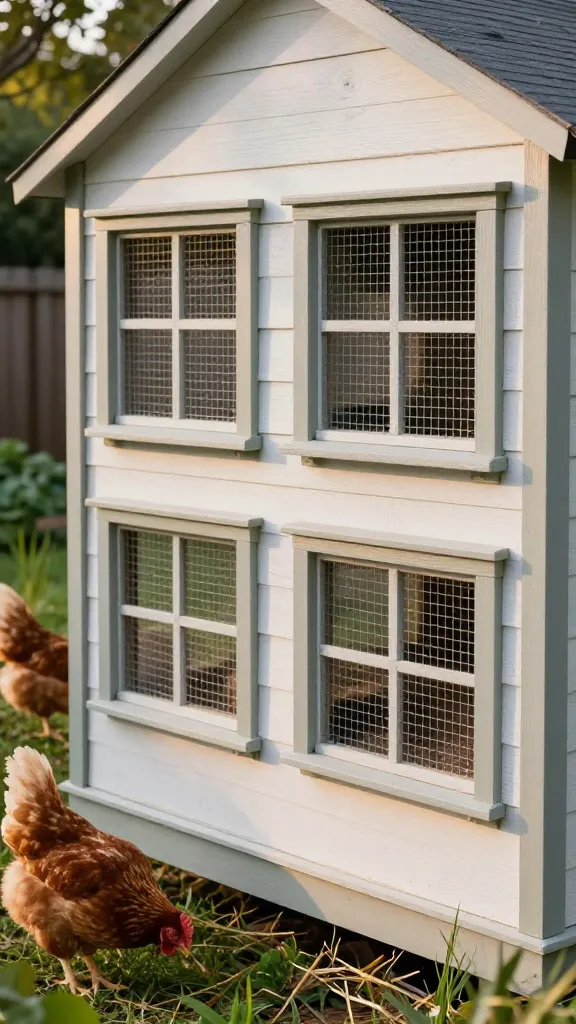
I wanted cute “paned” windows without trusting chicken wire, which I learned the expensive way when a raccoon shredded mine in a night. The first time I tried fussy trim strips, they bowed and trapped moisture. Round two, I used the safety layer as the look.
I cut half-inch hardware cloth into neat rectangles and sandwiched it between 1×2 furring strips. A 25-foot roll cost me $45–$70 over the past few years; for two small windows I used about 4 feet ($8–$12 of the roll). Furring strips were $2–$3 each; I used four, plus exterior screws I already had. The “grille” shadow makes the openings read finished, and it’s predator-proof. Two winters in and zero rust because I used galvanized cloth and primed the wood.
The honest part: cutting hardware cloth is scratchy and slow. I burn through one pair of cheap gloves each project ($3–$6) and use tin snips; plan a 40-minute swear session per window if you are like me the first time.
Make it yours: paint the outer face of the 1x2s the same color as your door for a subtle match — I did mine from the leftover quart, so the cost was $0.
3. The Solar Path Light That Makes Lock-Up Less Fumbly
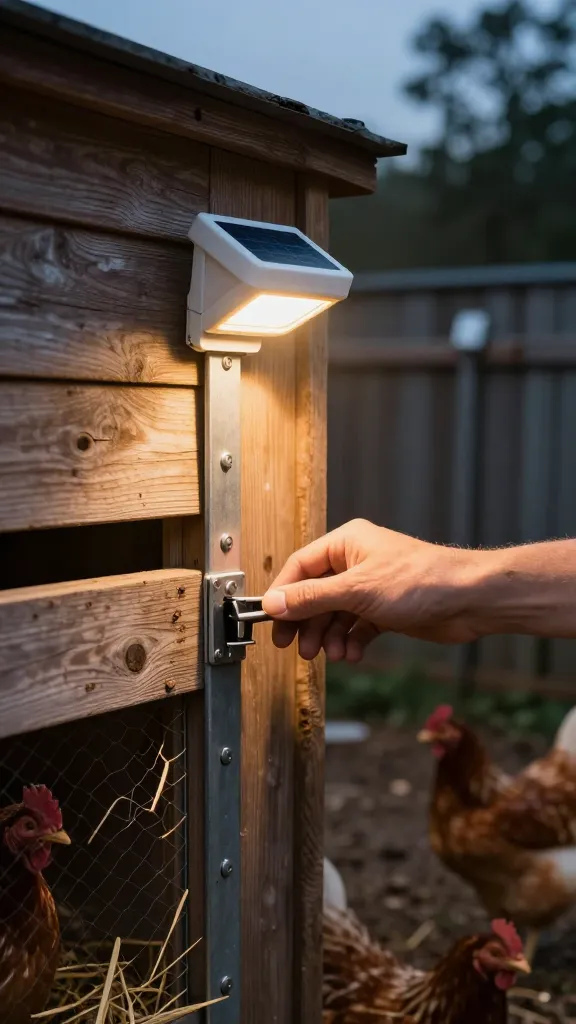
I used my phone flashlight for months, which is how I dropped it in the mud during a November lock-up and couldn’t find the latch. I stuck a single solar path light near the pop door the next day just to test the idea.
Basic stake-in solar lights run $9–$15 each. I cut off the stake and zip-tied the head to a T-post set 18 inches from the door. It throws a small circle of light right where my hands are. The first one I tried made it through 14 months before dimming; I spent another $11 to replace it and now I keep a spare in the shed. No wiring, no trench, and it charges fine with half-day sun.
Two things: keep it outside the run so curious beaks don’t test it. And in deep winter, solar lights fade earlier; I added a $7 mechanical timer on a plug-in string light inside the coop for the 5–7 pm window when days are shortest, but I do not run bright light all night because it stresses birds.
Make it yours: if your door is shaded, mount the light 3–4 feet away where it gets sun and angle it at the latch — a single zip tie and a screw eye did the trick for me.
4. Nest Box Curtains That Actually Stay Clean
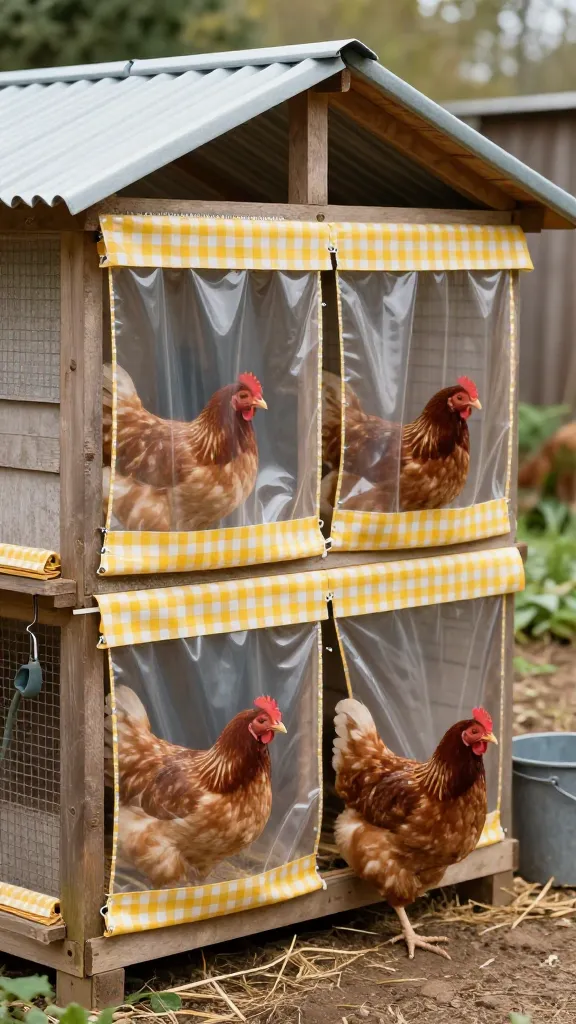
I loved the look of gingham nest curtains until week two, when they were dusty, pecked, and I was washing tiny curtains like a doll mom. I switched to something I could hose.
I cut a vinyl tablecloth into 10×12-inch strips and stapled the top edge inside the nest roof. One tablecloth was $6–$10 and made enough for all three boxes plus a spare set. They hang with a little weight, give the girls privacy, and when they get grungy I wipe them or replace a strip for pennies. My first set has lasted 9 months; two strips torn by a determined hen took 5 minutes to swap.
Privacy helps reduce egg-eating in some flocks; it did for mine within a week. What didn’t work: I tried fabric backed vinyl once, and the frayed edge wicked gunk. Straight vinyl or outdoor mesh is better. Also, don’t block ventilation — leave at least a 2-inch gap up top.
Make it yours: punch two holes in the bottom corners and add small stainless washers with zip ties for a cleaner drape — I spent $3 on a pack of washers and haven’t had a curtain flip up since.
5. Coop Skirt Planting Bed That Hides the Block Base
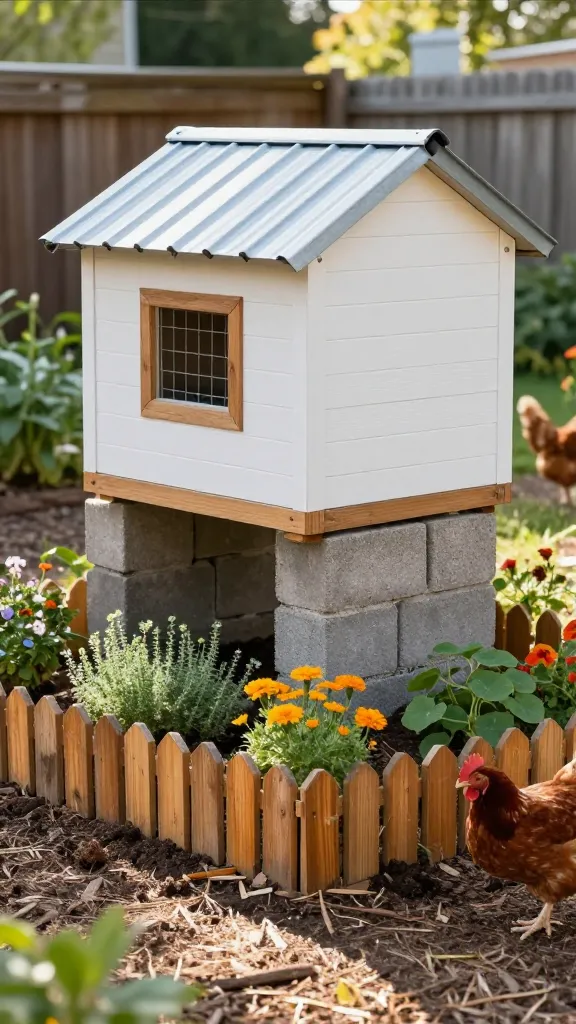
I built my first coop on stacked concrete blocks because that’s what I could carry alone. It worked but looked like a shed on stilts. The “cute” version is a shallow raised skirt bed that hides the blocks and soaks up splashback.
I used cedar fence pickets cut to length and screwed into a low U around the coop footprint, 6 inches from the wall. Pickets were $2.50–$4 each; I used 8 plus two 2×2 stakes ($3 each) and screws I had. Filled with a bag and a half of topsoil ($5–$7 each) and planted tough perennials that aren’t toxic to chickens. The bed keeps mud from painting the lower siding and makes the base disappear. Two seasons in, the cedar grays nicely and hasn’t rotted.
The tradeoff: you must choose plants the birds can’t wreck in five minutes. My first go with lettuce was comedy; it lasted an afternoon. I switched to lavender and hardy grasses outside the run line, and I stapled hardware cloth guards in front for the first month ($2 worth of scrap). Also, keep any soil away from the actual coop wall so the siding can dry.
Make it yours: if you’re in a rental, use plastic landscape edging and two bags of pea gravel ($4–$6 each) instead of soil — it still hides the blocks and won’t attract digging.
6. A Roofline Drip Edge That Looks Like Trim
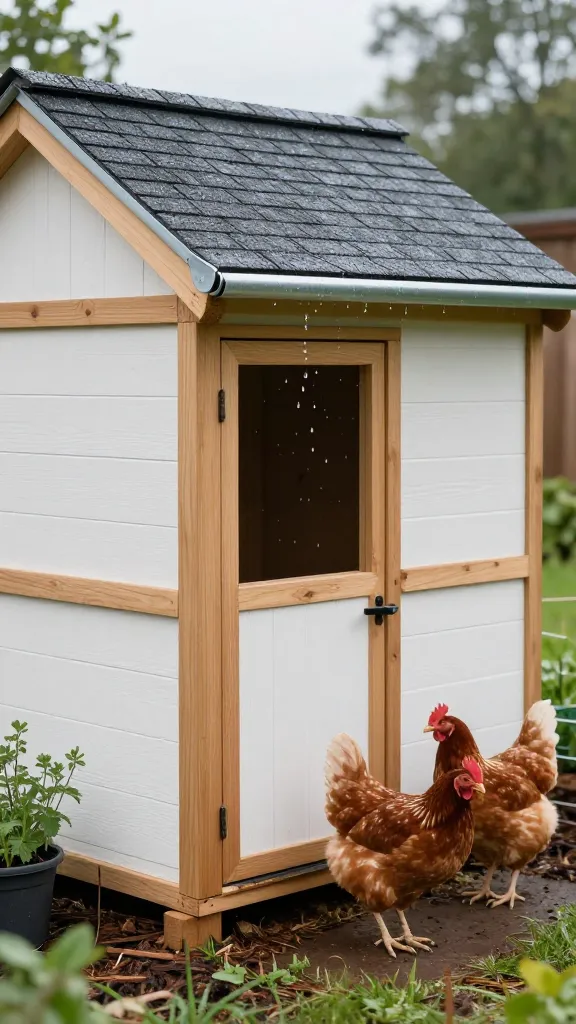
The first summer storm taught me I had built a decorative gutter: water sheeted off the roof, hit the doorway, and tracked inside. I didn’t want full gutters, so I added a simple metal drip edge that also reads as crisp trim.
Plain aluminum drip edge sections were $6–$9 each; I needed three for a small coop roof, plus $3 in roofing nails. I tucked the edge under the shingles and over the fascia, and suddenly rain falls clear of the walls by a couple inches. The clean line makes the roof look finished, and it’s still solid two years in through freeze-thaw.
The learning curve: those edges are sharp. I sliced a knuckle the first install and wore gloves the second time. Also, measure your overhang; if yours is short, you might need a wider profile or to add a slim 1×2 fascia first ($2–$3) so water truly clears doors and vents.
Make it yours: spray-paint the drip edge before install with an exterior metal paint to match your trim — one can was $6–$8 and did all three pieces plus touch-ups on screws.
7. The Hinged Feed Shelf That Doubles as Morning Coffee Ledge
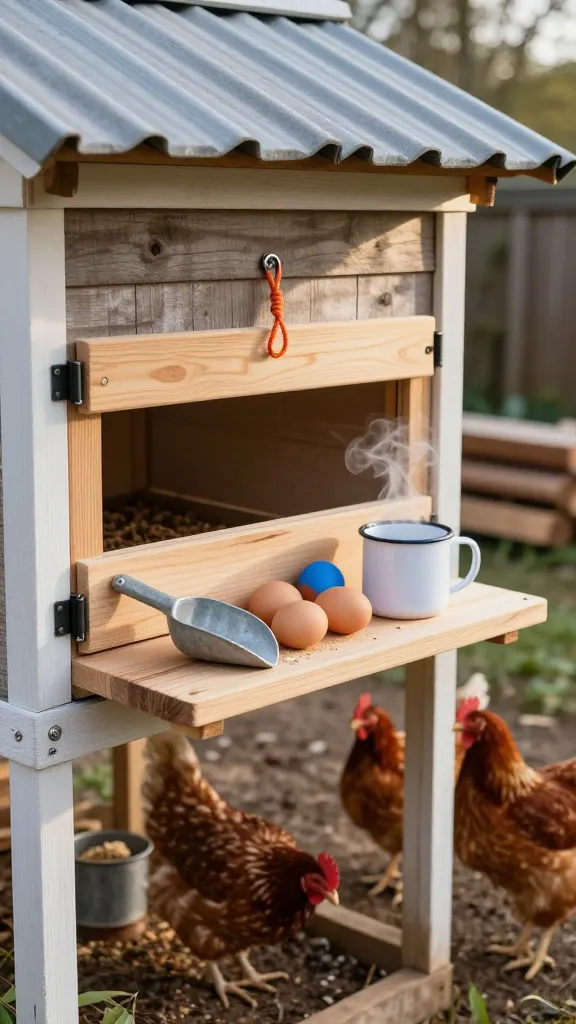
My feed bucket lived on the ground until I kicked it over in wet clay and turned 10 pounds of crumble into paste. I wanted a spot off the mud to portion feed and set down eggs, so I built a tiny flip-up shelf on the outside wall under the eave.
I used a leftover 1×10 board cut 20 inches long, two cheap strap hinges ($4–$6 each), and a simple eye-and-hook with paracord to hold it level. Total outlay was $12–$20 depending on what scrap you have. Folded down, it’s an 8-second job and it stays under the drip edge, so it stays dry. Mine’s on year 2, and I wipe it with a diluted vinegar rinse when it gets dusty.
One caveat: don’t mount it where birds can roost above and decorate it overnight. Ask me how I know. I moved mine 18 inches to the side of the pop door and added a 1-inch lip to keep things from sliding. If your run is tight, make sure the shelf doesn’t block the door swing or your wheelbarrow path.
Make it yours: screw two cup hooks under the shelf for your hanging brush and door key — $3–$4 and you stop misplacing the 1 tool you use every morning.
8. Coop Name Plate That Survives Weather
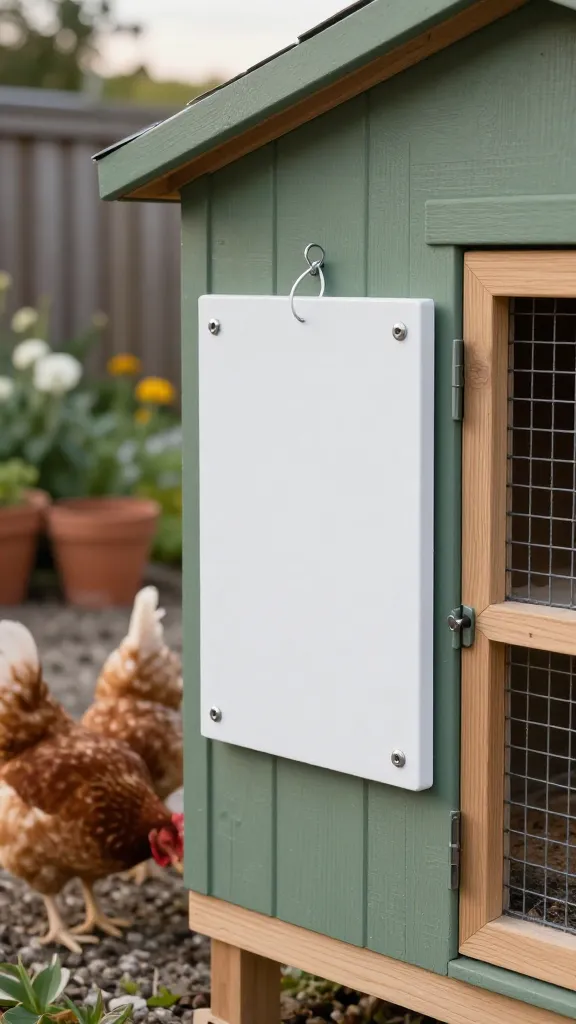
I resisted this one because I didn’t want the coop to look like a kid’s fort, but I caved after scribbling “close the door, Josie” on painter’s tape for a month. A small, weatherproof name plate looks intentional and doubles as a spot for a contact number when I travel.
I used a scrap of exterior PVC trim 4×12 inches, drilled two pilot holes, and stenciled the name with leftover outdoor paint. PVC was $8–$12 for the offcut, stainless screws were pennies. It doesn’t swell, it wipes clean, and after 18 months the lettering looks the same. I sharpied my phone number on the back where a neighbor can find it if the gate blows open.
What didn’t pan out: my first try was pallet wood, sealed twice, and it cupped in 6 weeks of summer and bled tannins down the siding. PVC or sealed metal lasts; raw wood is a short story with a sad middle.
Make it yours: if you want zero paint, use stick-on outdoor vinyl letters ($6–$9 per set) on the PVC and clear-coat once; mine on the brooder tote are still stuck after a year of hose-downs.
Frequently Asked Questions
What are the cheapest cute chicken coop ideas that still hold up?
My lowest-cost wins were a color block door with a single quart of exterior paint ($12–$18), vinyl nest curtains from a tablecloth ($6–$10), and a single solar path light by the latch ($9–$15). Each took under an hour and survived at least 9 months here. None of them compromise predator safety.
How do I make a small coop look finished without rebuilding the coop?
Add trim-like pieces that also work: aluminum drip edge along the roof ($6–$9 per section), a hinged feed shelf from a scrap board ($12–$20), and hardware cloth “grilles” framed with 1x2s ($8–$12 worth of cloth plus $8–$12 in wood). These read like upgrades but install with a drill and tin snips. Plan a Saturday and you can knock out two or three.
Are nest box curtains really worth it for a coop?
They helped here. My flock’s egg-pecking dropped within a week after I added vinyl curtains cut to 10×12 inches; the whole project was $6–$10 and 20 minutes. Use non-absorbent material and leave at least a 2-inch gap up top so ventilation is not blocked.
Do cute touches make maintenance harder?
If you pick weatherproof materials, no. Vinyl you can wipe, drip edge that redirects water, and a fold-down shelf you can hose save time. The only add I regretted was raw-wood decor that soaked up mud and took 30 minutes to scrub every rain — I won’t use raw wood outside again.
What color should I paint the door?
Pick a high-contrast color you can see at a glance from wherever you do your evening check — mine is visible from 40 feet. Satin exterior paint has cleaned easiest for me; a single quart ($12–$18) covered two coats on a standard plywood door with a bit left for touch-ups. Seal any raw edges with exterior caulk first.
Start Small, Then Keep What Earns Its Keep
If you’ve got 90 minutes this weekend, paint the door or hang vinyl nest curtains and see how it feels to use the coop on Monday morning. The cute things I kept are the ones that made chores faster or safer and cost me less than $25 per change. Start there and let the rest follow.
— ask me how I know.