Chicken Coop Layout Inside — What Goes Where
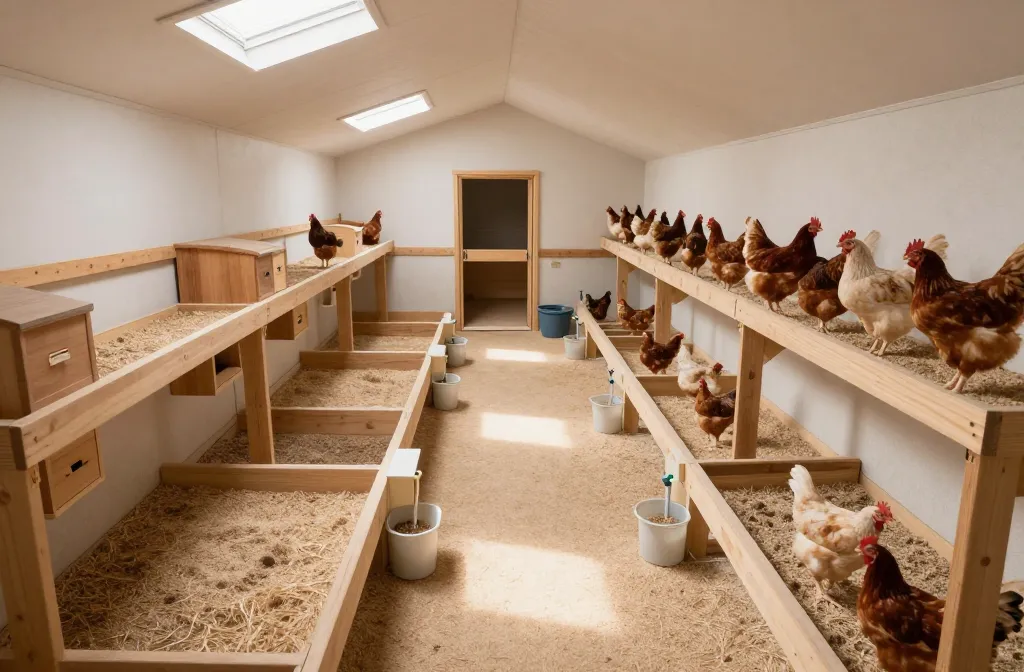
Your headlamp hits the floor and you see clean shavings under the roosts, dry walls, and a quiet line of birds settled high and off the nest boxes. That’s a chicken coop layout inside that works, and you can build it on paper before you pick up a screw. Use the footprint you have, then place roosts, boxes, feeders, waterers, vents, and doors so birds move in a loop without crossing food with droppings or drafts. You’ll leave with measurements for each fixture and clear spacing so nothing competes for the same air, wall, or floor.
The Footprint: Clearances and Traffic Paths
Start by drawing the interior to scale and reserving working space. Leave 18 inches of clear floor in front of roosts and in front of nest boxes so birds can land, turn, and enter without pileups. Keep 24 inches of walkway from people-door to feeders/waterers so you can service them without stepping into droppings. Any fixture that opens (clean-out hatch, poop board) needs 24 inches of swing clearance.
Bird traffic should flow in a loop: pop door → feeder/water → open floor → roosts → away from boxes. Avoid placing the pop door directly opposite the roosts; instead offset it by 24-36 inches so birds don’t launch into a draft. If the coop is under 20 sq ft, push storage out of the shell entirely; a wall hook holding a scoop is fine, a bin that steals floor is not.
Roosts: Height, Spacing, and Wall Placement

Roost bars belong on the longest interior wall, highest among bird fixtures, and away from vents. Set the top roost at 36-48 inches above the floor for standard breeds, with a lower approach bar at 18-24 inches if needed. Provide 8-10 inches of linear roost space per standard hen (bantams 6-8, heavy breeds 10-12). Bars should be 2×4 laid flat with eased edges so toes sit flat in winter. Maintain 12-14 inches between parallel bars and 12 inches from roost to wall to prevent feather wear and pecking.
Place roosts higher than nest boxes—always. Keep the nearest vent at least 12 inches above head height on the roost to avoid direct drafts. If ceiling height is under 6 ft, skip multi-tier ladders and use a single bar with a poop board to preserve headroom.
Nest Boxes: Count, Size, and the Quiet Corner
Install one nest box per four hens, each at 12x12x12 inches inside (10 inches square for bantams; 14 inches for heavy breeds). Mount the box lips at 18-24 inches above the floor and at least 12 inches below the lowest roost bar. Face boxes away from the pop door and feeders; a dim corner reduces traffic and broken eggs. Add a 4-inch front lip to retain bedding and eggs, and a 1-2 inch perch/landing rail set 6 inches out from the openings.
Boxes must not share a wall with the main roost if that wall also carries vents that draft; choose the leeward side. If you have a tiny coop (under 16 sq ft), use an external box that opens outside to free interior floor; insulate or baffle the lid to stop rain wicking in.
Ventilation: Cross-Breeze Without Drafting the Birds
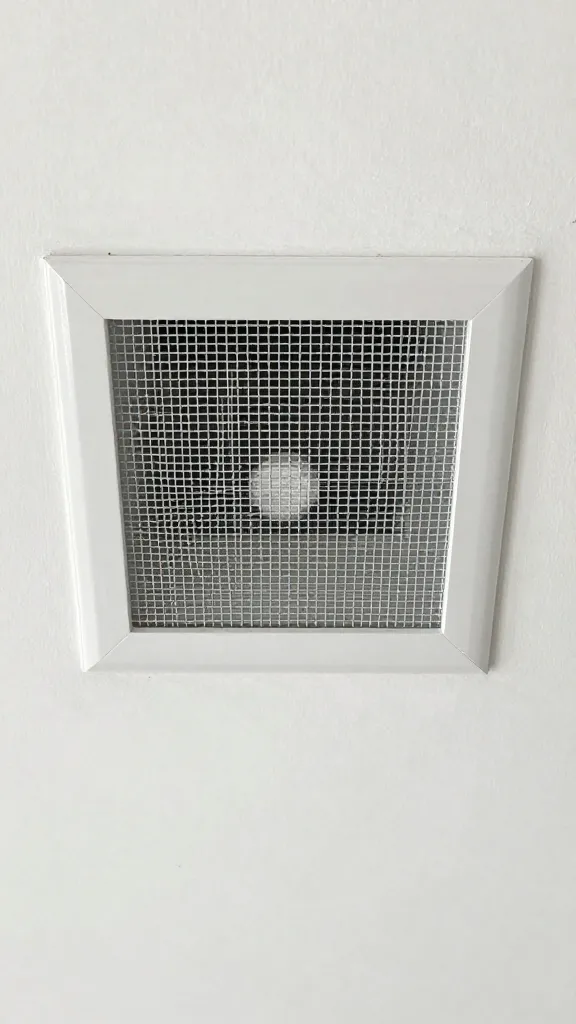
Provide a minimum of 1 sq ft of vent area per 10 sq ft of floor year-round, increased to 1.5-2 sq ft in humid climates. Place vents high—within the top 6-12 inches of the wall or in the gable—and pair them on opposing walls for crossflow. Protect every opening with 1/2-inch, 19-gauge galvanized hardware cloth, fastened with screws and fender washers every 4 inches. Never aim a vent at a roost; move the roost or baffle the vent until air moves above head height.
Include a controllable low vent (30-36 inches above floor) only if you can shut it in winter; it helps purge ammonia near litter in summer. If condensation shows on the inside roof in winter, you need more vent area, not heat.
Feeders and Waterers: Keep Them Clean and Reachable
Food and water live on the dry, bright side of the coop, away from roost fallout and far from nest boxes to reduce snacking in the nursery. Hang or mount both at the height of a hen’s back: 8-12 inches for standards; check that the lip sits just below wattles. Keep 12 inches of clearance above to allow filling. Separate feeder and waterer by 24 inches so splashes do not wet feed. If your run is covered and predator-proof with a skirt, move feed and water outside to reclaim interior space; if winters freeze hard, keep a winter waterer inside on a flat, nonflammable base.
Allow access: one medium hanging feeder (12-15 lb capacity) comfortably serves up to eight hens; above that, add a second unit or a trough with 6 linear inches of feed edge per bird. Water volume should cover 1/2 gallon per hen in summer; scale up or refill twice daily.
Doors, Ramps, and Poop Boards: Daily Use and Clean-Out

The pop door should land birds inside the coop on open floor, not into feeders or box perches. Set the pop opening at 8-12 inches wide by 10-12 inches tall, with the threshold 6-10 inches above bedding to keep litter in. A ramp at 30-40° with 1×2 cleats spaced 4 inches apart makes safe traffic.
Under the roosts, install a poop board within 6-8 inches of the bars, spanning at least 12 inches beyond each end. Build it from 3/4-inch plywood sealed with exterior paint or lined with vinyl; rim it with 1×2 and fill with 1/2-1 inch of fine bedding or sand. This captures overnight droppings and makes a 2-minute scrape job each morning. If you skip the board, budget 2-3 inches more litter depth and double your winter ammonia checks.
Floor, Litter, and The Dry Line
Litter depth runs 3-4 inches for regular cleaning or up to 8-12 inches for a managed deep-litter approach; either way, start with a dry, sealed floor. Over wood, use 3/4-inch exterior plywood and seal all edges; lay a one-piece vinyl sheet or pond liner turned up walls by 3 inches to make a pan. Keep all waterers and the pop door threshold above this “dry line” so splashes and rain don’t wick into litter.
If you practice deep litter, balance carbon and moisture: add 1 inch of dry carbon weekly in winter and turn the top 2 inches every other day. Opponents of deep litter usually fought ammonia; that’s a ventilation and moisture problem, not a moral one.
Lighting, Power, and Winter Considerations
If you use supplemental light for winter lay, mount a low-wattage, enclosed fixture on a timer, aimed at the feeder area, not the roosts. Add light in the early morning to reach a total of 14 hours of day length; avoid evening shutoff that strands birds off the roost. All wiring must be in conduit with connections in covered boxes, and any heat source must sit on a nonflammable pad with 12 inches of clearance to bedding on all sides.
In cold regions, prioritize sealing drafts at bird level, adding vent area above, and keeping water unfrozen. Skip coop heating for healthy, cold-hardy adult birds; spend the same effort on dry litter and wind breaks.
Sample Layouts by Coop Size
Small (3-4 hens, 12-16 sq ft)
One roost at 36 inches on the long wall, 32-40 inches long. Two nest boxes external or one internal stack of two at 18 inches high in the darkest corner. One hanging feeder and one waterer on opposite sides, both at 10 inches to the lip. Pop door offset from roosts by 24 inches; vents high on opposing walls totaling 1.5-2 sq ft.
Medium (5-8 hens, 20-32 sq ft)
Two parallel roosts at 38 and 42 inches, each 48-60 inches long, with a poop board 18-24 inches deep under both. Three to four boxes along the leeward wall, lips at 20 inches. Hanging feeder near the people-door, waterer across on the run side, each with 24 inches of service clearance. Vent area 2-3 sq ft, split high and crosswise.
Large Backyard (9-12 hens, 36-48 sq ft)
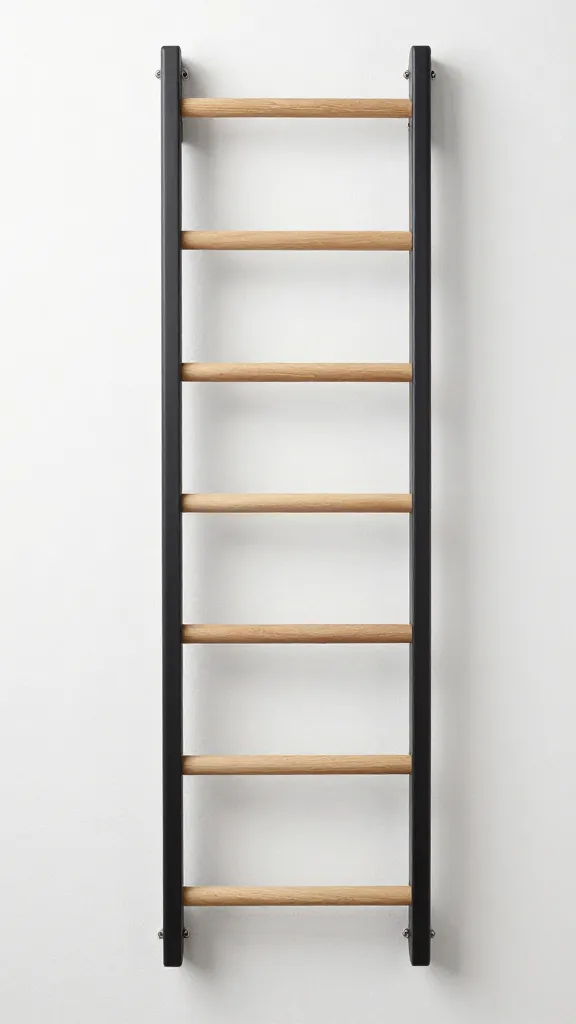
Three roosts in a ladder, tops at 36/40/44 inches, total linear roost space 96-120 inches. Four to six boxes in a bank with a continuous landing rail, lips at 22 inches. Two feeders or one long trough with 6 inches per hen, and two water points to prevent queuing. Vent area 3.5-5 sq ft, including a ridge vent plus gable or high side vents; add interior baffles if wind is severe.
What Not to Stack or Face Together
- Roosts over feeders/waterers: guarantees fouled feed and wet litter.
- Boxes under vents or on the pop-door wall: drafts and traffic break eggs.
- Feeder beside boxes: attracts loitering and yolk-peckers; keep 24 inches away.
- Roosts level with box tops: hens sleep in boxes; raise roosts by 12 inches minimum.
- Low vents at bird height in winter: close or baffle them; keep moving air above heads.
The One Thing People Get Wrong
They chase square footage and ignore volume. A coop can meet the common 4 sq ft per bird rule and still reek if the ceiling is low and vents are stingy. Give the birds headroom (a true interior height of 72 inches is excellent), move the roosts high, and size vents to the footprint, not to your fear of drafts. I rebuilt a too-short coop once; raising the roof by 10 inches fixed odor, frost, and pecking in one weekend.
Frequently Asked Questions
What is the best chicken coop layout inside for 6 hens?
Use one or two roost bars totaling 60-72 inches of perch space at 36-42 inches high, three nest boxes at 12x12x12 inches with lips at 20 inches, and vents totaling 2-3 sq ft placed high on opposite walls. Keep feeder and waterer at back-height (10-12 inches) and at least 24 inches apart. Offset the pop door from the roosts by 24-36 inches to prevent drafts onto sleeping birds.
How much space between roosts and nesting boxes is ideal?
Keep at least 12 inches vertical difference (roosts higher) and 24 inches horizontal separation. This stops hens from choosing boxes to sleep in and keeps landing traffic out of the nest area. In tight coops, drop box height to 18 inches rather than lowering the roosts.
Where should the feeder and waterer go inside the coop?
Place them on the dry, bright side away from roost fall and boxes, with 24 inches between them. Hang or mount so the lip sits at a hen’s back height—about 10 inches for standard birds—to reduce waste. If your covered run is secure, move them outside and reserve interior space for roosts and boxes.
How much ventilation does a chicken coop need inside?
Provide at least 1 sq ft of vent per 10 sq ft of floor, increased to 1.5-2 sq ft in humid climates, all placed high and protected with 1/2-inch, 19-gauge hardware cloth. Cross-vent on opposing walls or gables so air exits above roost height. If moisture or ammonia lingers, add area; don’t close vents in winter—close drafts at bird level.
How high should the pop door and ramp be?
Set the threshold 6-10 inches above finished litter to keep bedding in, with an opening of 8-12 by 10-12 inches. Build a ramp at 30-40° with 1×2 cleats spaced 4 inches apart for traction. If snow drifts at the door, add a porch or wind baffle and raise the ramp start point accordingly.
Start With Tape and Chalk
Roosts highest, boxes quiet and lower, food and water out of droppings, and vents above heads—that’s the whole layout. Tonight, mark your floor with painter’s tape: a 24-inch strip under future roosts for the poop board and an 18-inch approach zone in front of the boxes; hold the feeder up to 10 inches and see where it fits without crossing those lines.
— do it right once.