Chicken Coop Ventilation — The Non-Negotiable Guide
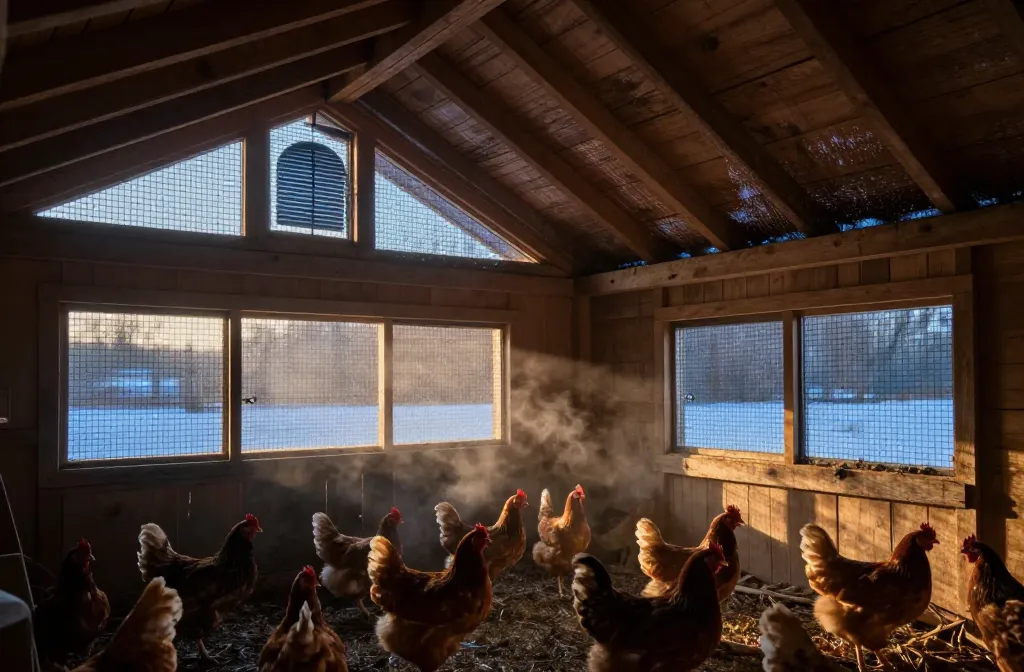
Open a coop at 5 a.m. in January and you’ll see it: a beaded film of moisture on the rafters and frost on comb tips. That is chicken coop ventilation failing, and it is why birds get respiratory issues in winter more than summer. Done correctly, ventilation moves moist, ammonia-laced air up and out without chilling birds on the roost. You will leave with the exact square inches to cut, where to place them, and how to screen them so a raccoon doesn’t thank you for the upgrade.
The Number: 1–2 Square Feet of Vent Per Bird
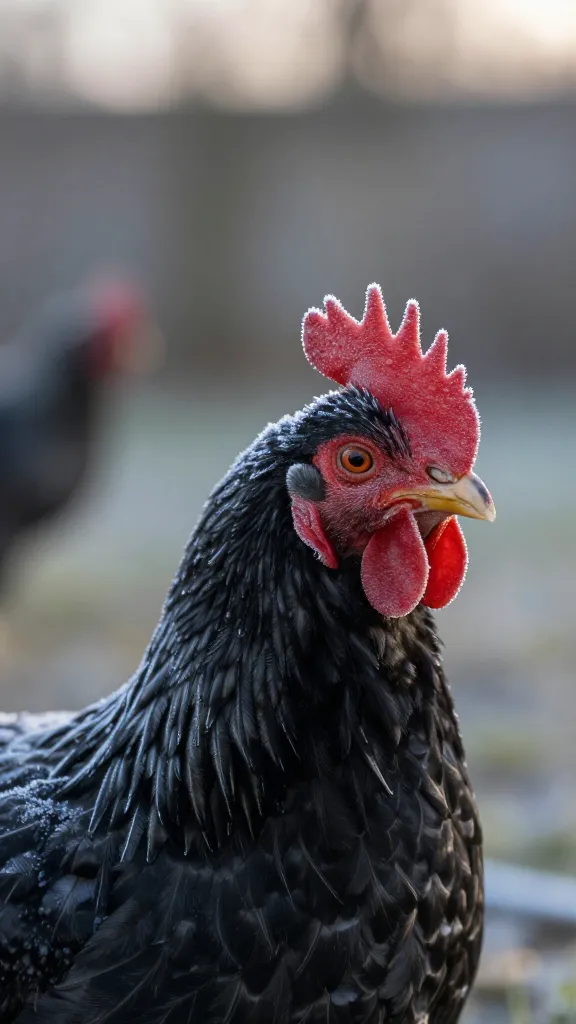
The working range is 1–2 sq ft of open vent area per standard hen, adjusted to 1 sq ft in cold climates and up to 2 sq ft in hot/humid climates. Count only openings covered with 1/2-inch hardware cloth, not windows you keep shut. A 6-hen flock needs 6–12 sq ft of vent; an 8×4 ridge slot (32 sq in) is not close — you need multiple openings totaling the number. Undersize vents trap moisture; oversize vents aimed wrong create drafts.
Placement: High Exhaust, Low Makeup Air, Zero Draft on the Roost

Air should enter low and leave high. Put exhaust vents at the highest point (ridge or top of gable walls), and intake vents lower on the opposite walls. Keep any opening 12–18 inches above roost height to prevent a direct airflow path across sleeping birds; if roosts sit at 36 inches, the nearest vent lip should be at least 48–54 inches. Avoid windows directly behind roost bars — a straight line of air to the bird is a draft, and a draft on a wet comb is frostbite at 20°F.
Hardware That Survives Winter and Predators
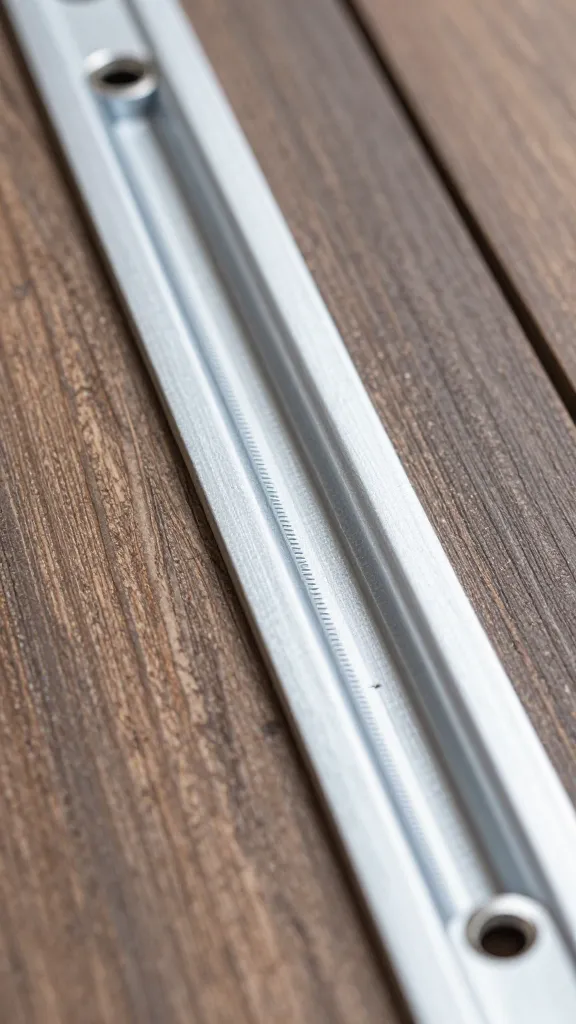
Screen every opening with 1/2-inch, 19-gauge galvanized hardware cloth stapled every 1–2 inches and backed by exterior-grade screws and fender washers every 6–8 inches. Skip chicken wire; it keeps chickens in, not predators out. For adjustable closures, mount exterior plywood or solid polycarbonate baffles on hinges with a 1–2 inch standoff to act as a rain hood while preserving airflow. In snow country, set a 2–3 inch drip edge above vents and keep the exhaust slot at least 2 inches below the ridge cap to avoid wind-driven snow intrusion.
Configuring Vents for Your Coop Style

Gable Coops
Cut a continuous ridge slot the full length of the coop, 2–4 inches wide, screened under the ridge cap. Add triangular gable vents with a combined area matching your target per-bird total. Balance by placing low eave vents on both long walls; leave at least 24 inches of vertical separation between intake and exhaust.
Shed-Roof (Single-Slope) Coops
Vent along the high wall with a continuous 3–6 inch strip under the overhang for exhaust, and add 2–3 intake cutouts of 6×12 inches along the low wall. If space is tight, two 8-inch round soffit vents per 4 feet of wall provide predictable area and are easy to screen properly.
Walk-In Coops
Use a mix: a ridge slot plus operable transom vents above door height. Keep roosts at least 18 inches below the nearest vent edge. If the structure is already finished, swapping solid soffit for vented aluminum soffit (screened with hardware cloth on the inside) is a clean retrofit.
Winter: Move Moisture, Not Warmth
Chickens heat the coop with their bodies and respiration; they also add moisture with every exhale and dropping. In freezing weather, keep upper vents fully open and throttle only the windward lower intakes to reduce draft. Aim for 40–60% relative humidity inside at dawn; if you see frost on nails or damp bedding under the roost, you need more high vent area or cleaner airflow paths. Supplemental heat isn’t a substitute for ventilation — it bakes moisture into the air and then freezes it on combs when the heater cycles off.
Summer: Shade, Crossflow, and Heat Load
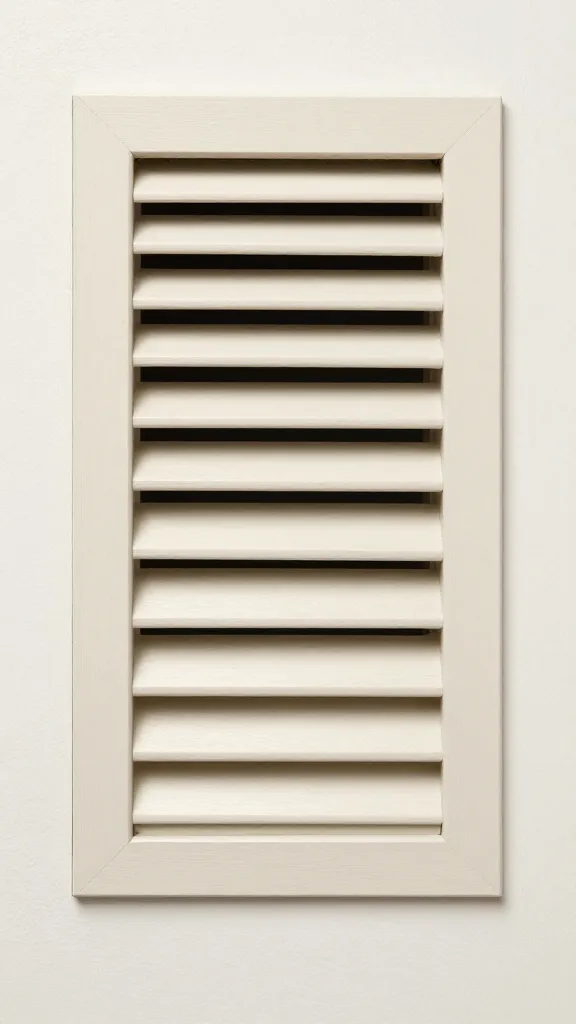
In hot weather, maximize cross-ventilation without turning the coop into a wind tunnel. Open opposite-wall vents fully to move air across the ceiling line and out high. Add a shaded, well-ventilated run and keep roof surfaces shaded; a metal roof without an air gap turns the coop into a griddle at 90°F. If your climate sits above 90°F with high humidity for weeks, add a solar or 12V attic fan rated at 2–4 air changes per minute for the coop’s cubic volume, mounted high and screened on both sides; fans are an assist, not the whole system.
Measure Once: How to Calculate Your Vent Area
Write down your flock size, multiply by your climate target (1–2 sq ft per bird), then map it to actual holes. A 6×12-inch vent is 72 sq in (0.5 sq ft). Four of them total 2 sq ft. A 1-inch by 8-foot ridge slot is 96 sq in (0.67 sq ft); double the width to 2 inches to get 1.33 sq ft. Tally exhaust first, then match intakes to within ±10%. If rain exposure is high, split area across more, smaller openings with hoods rather than one large sail that invites weather.
Moisture and Ammonia: The Checks You Do Monthly
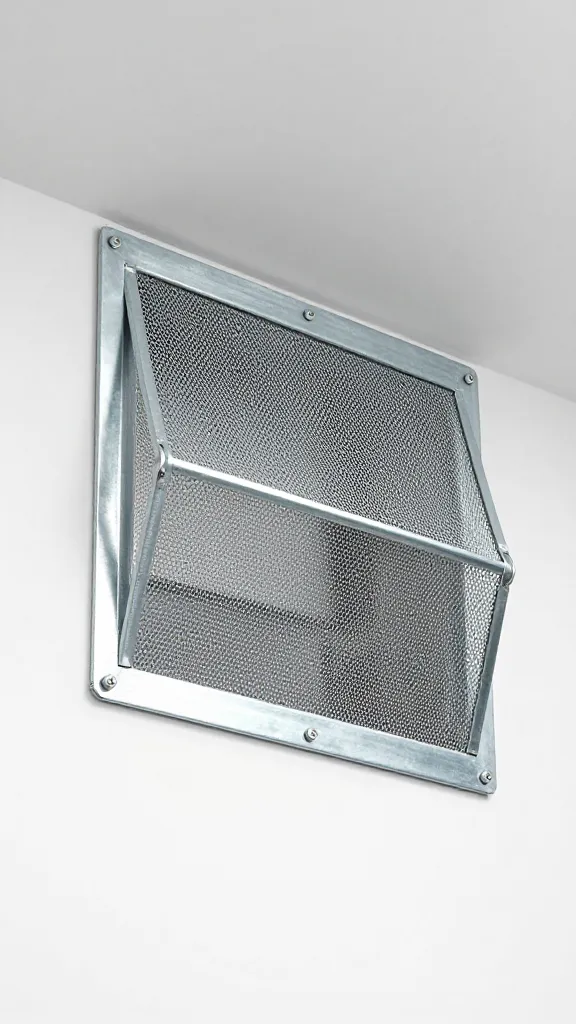
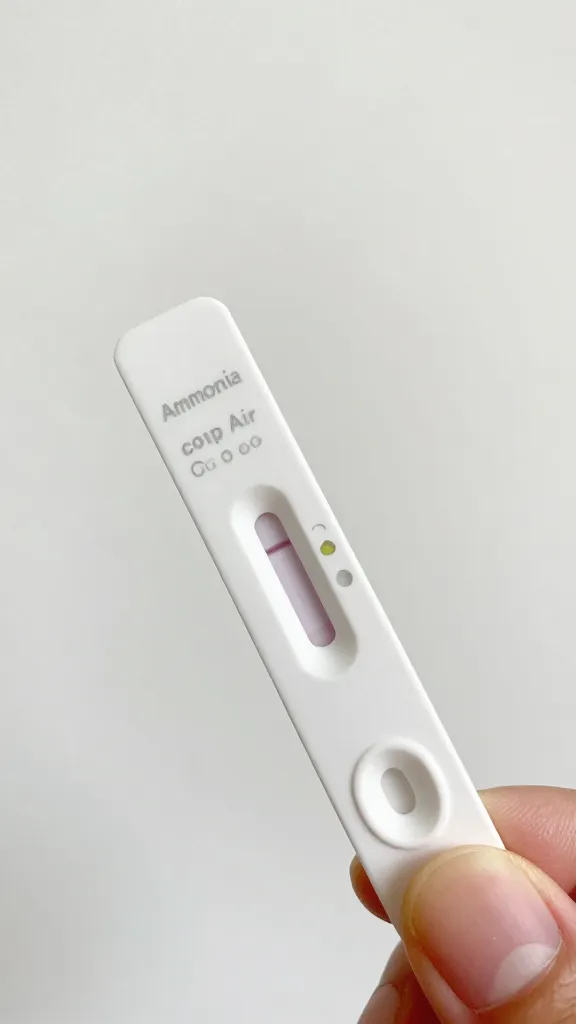
Two minutes at dawn tells you more than a hygrometer you’ll forget to check. Smell for ammonia; if you catch it at nose level, your litter is saturated or your ventilation is undersized. Feel the underside of the roof sheathing; if it’s damp or beaded, add high vent area or clear blockages. Keep litter dry at 3–4 inches minimum and stir weekly; wet corners need removal, not stirring. If you use deep litter, the rule doesn’t change: wet litter plus closed vents equals respiratory trouble.
Retrofitting Without Rebuilding the Coop

You can add safe ventilation with basic tools. Cut two 6×12-inch openings high on the leeward wall and one on each gable; screen as above and add 3-inch drip caps. Install a 2-inch continuous slot under the high eave on shed roofs using a circular saw and a straightedge, then backscreen from the inside. If your openings face prevailing storms, mount angled baffles set at 30–45° to shed rain. I once “solved” moisture by propping a window; that fixed drafts for the raccoon too.
What Fails in the Real World
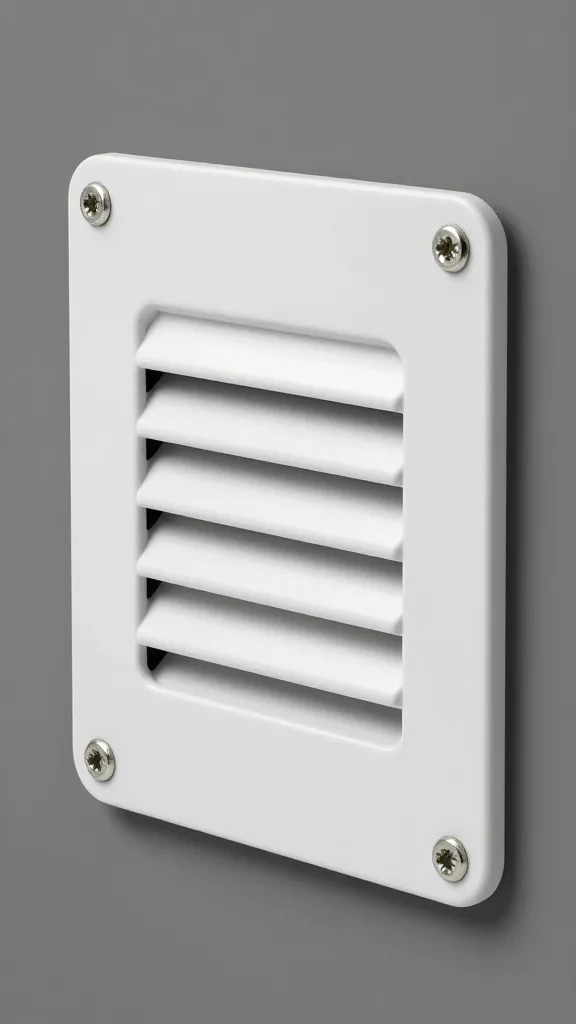
Drafty windows at roost height, hardware cloth swapped for chicken wire, pretty shutters that stay closed from November to March, and vents choked by dust. The other miss is assuming the run counts; it doesn’t. Ventilation is an always-open, predator-proofed, roofed opening in the coop itself sized to your birds and climate. If you change flock size by half or add meat birds, revisit the math within 24 hours.
Frequently Asked Questions
How much chicken coop ventilation do I need per bird?
Plan for 1–2 sq ft of vent area per standard hen. Use 1 sq ft in cold climates and up to 2 sq ft in hot/humid areas so moisture leaves without chilling birds. Count only screened, always-available openings; a 6-hen flock needs 6–12 sq ft total.
Where should coop ventilation be placed?
Put exhaust high (ridge or top of gables) and intake low on the opposite walls, with vents at least 12–18 inches above roost height. This moves moist air up and out without a draft on birds. If space is tight, raise roosts or shift vents upward to keep that buffer.
What size hardware cloth is best for coop vents?
Use 1/2-inch, 19-gauge galvanized hardware cloth on every opening. It stops raccoon hands and weasels while allowing airflow. Attach with staples every 1–2 inches and add screws with washers every 6–8 inches for tear-out resistance.
Should I close vents in winter?
Keep upper vents open all winter; only throttle low, windward intakes if needed. Moisture is the enemy at 20°F, not moving air overhead. If you see condensation or frost on combs, add high vent area or improve separation above the roost.
Do windows count as ventilation?
Only if they are screened with 1/2-inch hardware cloth and remain open in all seasons. Hinged windows at roost height create drafts and are usually shut in bad weather, so they don’t meet the requirement. Use windows for light and add fixed, high vents for air.
Cut the Holes You Need
Count your birds, multiply by 1–2 sq ft based on your climate, and mark that much area on your walls or eaves — then cut and screen it before the weekend ends. If you do one thing tonight, measure the distance from roost top to the nearest vent edge and make sure it’s at least 12–18 inches; move the baffle or the roost tomorrow if it’s not.
— do it right once.