Winterizing the Coop Checklist
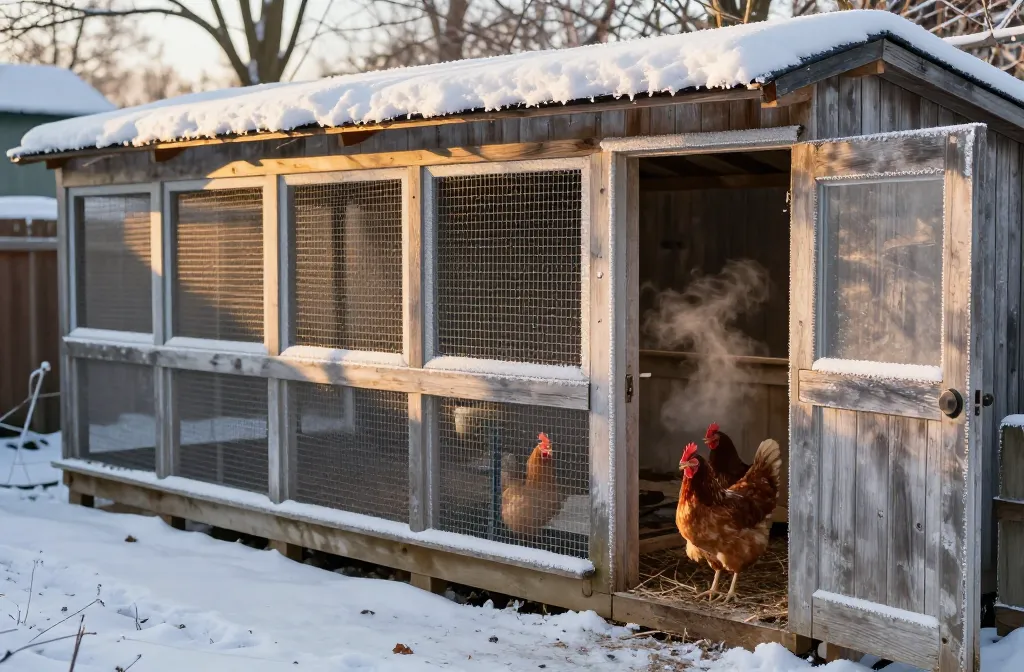
It’s dark at 5:00, your breath fogs, and the waterer skims over with ice before you finish chores. A winterizing the coop checklist turns that scramble into a routine you can run in one afternoon and maintain in ten minutes a day. You’ll set the right ventilation, lock out drafts, fit your water setup for 20°F mornings, and stock what the flock needs to hold condition and keep laying. Miss the numbers and you’ll fight frostbite and ammonia all season; hit them and winter is quiet work.
Ventilation: 1 square foot per 10 square feet of floor
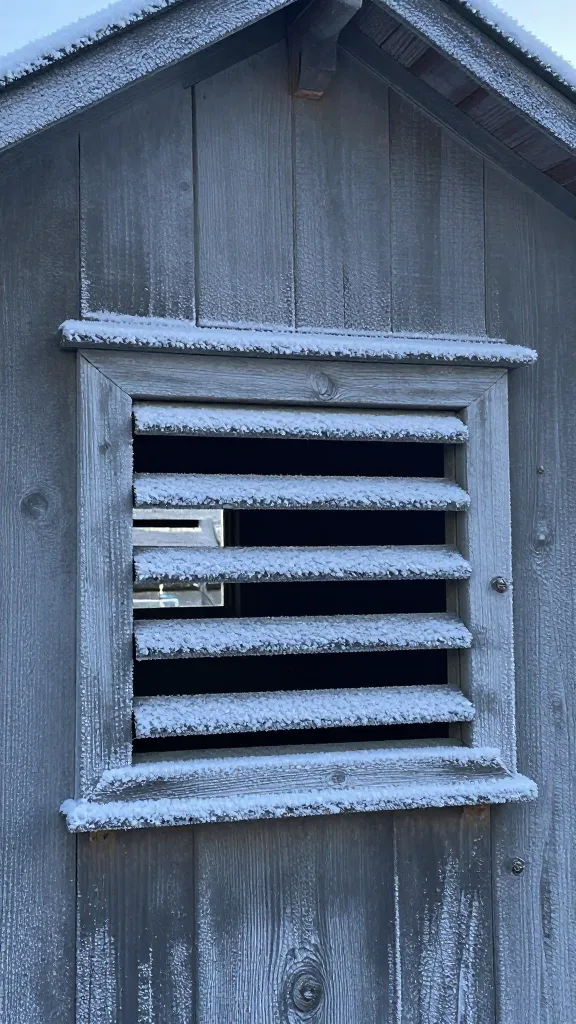
You need 1 sq ft of always-open vent for every 10 sq ft of coop floor, placed above roost height, not at bird level. That exchanges moist air without chilling birds. For a 4×8 coop (32 sq ft), that means at least 3–4 sq ft of vent split across two or more openings high on opposite walls for crossflow. Cover every vent with 1/2-inch, 19-gauge hardware cloth stapled and screwed to framing; never window screen. If you can smell ammonia, you need more vent, not more heat.
Closeable baffles are fine, but do not reduce total vent area below the number above. In snow-belts, add 8–12-inch roof overhangs or snow hoods so vents stay functional during storms. A ridge vent paired with high gable vents works well; just keep all intake/exhaust above the birds’ heads on the roosts.
Draft Control: Seal at bird height, not at the roof

Drafts are fast-moving air striking birds at roost level. Run your hand around seams, doors, and window edges on a windy evening; if you feel air at roost height, seal it. Use exterior-grade caulk for hairline gaps, adhesive-backed foam weatherstrip (3/8–1/2 inch) for door stops, and wood battens screwed over larger board gaps. Leave upper vents unsealed.
On pop doors, add a brush sweep or rubber threshold to the bottom to kill the gap. Replace warped latches with two-step hardware (spring lock plus carabiner) because raccoons don’t take winters off. The mistake to avoid is “tightening” the whole coop and suffocating it; seal at 0–24 inches off the floor and keep your vent plan intact above the roosts.
Roosts: Width, height, and spacing that prevent frostbite
Use 2×4 roosts with the 3.5-inch face up so birds can cover their toes with their breast at night. Set the top roost at 36–48 inches off the floor, with 12 inches of linear roost per bird and 12–15 inches of clearance to the wall. Space multiple bars 12–18 inches apart horizontally.
Keep roosts level or stepped with a 10–12-inch rise so heavier birds aren’t launching and crashing. If you’ve been using round dowels, swap them now; flat-faced roosts and dry air prevent more frostbite than any heat lamp ever did.
Litter & Moisture Management: Dry first, deep only if you commit
Moisture is the enemy. Start winter with 3–4 inches of dry litter on a dry floor. Pine shavings, chopped straw, or coarse hemp all work; avoid fine sawdust that mats. If you run deep litter, build to 8–12 inches over the season and turn it 2–3 times per week with a garden fork to keep it aerobic. If you won’t turn it that often, don’t run it.
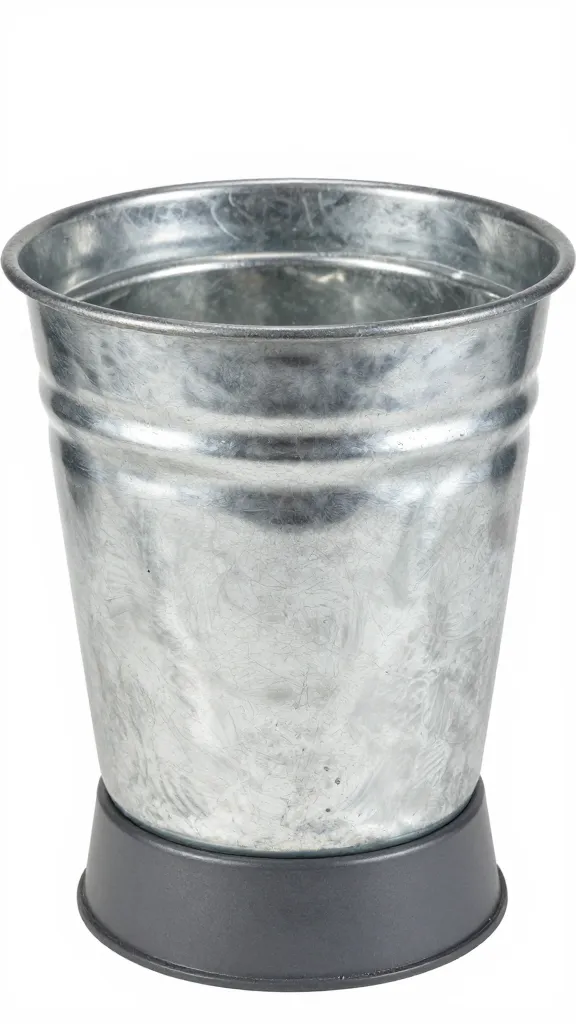
Install poop boards under roosts (24 inches wide, surfaced with vinyl or painted) and scrape them every morning. That removes the wettest manure before it loads your litter with ammonia. Keep a 5-gallon bucket of absorbent (pelleted bedding or chopped dry leaves) in the coop; when you see a wet spot, add a 1/2-inch top-up right then. If litter smells or clumps, add ventilation and remove the wet, not just more dry on top.
Water in Freezing Weather: Unfrozen, upright, and clean
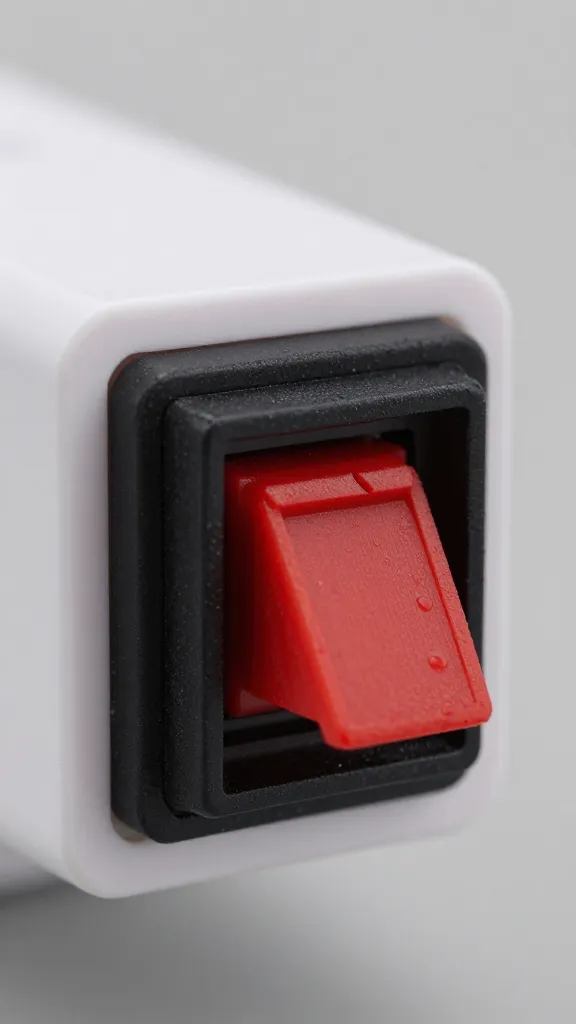
Birds dehydrate before they freeze. Use a heated base under a metal fount or a heated bucket rated for livestock, both on a GFCI-protected circuit. Keep waterers on a block 4–6 inches off the floor to reduce litter splash. If you refuse cords, plan a strict swap: two waterers rotated twice daily, one thawing indoors while the other is out.
Run cords through PVC conduit (3/4 inch) to prevent pecking and chewing. For nipple systems, choose horizontal nipples on a heated bucket so the sealing surface doesn’t ice. Scrub slime weekly; warm water plus a bottle brush is enough, and winter is not an excuse to let biofilm ride.
Feed, Body Condition & Light: Hold weight and manage lay
Keep a fresh 16–18% layer ration available all day. Add a second feeder in storms to reduce crowding. Offer oyster shell free-choice in a weather-shedding cup. Check keel bones on a sample of birds every 2 weeks; you should feel a keel with equal muscle on both sides, not sharp and protruding.
Supplemental light is optional and debated. If you use it, set a warm-white LED on a timer to bring “daylight” to 14 hours total, added in the early morning (for example, on at 5:00 a.m., off at sunrise). Mount the bulb in a cage at least 18 inches from any surface. Do not use heat lamps for light or heat; the fire risk in a dry coop is not theoretical.
Predator Tight for Hungry Months

Winter thins cover and drives predators to the coop. Wrap every opening larger than 1/2 inch in 19-gauge hardware cloth fastened with screws and fender washers every 6–8 inches. Add a predator apron around the run: a strip of hardware cloth 24 inches wide, attached at the base and laid flat outward, pinned with landscape staples every 12 inches and buried under 2 inches of soil or gravel.
Upgrade to two-stage latching on every door. If your pop door is on a string, cut it off and replace it with a rigid slide and locking pin; a rat can carry surprising things up a wall.
Coop Structure & Weather: Drip edge, slope, and snow load
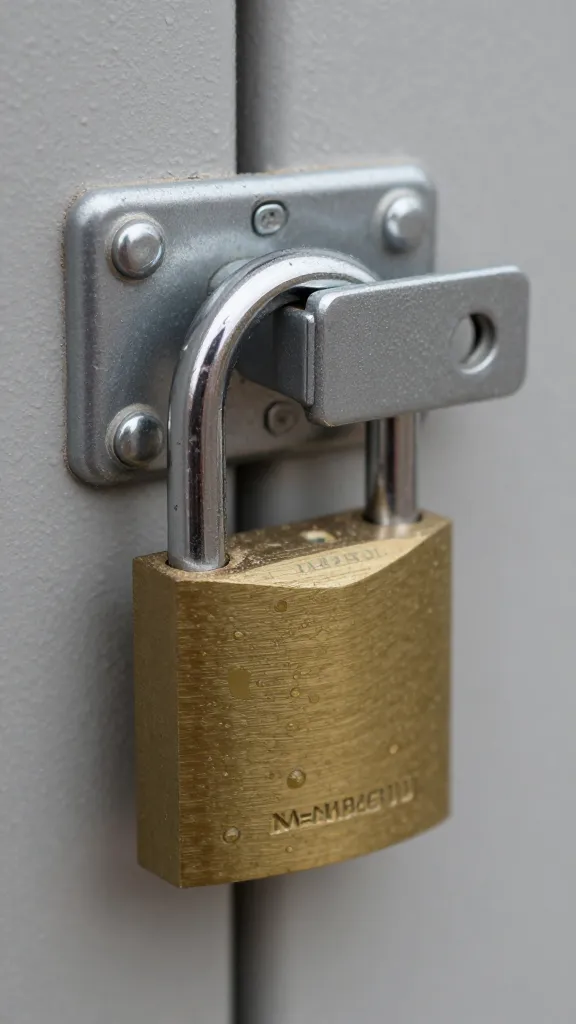
Water will find every mistake. Install metal drip edge under shingles, and confirm your roof pitches at least 3:12 so snow sheds. Clear gutters before the first freeze. Inspect the floor for soft spots and sister any weak joists with 2x4s screwed at 16 inches on center.
In snow country, add 2×4 diagonal braces to run panels to stiffen against drift loads. Keep a 24–30-inch clear zone around the coop so snow doesn’t pack against vents and doors. A strip of 3/4-inch stall mat at the threshold gives birds traction when ice glosses everything else.
Emergency & Routine: What lives by the coop door

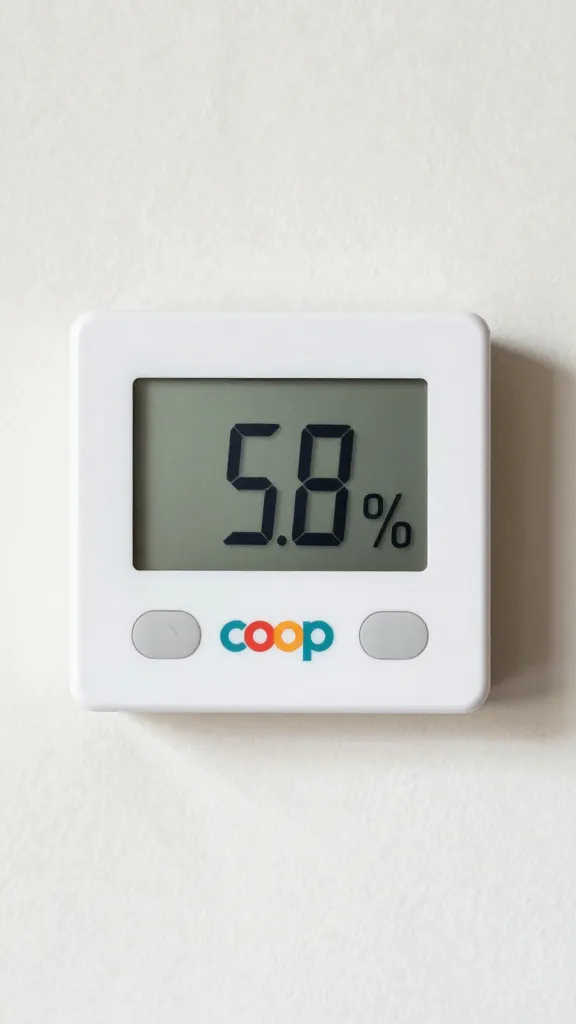
Stage a winter kit in a lidded tote: headlamp, extra extension cord rated for cold, 3–5 pounds of pelleted bedding, spare waterer, zip ties, duct tape, and a thermometer/hygrometer. Hang the meter at roost height; you want humidity under 60% overnight. High humidity plus below-freezing air is what frosts combs.
Set a maintenance rhythm: scrape poop boards daily; quick litter fluff and vent check twice weekly; water system scrub weekly; keel checks and latch inspection biweekly. I once learned the hard way that “tomorrow” is when cords fail.
Frequently Asked Questions

How much ventilation does a winter coop need?
Provide at least 1 square foot of vent per 10 square feet of floor, all above roost height. That lets moist air out without chilling birds and keeps ammonia from building. If your coop is tiny, split the total across two high vents on opposite walls to create gentle crossflow.
Should I heat the coop in winter?
No heat is needed for healthy, dry, full-feathered birds down to about 0°F if ventilation and drafts are correct. Heat lamps add fire risk and often worsen frostbite by raising humidity. In extreme cold snaps below -10°F, focus on blocking drafts at roost level and keeping water liquid rather than adding heat.
Where Can You Research Cold Tolerance Without Supplemental Heat?
| Source | What It Says |
|---|---|
| Ohio State University Extension — Winter and Your Backyard Chickens | Ohio State’s extension service confirms that healthy, properly feathered chickens are well-equipped to handle cold winter temperatures without supplemental heat, provided the coop stays dry and draft-free. |
| University of Minnesota Extension — Caring for Chickens in Cold Weather | University of Minnesota Extension notes that cold-tolerant breeds in an insulated, dry, well-ventilated coop typically do not need supplemental heat, and warns that heat lamps carry real fire risk. |
| University of Kentucky Extension — Keep Your Chickens Healthy This Winter | A University of Kentucky Extension publication on cold-weather poultry management covering ventilation and moisture control, and why supplemental heat is rarely necessary for a healthy flock. |
What’s the best winter water setup for chickens?
A heated base under a metal fount or a heated bucket on a GFCI outlet keeps water above freezing continuously. Raise it 4–6 inches to reduce litter splash and clean slime weekly. If you’re off-grid, rotate two waterers at least twice daily and use warm refill water.
How deep should winter litter be?
Start at 3–4 inches of dry bedding; if using deep litter, build to 8–12 inches and turn it 2–3 times per week. Depth without turning traps moisture and ammonia. If you can’t maintain the turn schedule, keep it shallow and remove wet spots as they appear.
Do I need supplemental light for eggs in winter?
It’s optional; to maintain lay, extend day length to 14 hours with a warm-white LED on a timer in the morning. Mount the fixture at least 18 inches from surfaces and use a cage guard. Skip light if birds are molting or underweight; condition comes first.
Make Saturday Count
Vent area set by floor size, drafts sealed at bird height, dry litter managed daily, unfrozen water on a safe circuit — hit those four and winter becomes maintenance instead of rescue. Tonight, measure your coop floor and cut cardboard templates totaling 1 sq ft per 10 sq ft; hold them up high on the walls so you know exactly where to open vents or confirm you already have enough.
— do it right once.