Electric Fence for Backyard Chickens
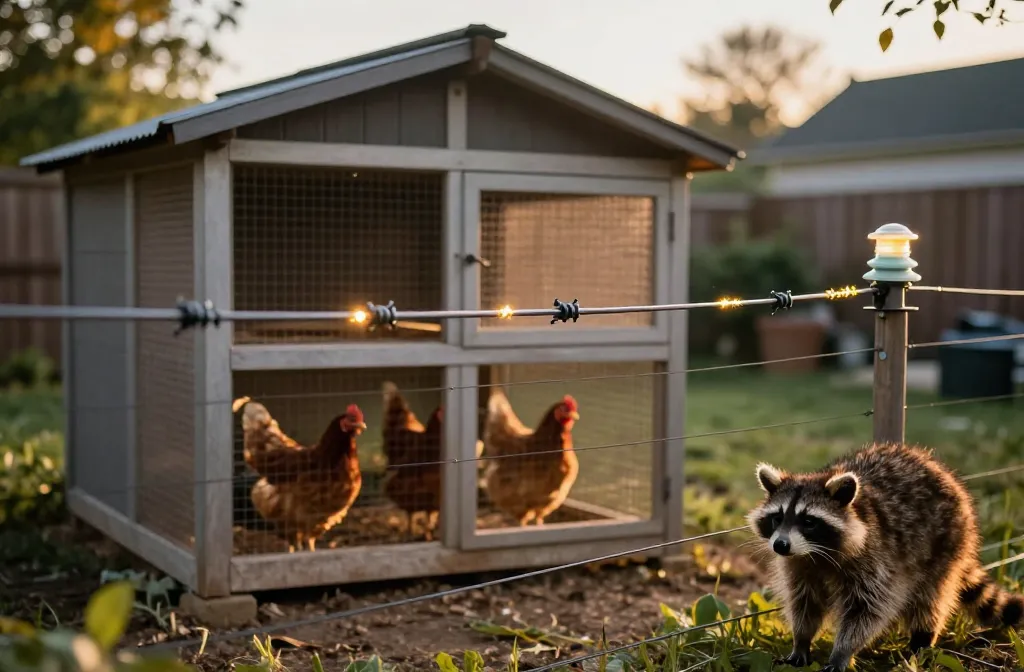
At dusk, when the run goes quiet and the night hunters wake up, an electric fence for backyard chickens is what keeps a curious raccoon from becoming a tragedy. Used correctly, an electric fence turns predators after one hit and keeps your birds alive long-term. I’ve run hot wire around coops through coyote seasons and learned the hard way that one unpowered night is the night something tries the door. By the end of this guide, you’ll know exactly what to buy, how to install it, and the numbers that make it safe for birds and decisive for predators.
How Predators Beat a Coop—and What Electric Fence Fixes
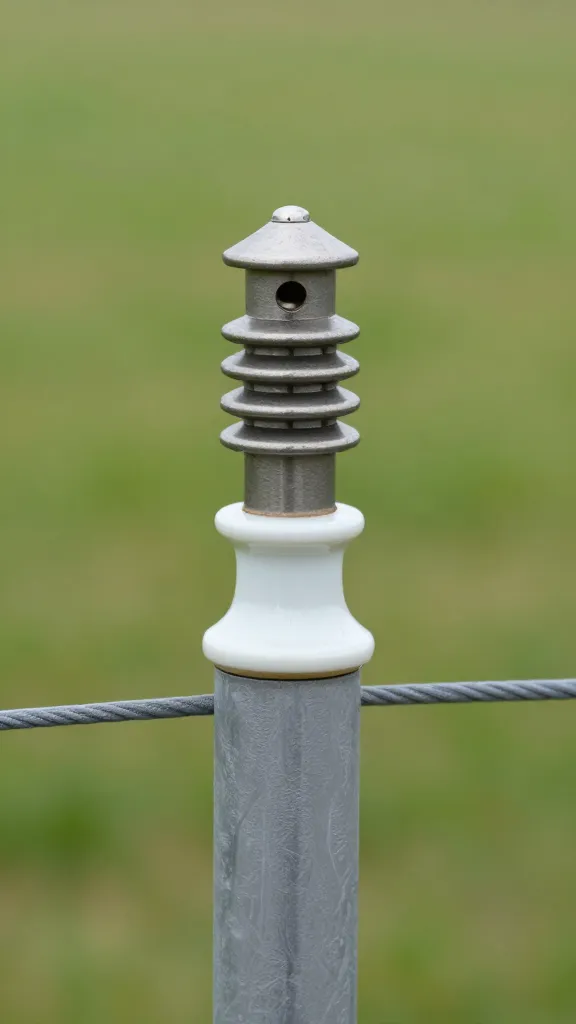
The standard is simple: deliver a painful, memorable shock at 4,000–6,000 volts on every approach a predator uses—digging, climbing, squeezing, or jumping. Predators fail a coop by five routes: under the perimeter, through a gap wider than one inch, over a low wall, by climbing anything with texture, or by chewing a weak spot. An electric fence stops the approach itself, before teeth reach wire mesh or a latch. It does not replace hardware cloth; it adds a hot “no” at snout height and paw height around your secure coop and run.
Choose Your Electric Fence Setup: Netting vs. Hot Wires
Pick based on your run style and predators. The standard for permanent coops is two to four hot wires around the run perimeter; for mobile flocks or pasture rotation, use poultry electrified netting, 42–48 inches tall. I use wires on fixed coops where I can set exact heights and keep grass trimmed; I use netting when I want a movable boundary for daytime ranging. If you have weasels or small terriers nearby, wire spacing must be tighter; if you have coyotes, height and an offset “standoff” wire matter most.
When to Use Electrified Poultry Netting
Use netting for flexible daytime ranges or seasonal setups. Choose double-spike posts for firmer soil grip and 42–48 inch height. It must be energized 24/7 when birds are inside; unpowered net is a trap, not a fence. Netting demands a stronger energizer because of higher leakage—size accordingly (see below).
When to Use Hot Wires on a Fixed Run
Use hot wires when your coop and run are permanent and skirted with hardware cloth. Install three or four strands at measured heights: 6 inches (diggers), 12 inches (snouts), 18–24 inches (climbers), and optional 36 inches (jumpers). On wood or T-posts, use insulated standoff brackets to keep hot wires 6 inches off the run wall; this punishes climbers and noses without energizing your coop mesh.
Power: Energizer Size, Grounding, and Voltage You Actually Need
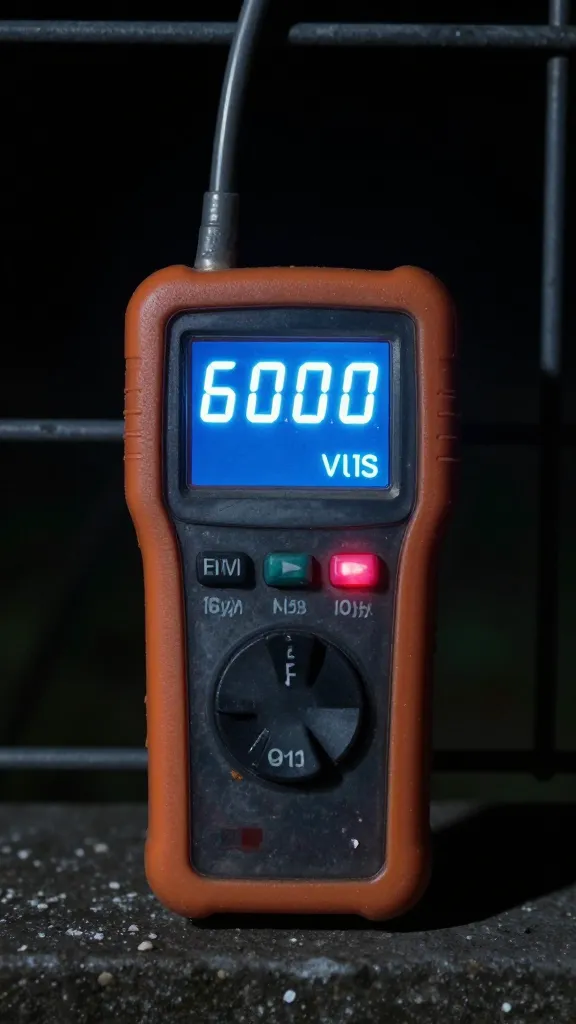
The standard is a low-impedance energizer delivering 0.5–1.0 joule for small backyard runs (under 400 linear feet of wire) and 1–2 joules for poultry netting or larger perimeters. Target a fence reading of 4,000–6,000 volts under load.
- Power source: 110–120V AC plug-in is the most reliable if you have an outlet within 150 feet; solar with 12V battery for remote spots. Keep solar panels due south, panel face at roughly your latitude in degrees, and batteries above 50% charge year-round.
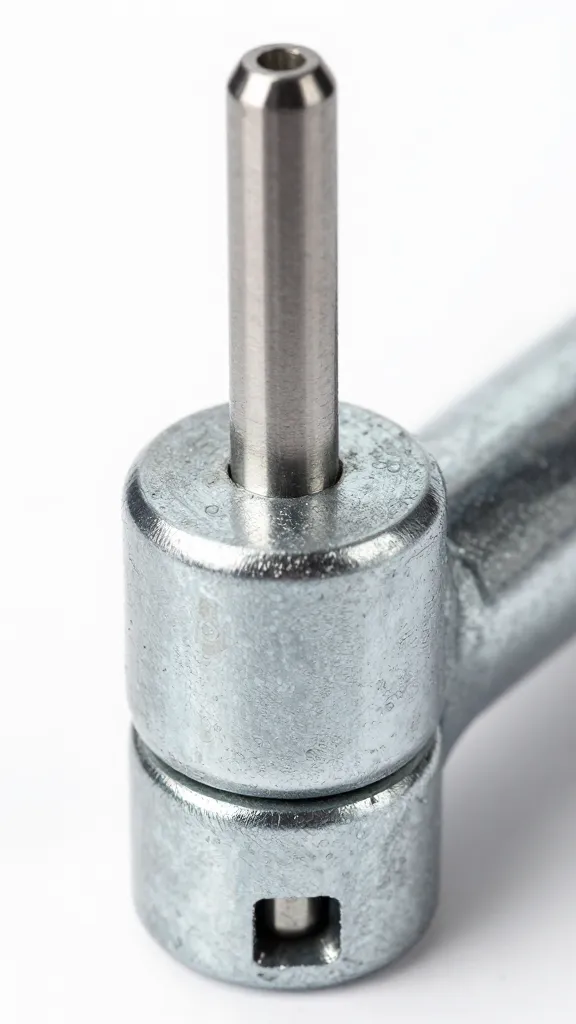
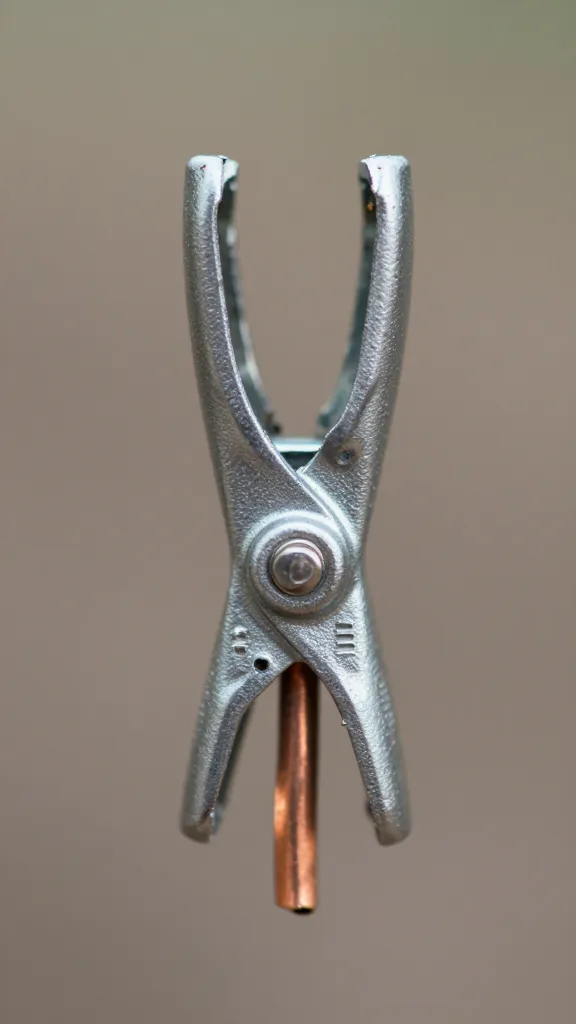
- Grounding: Drive three 5/8-inch galvanized ground rods, each 6–8 feet long, spaced 10 feet apart, connected with ground-rated clamp and wire. Dry or sandy soil demands all three; clay or moist soil may be fine with two. Your fence is only as hot as your ground is deep.
- Voltage test: Use a digital fence tester weekly; never guess. Predators test the line after storms and power blips.
Layout: Electric Fence for Backyard Chickens Around a Fixed Run
Standard layout: a 18–24 inch offset hot wire outside your hardware-cloth run stops climbers and noses; a 6 inch low wire stops diggers; and a second offset at 12–18 inches catches raccoon hands. Keep hot wires 4–6 inches away from any grounded metal mesh using standoff insulators, and maintain a clear, mowed strip at least 12 inches wide along the fence to reduce voltage loss.
Exact Wire Heights and Spacing
Install at 6, 12, and 18–24 inches from ground. If you have foxes or athletic dogs, add 36 inches. Corners take more strain—use corner strain insulators and pull wires tight enough to ping when plucked, but not so tight you bend posts. Keep all gate openings bridged with insulated underground cable rated for high voltage.
Layout: Electric Fence Netting for Day Ranging
Standard netting height is 42–48 inches around a rectangle or U that ties back to the coop. Set posts at factory spacing, then add two extra step-in posts per 100 feet where the ground dips to prevent sagging. Keep grass under the bottom strand at or below 2 inches.
Gates and Exits with Netting
Use a netting gate kit or create a hinge with two extra posts and a non-conductive handle. Always cut power before handling a live gate. Run insulated underground cable under the gate area at least 6 inches deep to carry power past the opening.
Safety for Chickens, Children, and You
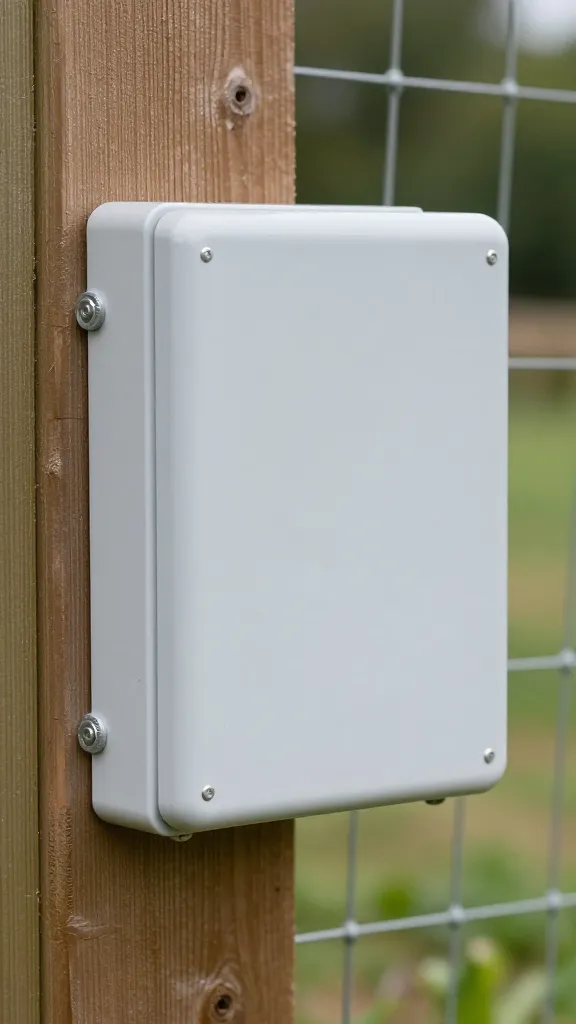
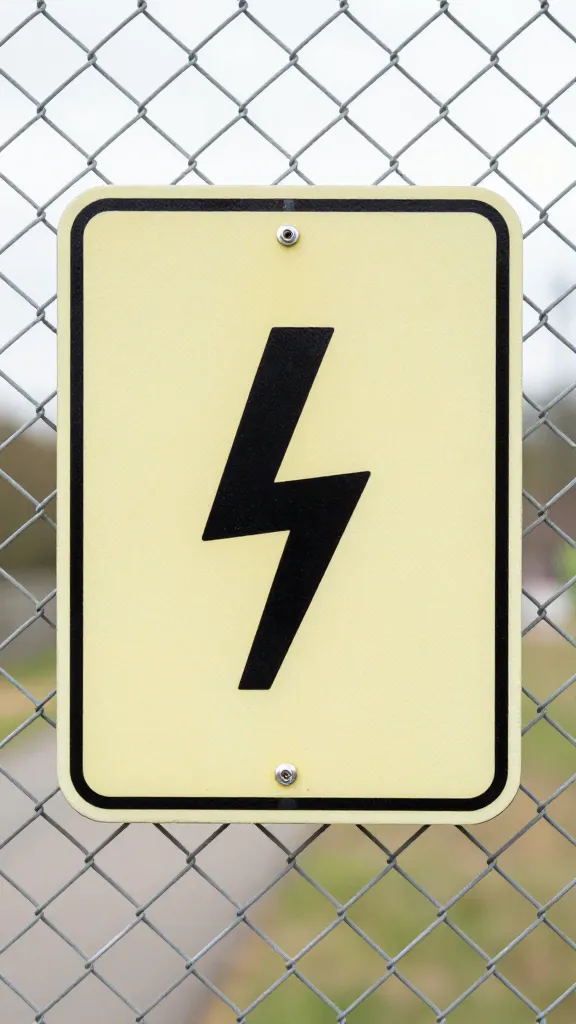
The standard is a brief, non-injurious pulse: low-impedance energizers send microsecond pulses around 1 pulse per second. Healthy birds and humans get a sharp sting, not a burn. Do not connect fence to household current directly, ever. Post warning signs every 30–50 feet on public-facing sides, and mount the energizer 5 feet high and inside a weatherproof, ventilated box.
- Chickens and shocks: Birds learn the fence line in one day. Position perch boards and ramp exits at least 18 inches inside the hot perimeter so a flapping bird doesn’t contact it on takeoff.
- Wet areas: Expect a stronger wallop in rain; that’s conductivity doing its job. Keep puddles off gate paths with 2–3 inches of gravel.
What to Buy: Components and Quantities
- Energizer: Low-impedance, 0.5–1.0 joule (fixed wires) or 1–2 joules (netting). AC plug-in if possible; solar+battery if remote.
- Grounding: Two to three 6–8 ft, 5/8 in galvanized ground rods, ground rod clamps, and 12–14 ga insulated ground wire.
- Conductor: For wires, 12.5–16 gauge high-tensile or polywire with at least 6 stainless conductors. For netting, 42–48 inch poultry net with double-spike posts.
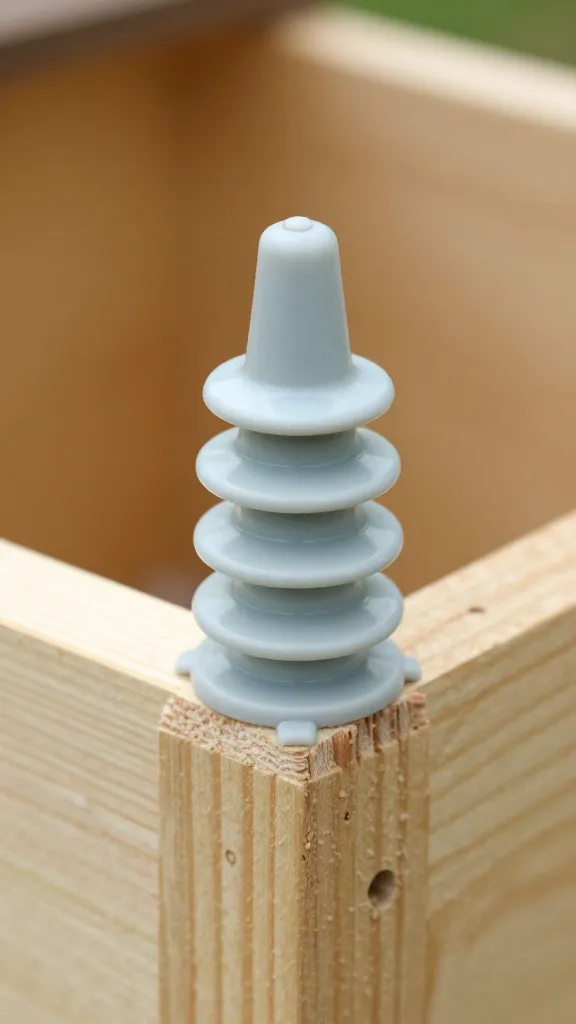
- Insulators: Standoff insulators for wood or T-post clips for steel; corner strain insulators.
- Underground cable: High-voltage rated, to jump gates and feed distant fence sections.
- Tester: Digital fence voltmeter.
- Vegetation control: Hand trimmer or string trimmer, and a 12–18 inch bare soil strip or landscape fabric under the hot line.
- Weather box: Ventilated, rain-shedding enclosure for energizer; 5 ft mounting height.
Installation Steps for a Fixed-Run Electric Fence
- Plan the perimeter: Measure the run. Add 18–24 inches clearance outside existing mesh for your hot-wire offset path. Mark corner and gate locations.
- Set posts: Install wooden or steel T-posts at 8–10 foot spacing. Brace corners with H-braces or set larger posts.
- Mount the energizer: On a wall or post 5 feet high, inside a weather-protective box within 50 feet of the first ground rod.
- Drive ground rods: Hammer two to three 6–8 foot rods until only 2–3 inches remain above grade. Space rods 10 feet apart. Bond them with clamps and ground wire in series back to the energizer ground terminal.
- Run offset wires: Install standoff insulators so the wire sits 4–6 inches from the run wall at heights 6, 12, and 18–24 inches. Add a 36 inch strand if coyotes or dogs jump.
- Terminate and tension: At corners, wrap through corner strain insulators. Pull snug—about 100–150 lbs equivalent tension for polywire, less for light gauge.
- Power jumpers and gates: Use underground cable to carry power under gate openings at 6 inches depth. Install a cut-out switch near the gate for safe entry.
- Connect hot: From the energizer hot terminal to the fence with underground cable. Keep all hot-to-fence connections tight and weather-protected.
- Test: With vegetation cleared, power on and verify 4,000–6,000 volts at the farthest point. If low, add a ground rod, improve clamps, or clear more vegetation.
- Sign and train: Post warning signs every 30–50 feet. Walk your birds along the inside edge on day one so they learn the boundary without panic.
Common Mistakes That Get Birds Killed
Unpowered fence: A fence that’s off is a ladder. Put the energizer on a dedicated outlet or solar timer and check voltage weekly. Poor grounding: One short ground rod in dry soil bleeds power—use two to three 6–8 foot rods. Grass contact: Anything touching the lower strand siphons energy; keep a 12-inch bare strip or mow to 2 inches.
Wrong heights: A single wire at 10 inches misses raccoon hands and fox jumps; run 6, 12, 18–24 inches. Mesh energizing: Never let hot wire touch your coop’s metal fencing—use 4–6 inch stand-offs.
Maintenance Rhythm That Keeps It Hot
Weekly: test voltage at three points and trim vegetation to 2 inches. After storms and snow, walk the line for fallen branches and sag. Monthly: check all clamps, retighten corner terminations, and confirm ground rod moisture—pour 2–3 gallons of water around rods in drought.
Seasonal: for solar, clean panel glass quarterly and load-test the battery; replace when it won’t hold above 12.2V overnight. In winter, keep the bottom strand at least 3 inches above expected snowpack or turn off the lowest wire until thaw.
Integrating Electric Fence with Other Protections
The standard is layers: half-inch hardware cloth on the run and coop, tight latches, and electric on the approach. Install an 18-inch apron of hardware cloth on the ground to stop diggers even if the power is out. Use solid roof or welded wire overhead to block hawks; electric does nothing for raptors.
My One Firm Opinion
If you’re choosing where to spend, buy the bigger energizer once—at least 1 joule for most backyards—and skip decorative fence trims; a lukewarm fence teaches predators to try again.
Frequently Asked Questions
How many joules do I need for an electric fence for backyard chickens?
For fixed hot wires around a small run, use 0.5–1.0 joule. For poultry netting or longer perimeters (over 200 feet), choose 1–2 joules so you still read 4,000–6,000 volts with some grass contact.
What voltage should my electric fence for chickens read?
A working range is 4,000–6,000 volts under load. Predators turn at 4 kV; below 3,000 volts you’re in the danger zone and need better grounding or less vegetation contact.
Is electric poultry netting safe for hens?
Yes, when powered by a low-impedance energizer. Use 42–48 inch netting, keep the bottom strand clear of tall grass, and maintain at least 18 inches from coop exits so birds don’t brush it when launching.
How far apart should hot wires be from the coop run fence?
Keep hot wires on 4–6 inch standoff insulators from any grounded mesh. Set wire heights at 6, 12, and 18–24 inches, and add a 36 inch strand if coyotes or dogs are common.
Do I need multiple ground rods for a small backyard setup?
Use at least two 6–8 foot galvanized rods spaced 10 feet apart; three in dry or sandy soil. Poor grounding is the number one cause of low voltage and predator breakthroughs.
Do It Right Once
Build a ground system with two to three 6–8 foot rods, power a 1-joule low-impedance unit, and hold the fence at 4–6 kV with clear ground under the lower strand. Your smallest correct first step: buy a digital tester and check your line tonight—write down the number and we’ll move it up from there.